
If you are interested in image super-resolution reconstruction, then you have likely heard of SwinIR. SwinIR is an image restoration model based on the Swin Transformer that achieves state-of-the-art performance in tasks such as classical/lightweight/practical image super-resolution, grayscale/color image denoising, and JPEG compression artifact removal. In this article, we will introduce how to use SwinIR for image super-resolution reconstruction.
Reference:
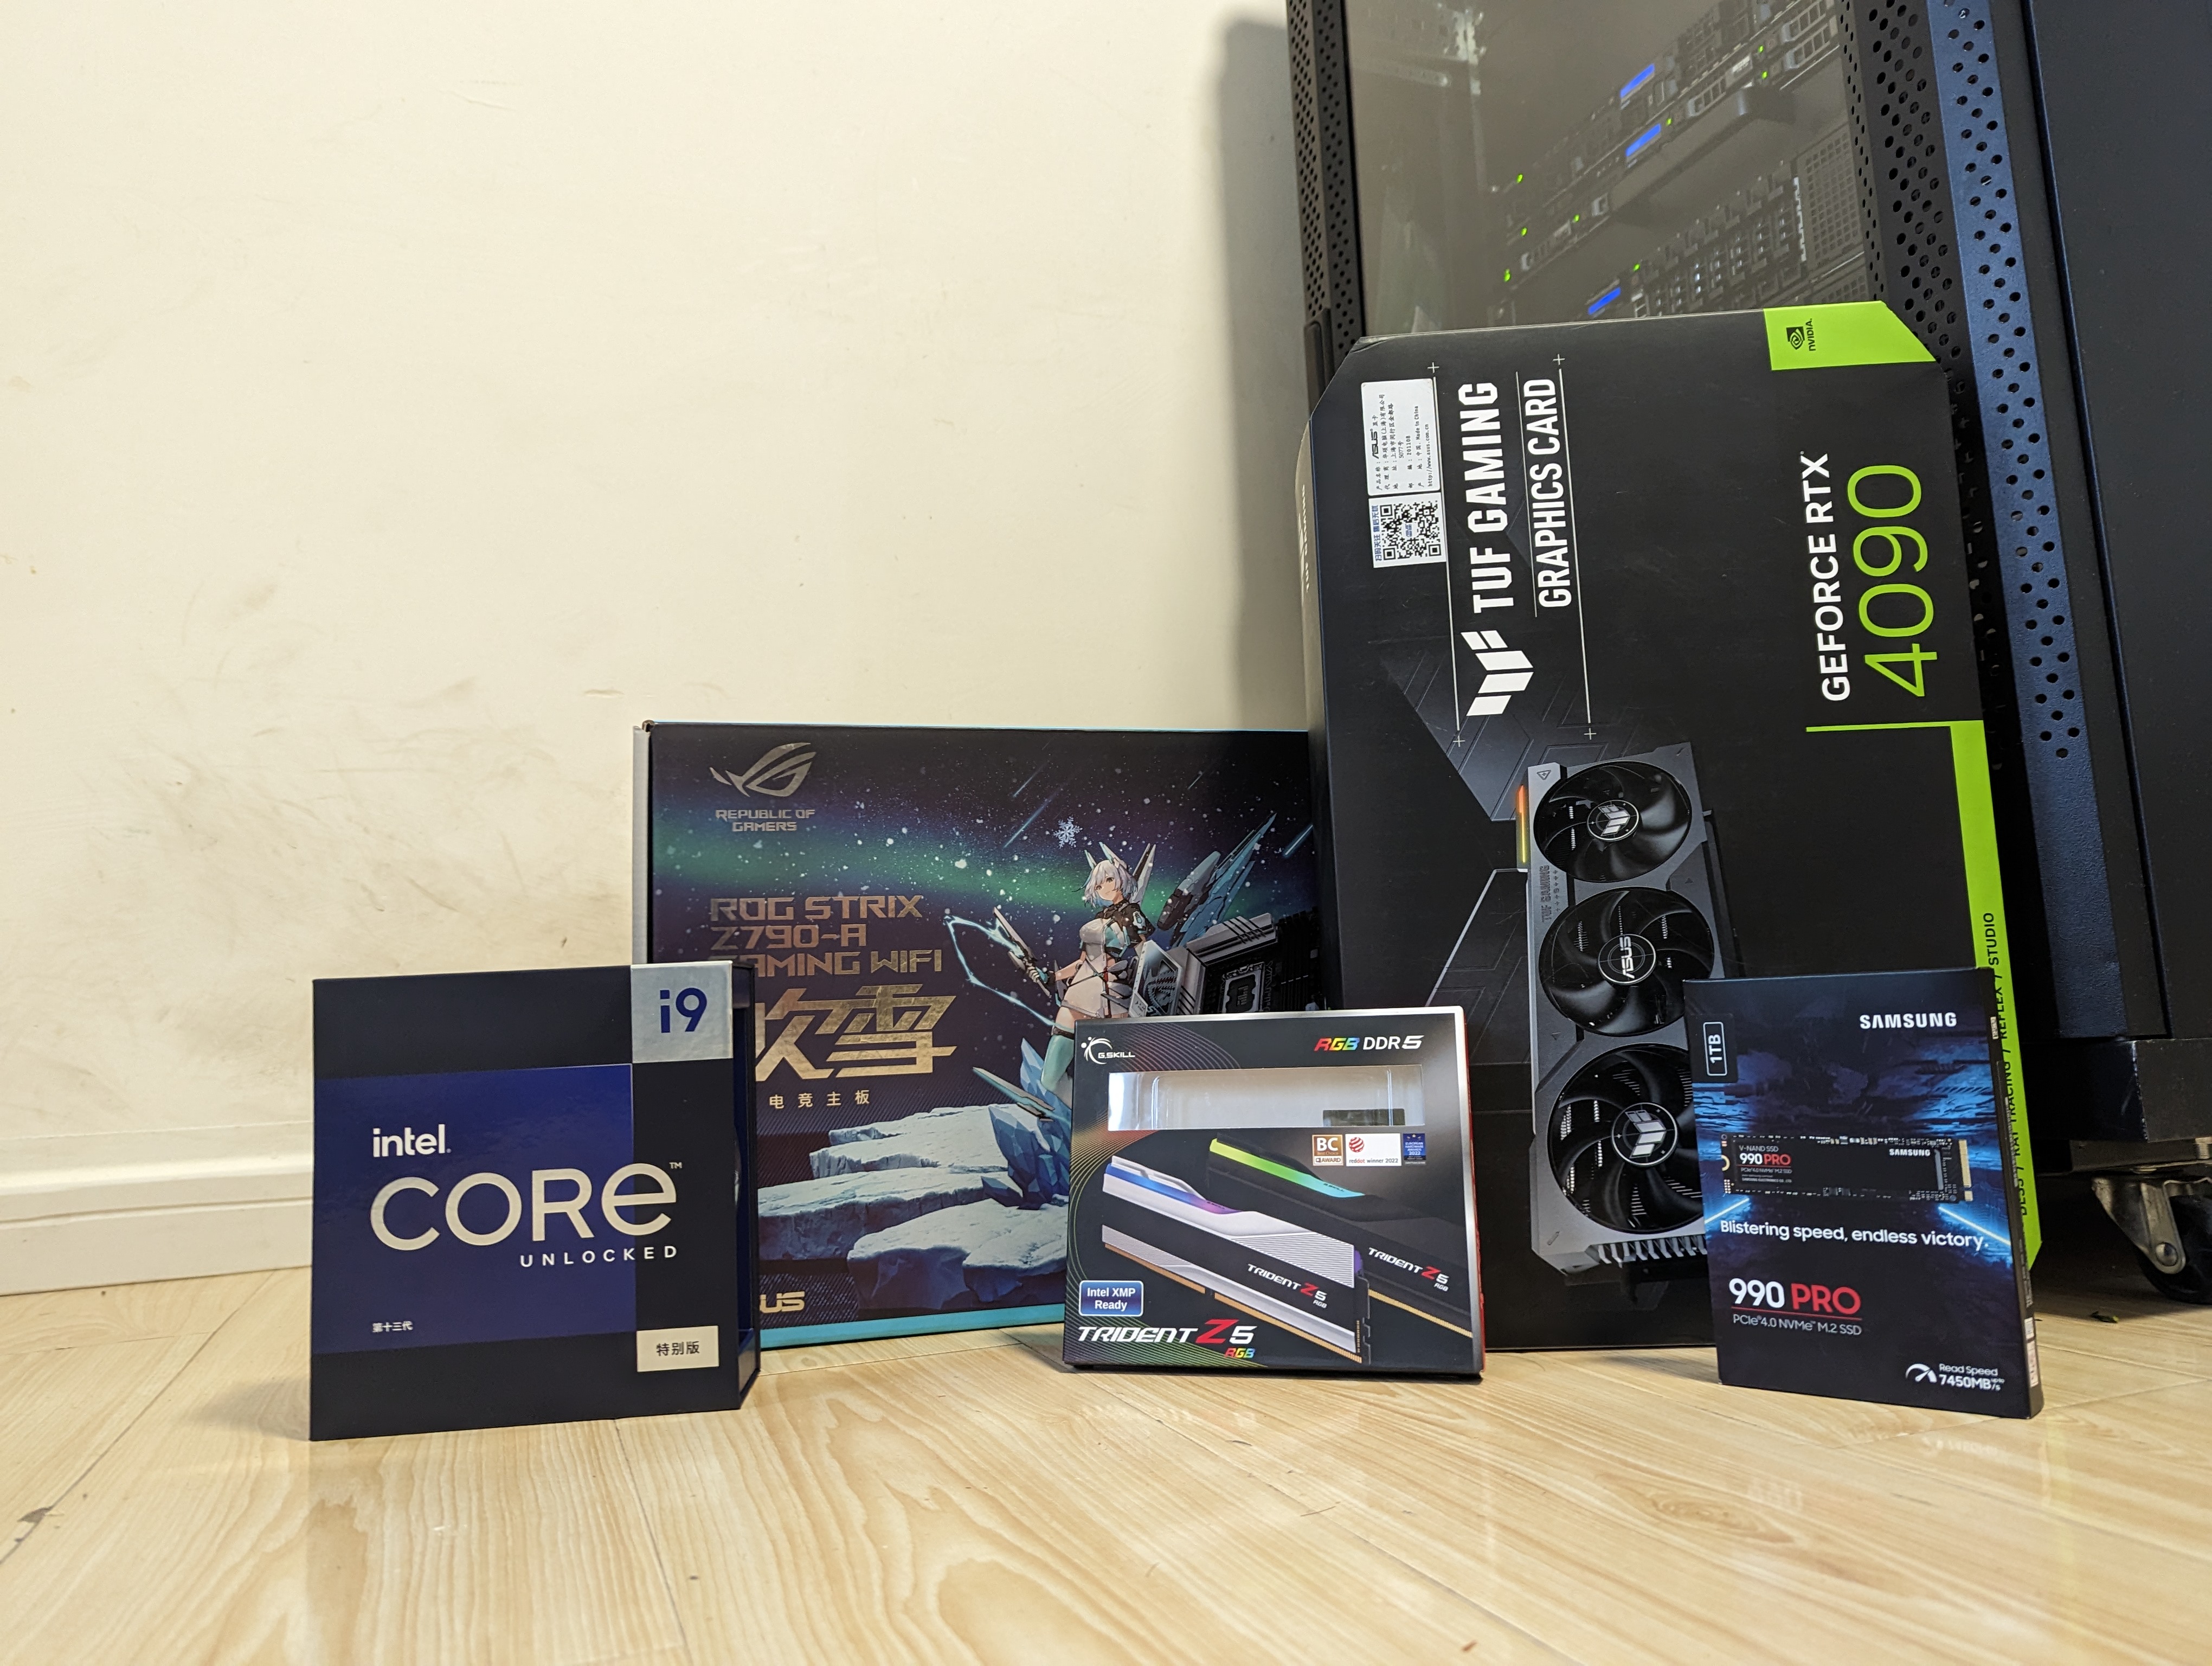
1. Purchase a Graphics Card
I highly recommend purchasing a graphics card before you start. The Nvidia GeForce RTX 4090 is a great choice.
After assembling your machine, install the operating system and graphics card driver. For easier debugging, I recommend using a Linux system.
You must install Nvidia's specialized Docker, which supports passing the graphics card through to the Docker container. Detailed tutorials can be found here.
Complete the basic Nvidia environment and Docker environment setup, ensuring that the GPU can be used in Docker, with CUDA and cuDNN properly configured.
2. Configure the Basic Container
First, write a basic Dockerfile with Pytorch and related dependencies.
FROM nvidia/cuda:11.8.0-devel-ubuntu22.04

RUN apt update
RUN apt upgrade -y

ENV DEBIAN_FRONTEND=noninteractive
ENV TZ=UTC

RUN DEBIAN_FRONTEND=noninteractive apt-get update && \
    apt-get install -y tzdata && \
    echo "Etc/UTC" > /etc/timezone && \
    ln -fs /usr/share/zoneinfo/UTC /etc/localtime && \
    dpkg-reconfigure -f noninteractive tzdata

RUN apt install -y nvidia-cuda-toolkit \
    gcc g++ make cmake git sudo wget curl vim python3 python3-pip python-is-python3 \
    libgl1-mesa-glx libglib2.0-0 libsm6 libxext6 libxrender-dev libxext-dev libxrender-dev
This container will be used for many different AI applications. So, I compiled it into a base image: hub.aiursoft.cn/aiursoft/internalimages/nvidia:latest.
You can choose to compile this image yourself as follows:
touch Dockerfile
# Copy the above Dockerfile content into the Dockerfile, then
docker build -t my-nvidia .
Or you can pull this base image with the following command:
docker pull hub.aiursoft.cn/aiursoft/internalimages/nvidia:latest
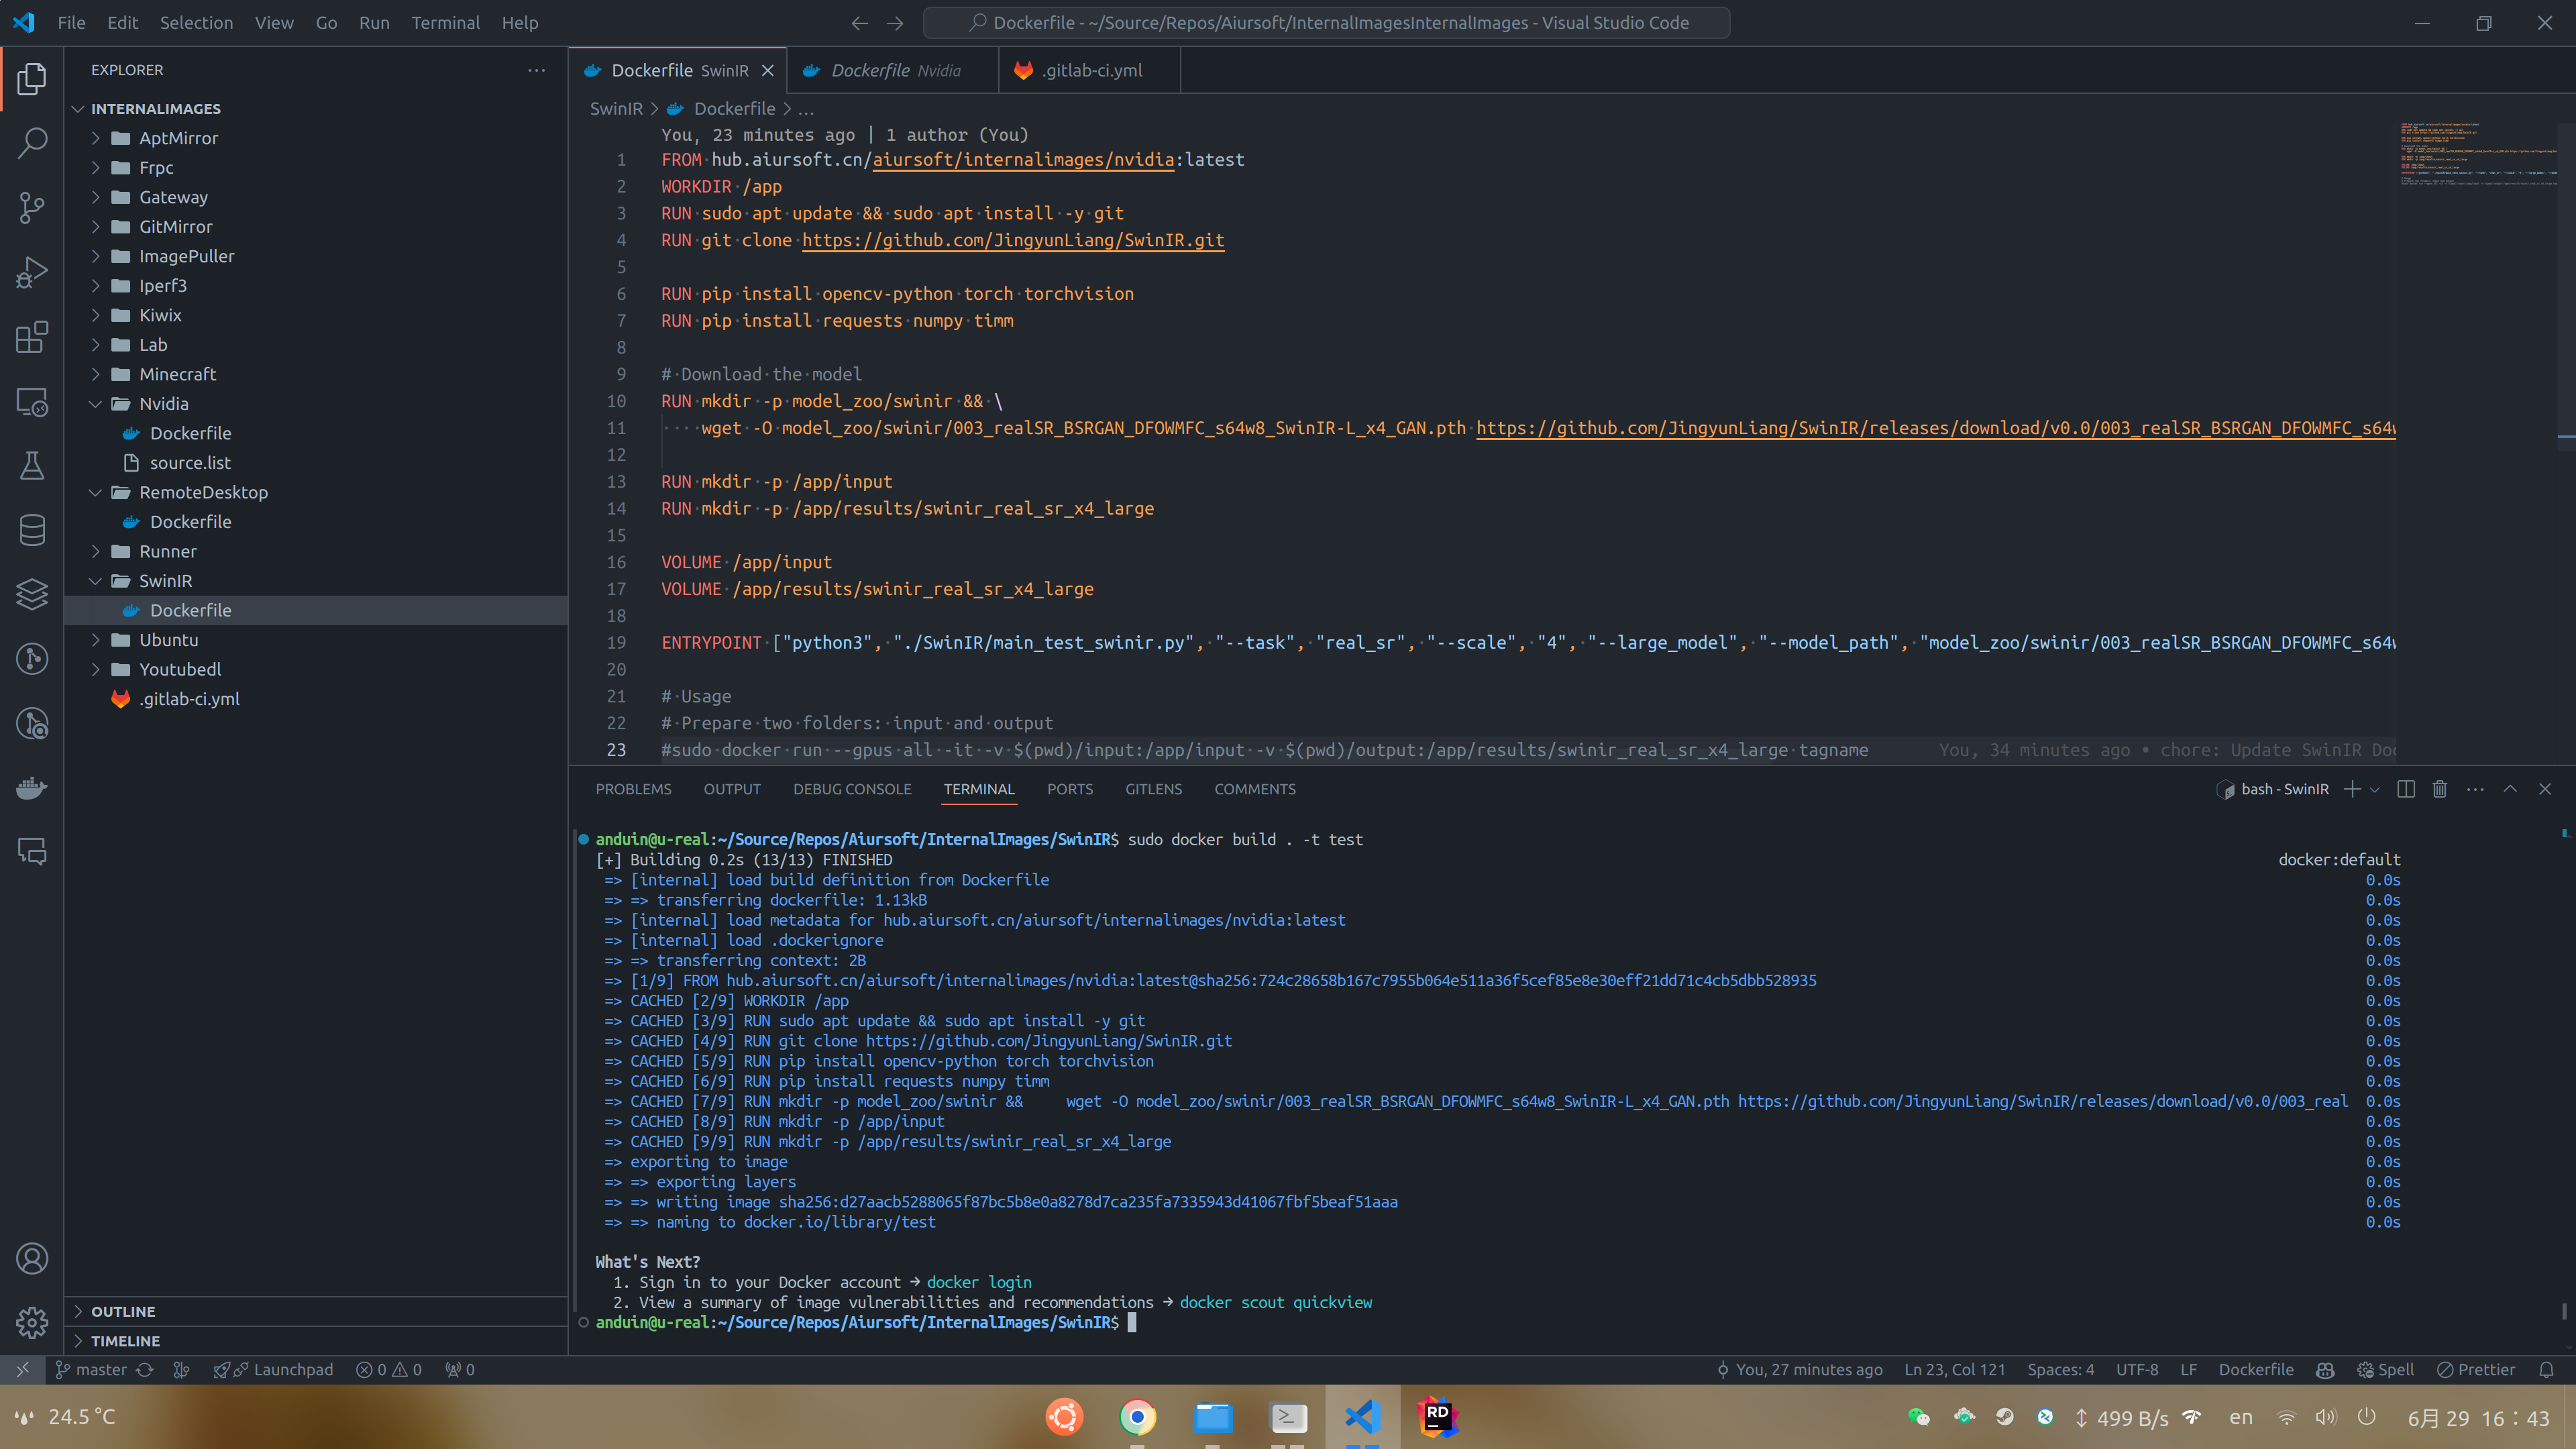
3. Configure the SwinIR Container
Next, we will configure a SwinIR container based on the base image and install the dependencies for SwinIR.
FROM my-nvidia
WORKDIR /app
RUN sudo apt update && sudo apt install -y git
RUN git clone https://github.com/JingyunLiang/SwinIR.git

RUN pip install opencv-python torch torchvision
RUN pip install requests numpy timm

# Download the model
RUN mkdir -p model_zoo/swinir && \
    wget -O model_zoo/swinir/003_realSR_BSRGAN_DFOWMFC_s64w8_SwinIR-L_x4_GAN.pth https://github.com/JingyunLiang/SwinIR/releases/download/v0.0/003_realSR_BSRGAN_DFOWMFC_s64w8_SwinIR-L_x4_GAN.pth

RUN mkdir -p /app/input
RUN mkdir -p /app/results/swinir_real_sr_x4_large

VOLUME /app/input
VOLUME /app/results/swinir_real_sr_x4_large

ENTRYPOINT ["python3", "./SwinIR/main_test_swinir.py", "--task", "real_sr", "--scale", "4", "--large_model", "--model_path", "model_zoo/swinir/003_realSR_BSRGAN_DFOWMFC_s64w8_SwinIR-L_x4_GAN.pth", "--folder_lq", "/app/input", "--tile", "192", "--tile_overlap", "16"]

# Usage
# Prepare two folders: input and output
# sudo docker run --gpus all -it -v $(pwd)/input:/app/input -v $(pwd)/output:/app/results/swinir_real_sr_x4_large tagname
This container will download the SwinIR code and model and configure it to run directly. You can build this container with the following command:
docker build -t swinir .
4. Run the Container
Next, let's try using the image you just compiled to perform super-resolution reconstruction on an image.
In the ~/Demo folder, I created input and output folders. I placed an image in the input folder.
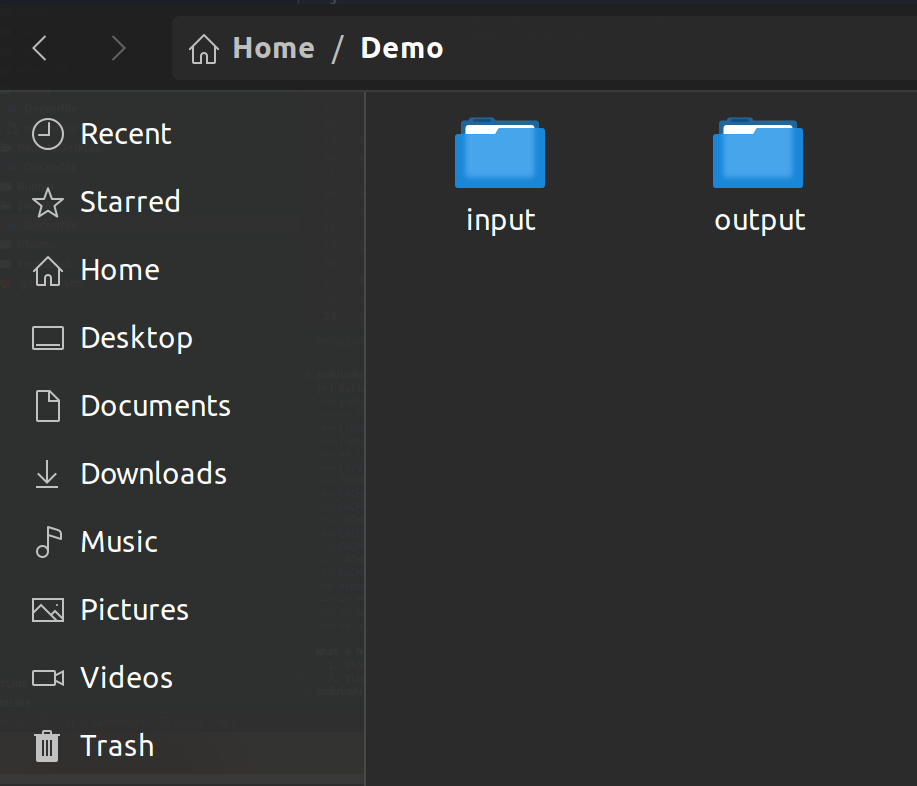
Next, in the ~/Demo folder, run the following command:
sudo docker run --gpus all -it -v $(pwd)/input:/app/input -v $(pwd)/output:/app/results/swinir_real_sr_x4_large swinir
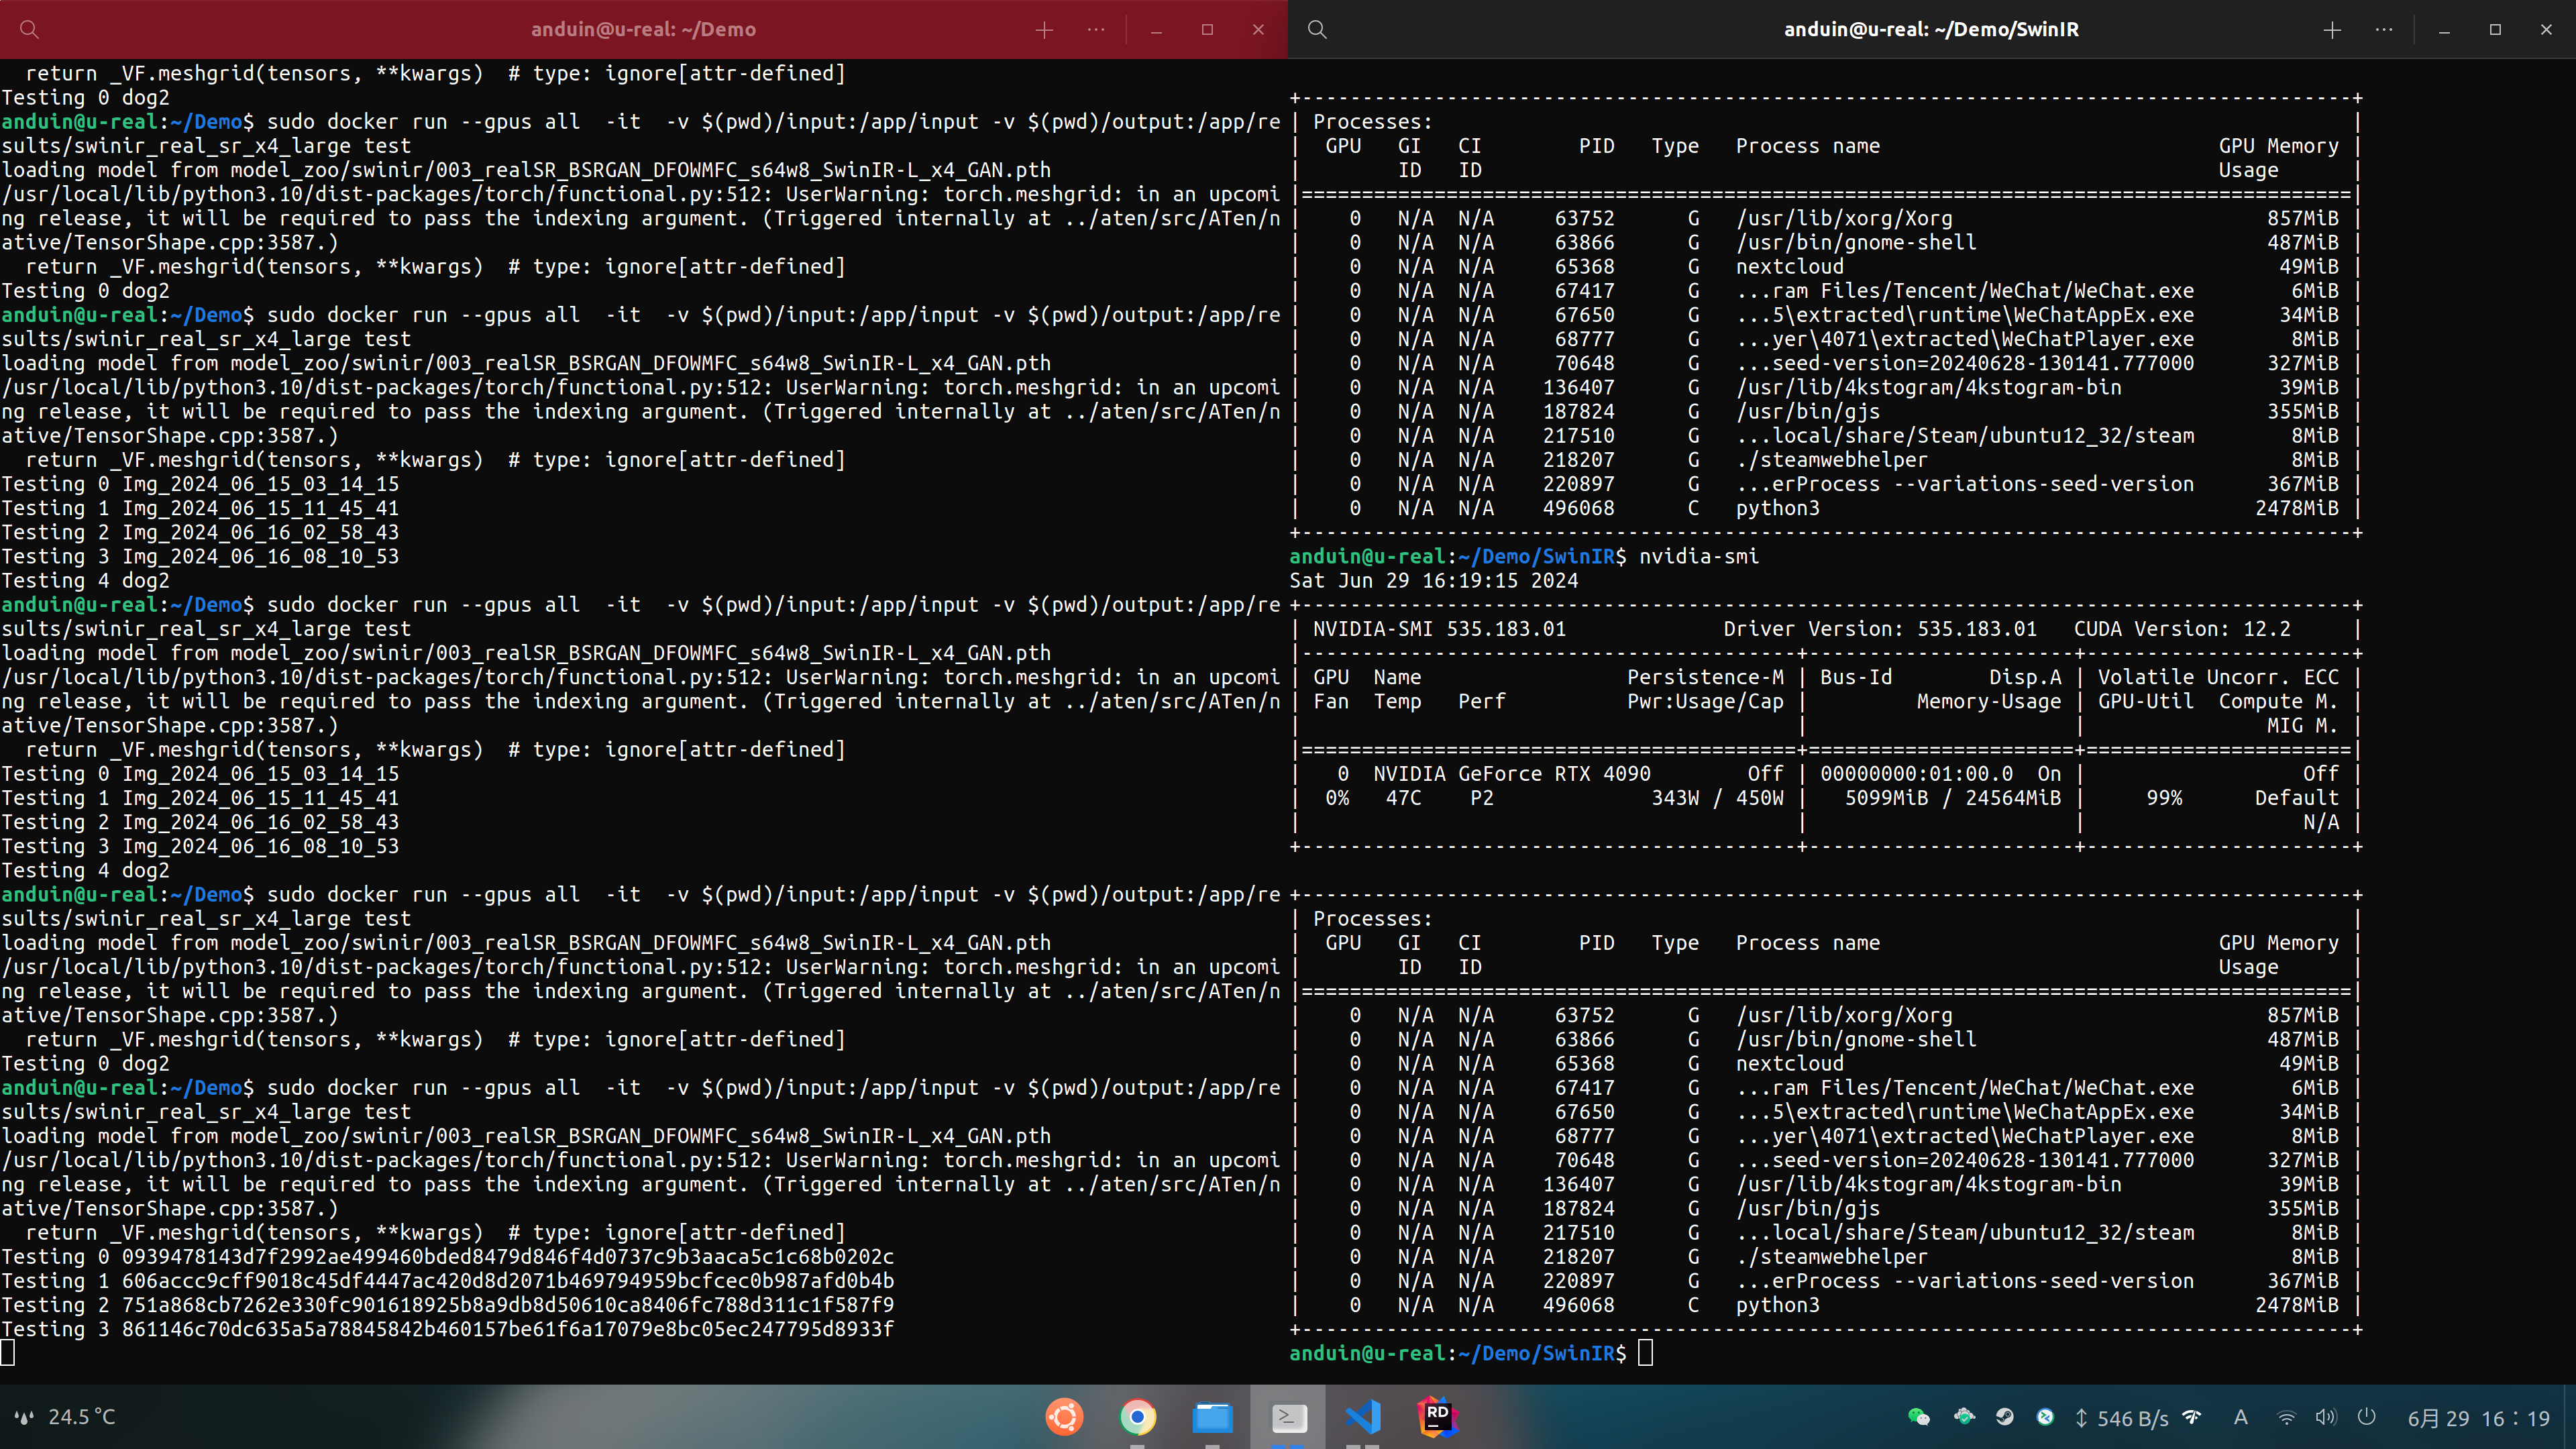
This command will run your container, mount the input folder to the container's /app/input folder, and the output folder to the container's /app/results/swinir_real_sr_x4_large folder.
After successfully running, the images in the input folder will be super-resolved and saved in the output folder.
Input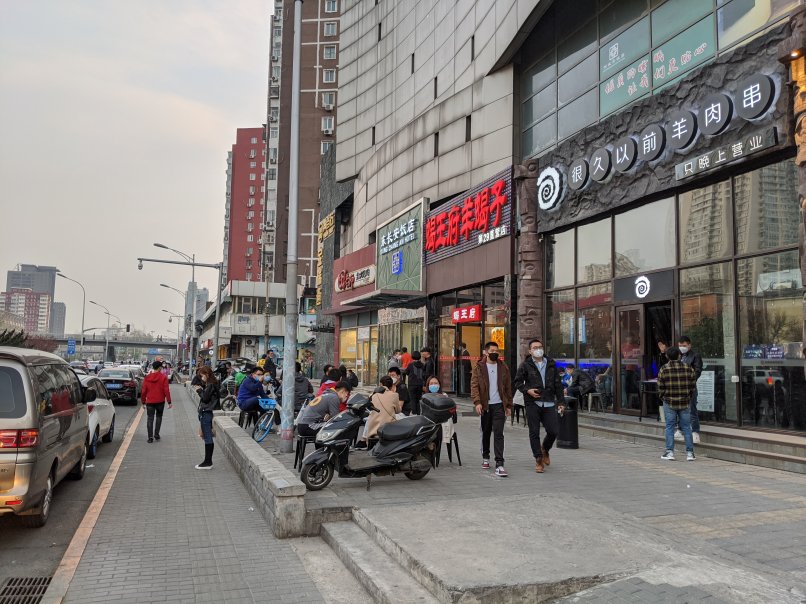 :
:
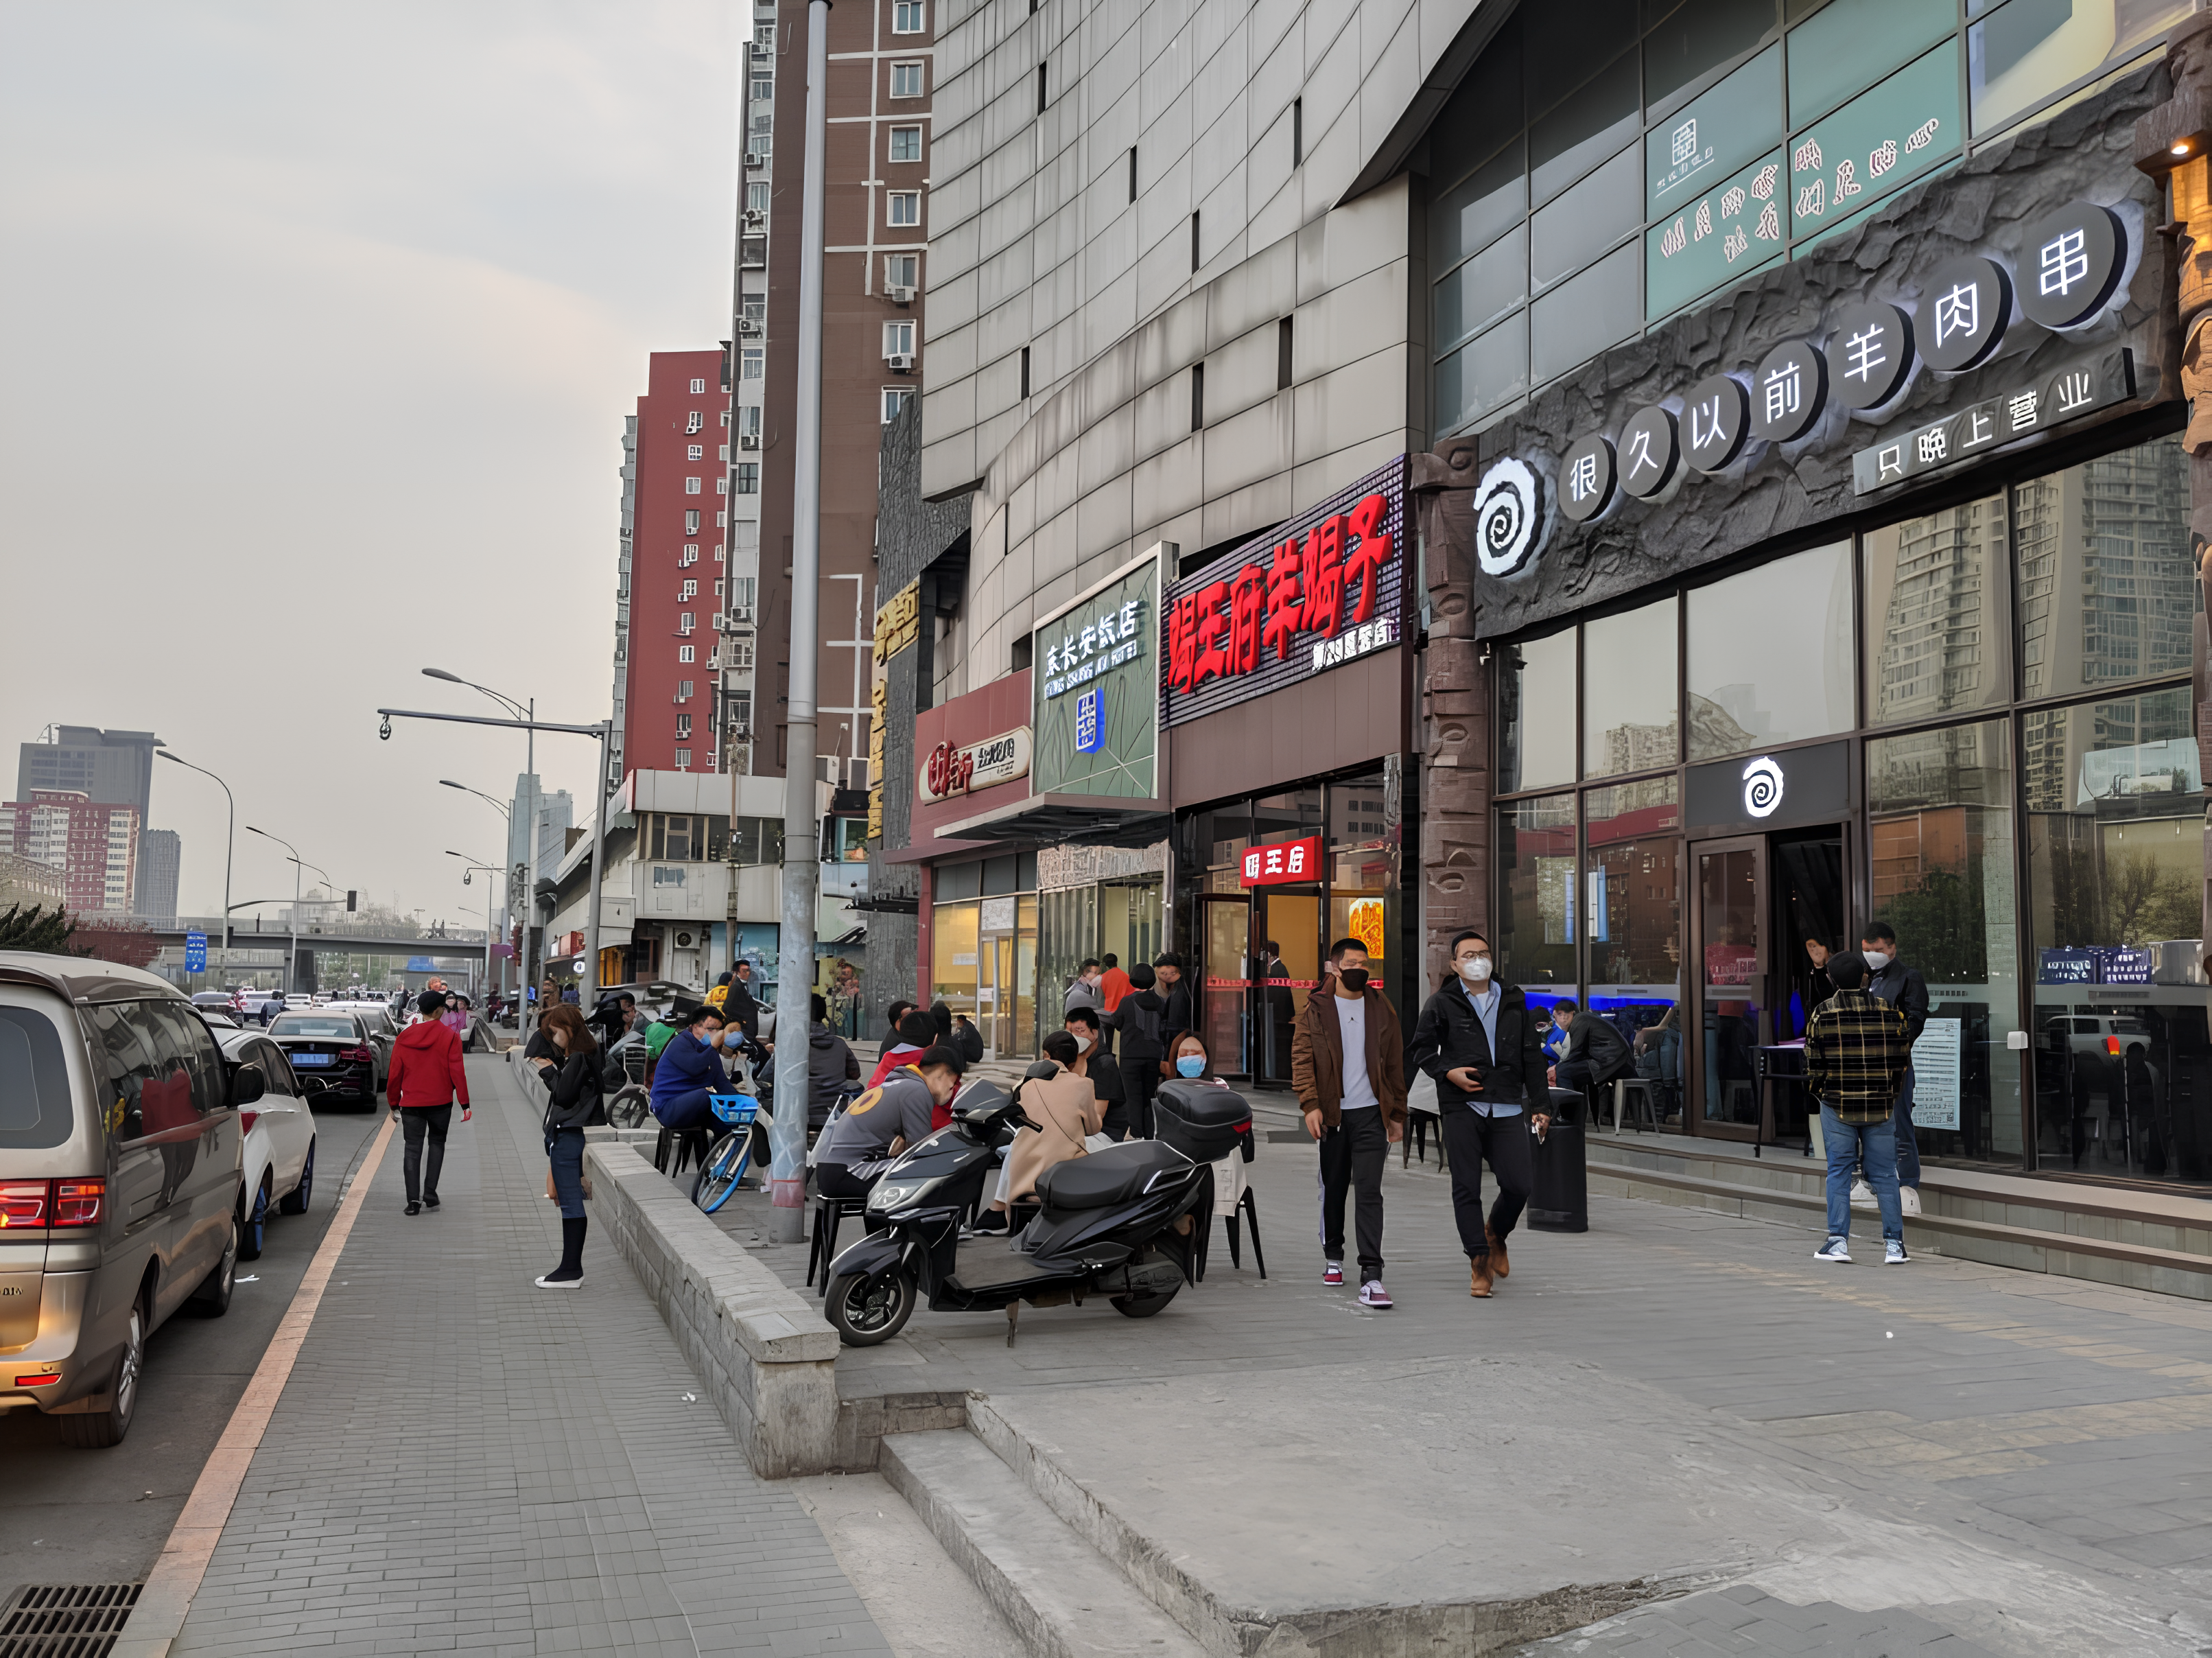
Output:
5. Conclusion
This is the complete process for using SwinIR for image super-resolution reconstruction. With this technology, you can restore old photos, enhance low-resolution images, and even improve surveillance videos.
这篇博客系统性地介绍了基于SwinIR模型的图像超分辨率重建实现流程,具有显著的实用价值。文章最突出的优点在于将复杂的技术操作拆解为可复现的步骤,尤其在Docker容器化部署方面展现了专业水准,这种模块化思维能有效降低环境配置门槛。对SwinIR模型的性能优势(如支持多种图像修复任务)与具体应用场景(老照片修复、安防监控增强)的结合阐述,体现了作者对技术落地价值的深刻理解。
在技术实现层面,Dockerfile的编写具有参考价值,特别是基础镜像的封装设计既保证了环境一致性,又通过VOLUME指令实现了数据持久化。但需要注意的是,Dockerfile中的
apt update应与apt upgrade合并为单次运行以避免状态不一致,例如可将RUN apt update && apt upgrade -y合并为单一RUN指令。此外,ENTRYPOINT参数中--large_model等选项的使用需与SwinIR官方文档核对,确保参数格式与版本兼容性,避免因API变更导致运行失败。关于硬件建议部分,RTX 4090的推荐虽具前瞻性,但对预算有限的读者可能缺乏普适性。可补充说明如RTX 3060或A4000等中端显卡的可行性,并提及CUDA核心数与显存对模型推理速度的实际影响。模型下载链接的可靠性可通过校验文件哈希值增强可信度,建议在Dockerfile中增加校验步骤。
文章改进空间主要体现在交互性设计方面:1)可增加对输入图像格式的兼容性说明(如支持JPG/PNG等格式);2)在容器运行时增加异常处理逻辑(如输入目录为空时的提示);3)补充模型性能评估指标(如PSNR/SSIM值),使效果展示更具说服力。最后,可扩展讨论模型微调的可能性,例如针对特定场景(如医学影像)的迁移学习方案,这将为技术应用开辟更广阔的空间。
这篇文章详细介绍了如何使用SwinIR模型进行图像超分辨率重建,并通过Docker容器的方式实现了快速部署和运行。文章内容条理清晰,步骤明确,非常适合开发者或对深度学习技术感兴趣的读者快速上手。
以下是一些可以进一步改进的建议:
环境依赖说明:在文章开头可以增加关于环境依赖的具体要求,例如操作系统版本、Python版本、GPU驱动版本等,这样读者可以根据自身环境提前做好准备。
Docker镜像优化:在构建Docker镜像时,可以考虑使用具体的PyTorch镜像标签(如
pytorch/pytorch:2.0.0-cuda11.7-cudnn8-devel)而不是latest,以避免因镜像更新导致的不可预测问题。性能优化:在运行推理任务时,可以增加一些性能优化的建议,例如如何调整批次大小、使用GPU内存管理技巧(如设置
torch.backends.cudnn.benchmark = True)以及如何利用多线程加速数据加载等。实际案例分析:可以补充一些实际应用案例,比如在不同类型的图像上进行超分辨率重建的效果对比,或者与其他模型的性能比较,帮助读者更好地理解SwinIR的优势和适用场景。
错误处理与调试:增加对常见问题的排查建议,例如镜像构建失败、GPU无法使用或推理结果不理想时的解决方法,这样可以帮助读者更快地解决问题。
模型选择与参数解释:可以进一步解释不同SwinIR模型(如
realSR、classical_SR等)的适用场景以及各个参数的意义,例如tile和tile_overlap的作用,帮助读者理解如何根据实际情况进行调整。总体来说,这篇文章已经很好地展示了如何部署和使用SwinIR模型,通过增加以上内容可以让文章更加全面,帮助读者更深入地理解和应用该技术。
Anduin nb!
这篇博客介绍了如何使用SwinIR进行图像超分辨率重建。SwinIR是基于Swin Transformer的图像恢复模型,在传统/轻量级/实用的图像超分辨率、灰度/彩色图像去噪和JPEG压缩伪影去除等任务中取得了最先进的性能。博客通过几个步骤详细介绍了如何配置和运行SwinIR容器。
这篇博客的闪光点在于提供了清晰的步骤和代码示例,让读者能够快速上手使用SwinIR进行图像超分辨率重建。博客还提供了Dockerfile和命令行示例,方便读者配置和运行SwinIR容器。
然而,博客中可能存在一些改进的空间。首先,在介绍SwinIR之前,可以简要介绍一下图像超分辨率重建的背景和应用场景,以便读者更好地理解SwinIR的价值和意义。其次,在配置SwinIR容器的步骤中,可以提供更多关于配置过程中可能遇到的问题和解决方法的信息,以帮助读者更好地完成配置工作。最后,在运行容器的步骤中,可以添加一些额外的说明,例如如何选择输入图像和如何解释输出图像的结果。
总的来说,这篇博客提供了一个很好的指南,帮助读者使用SwinIR进行图像超分辨率重建。通过添加一些额外的背景信息和详细的说明,可以进一步改进博客的质量和可读性。