Problem
If you don't pay Youtube Premium, you have to watch ads. It's annoying.
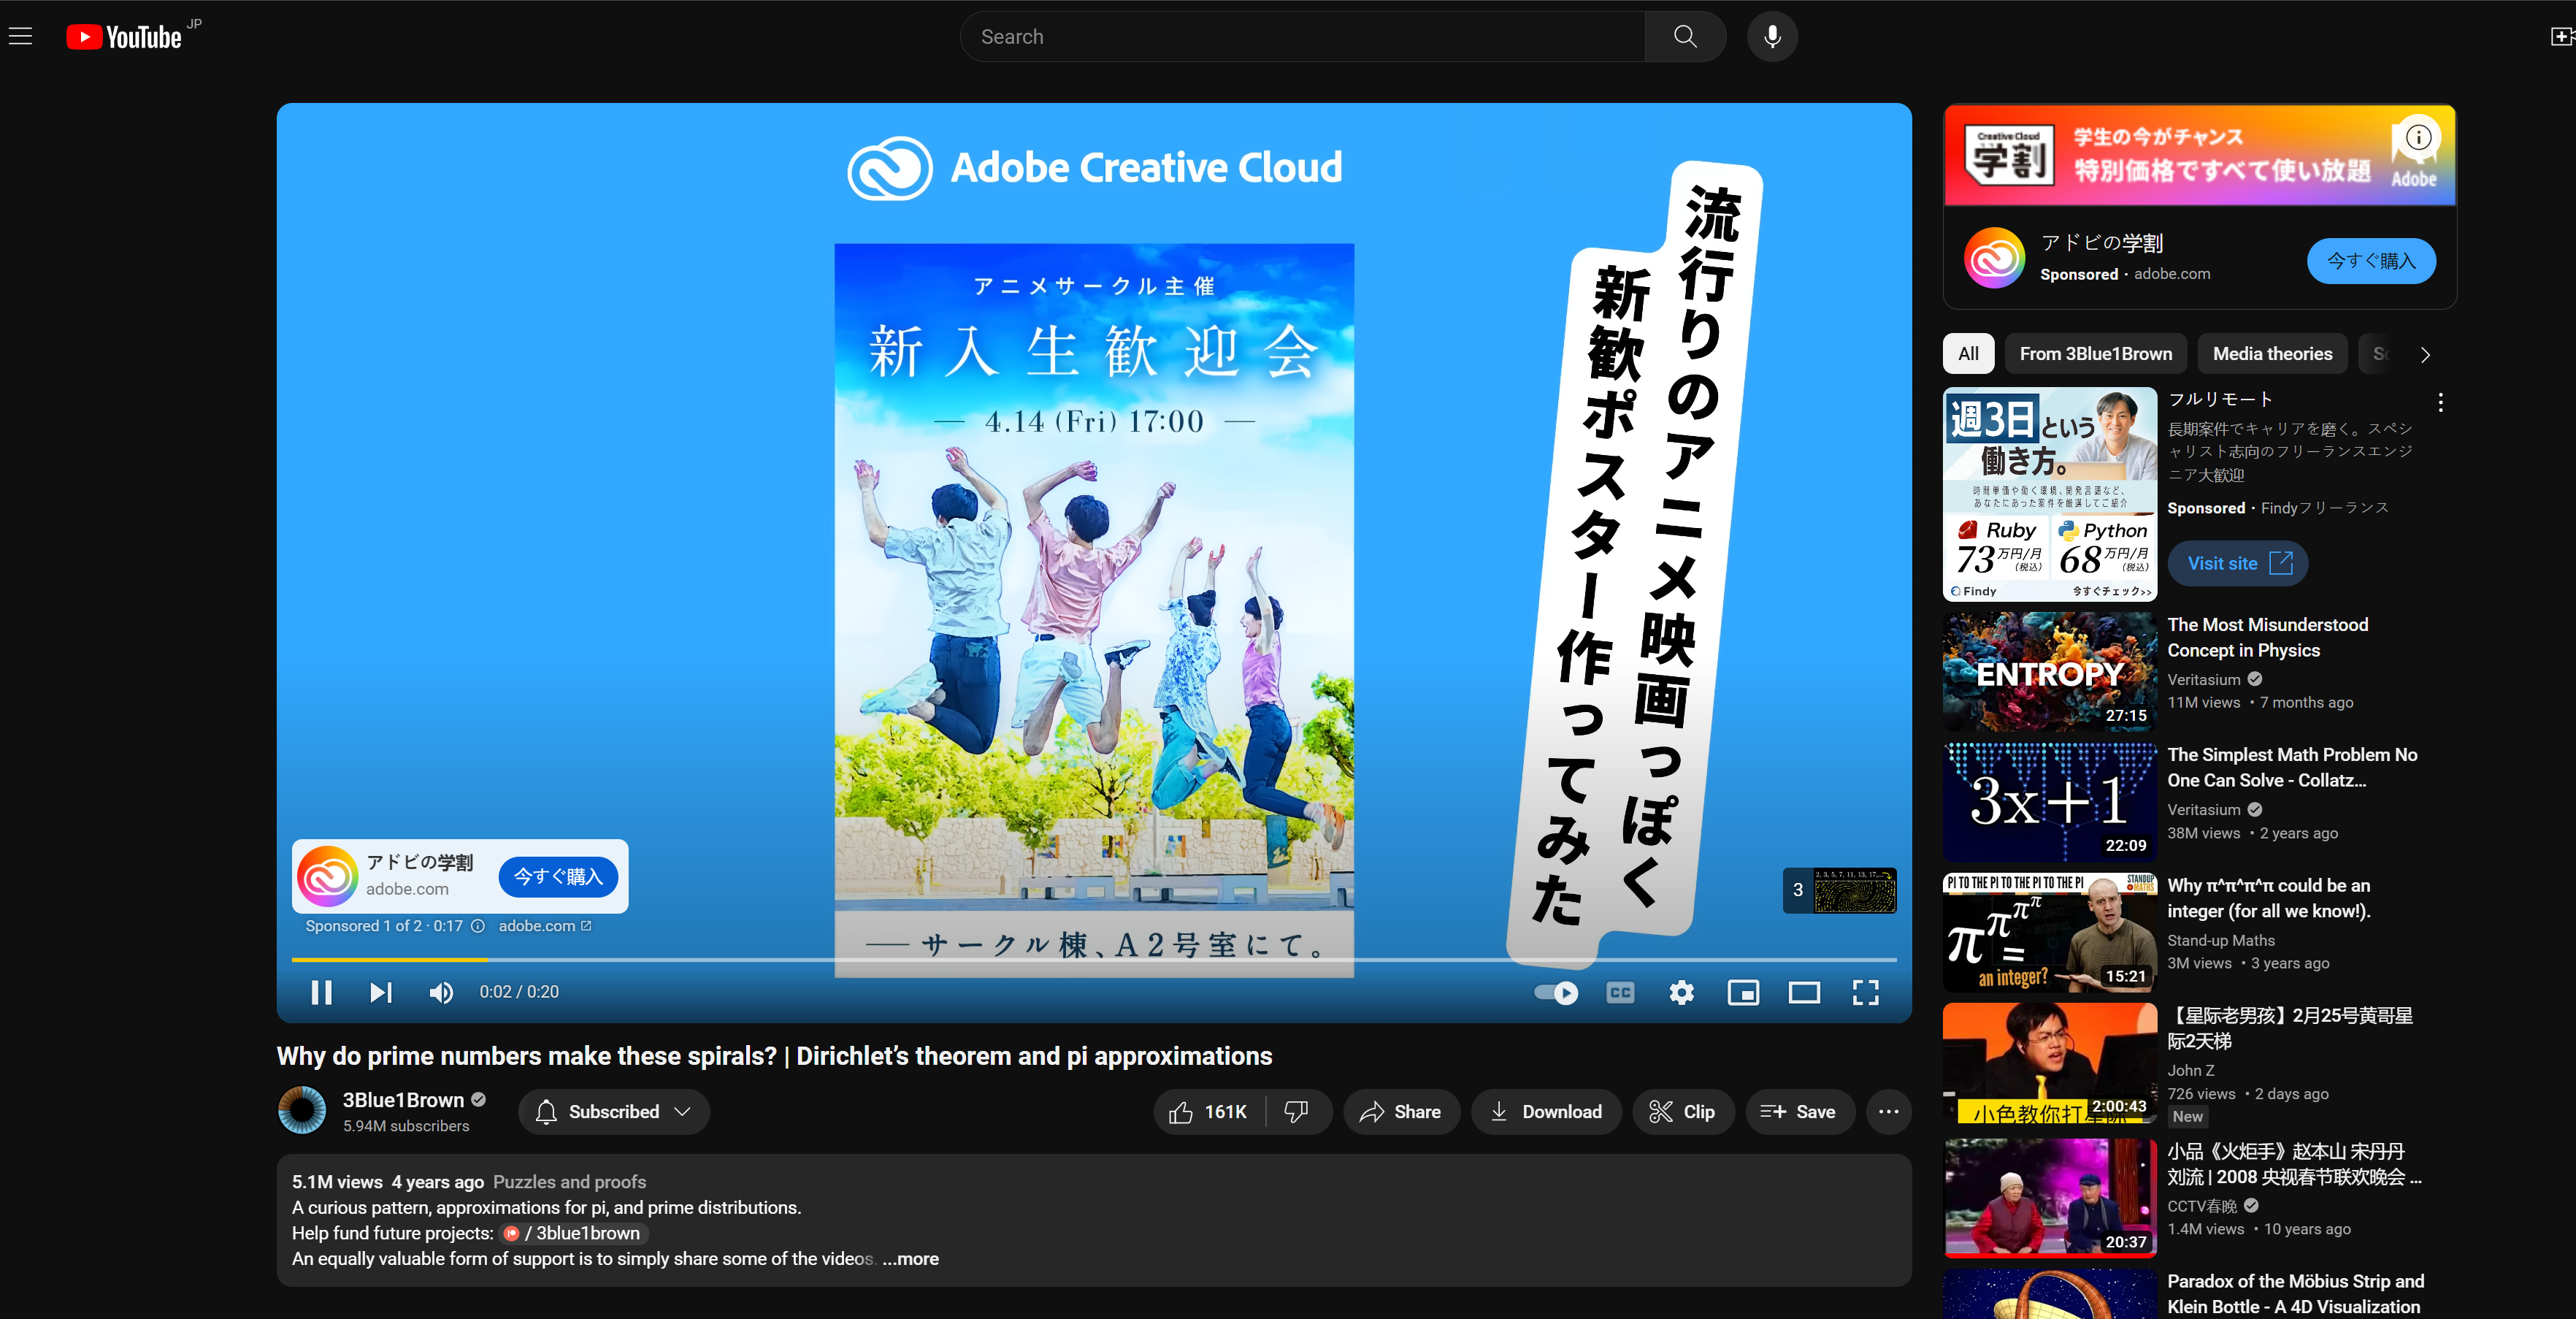
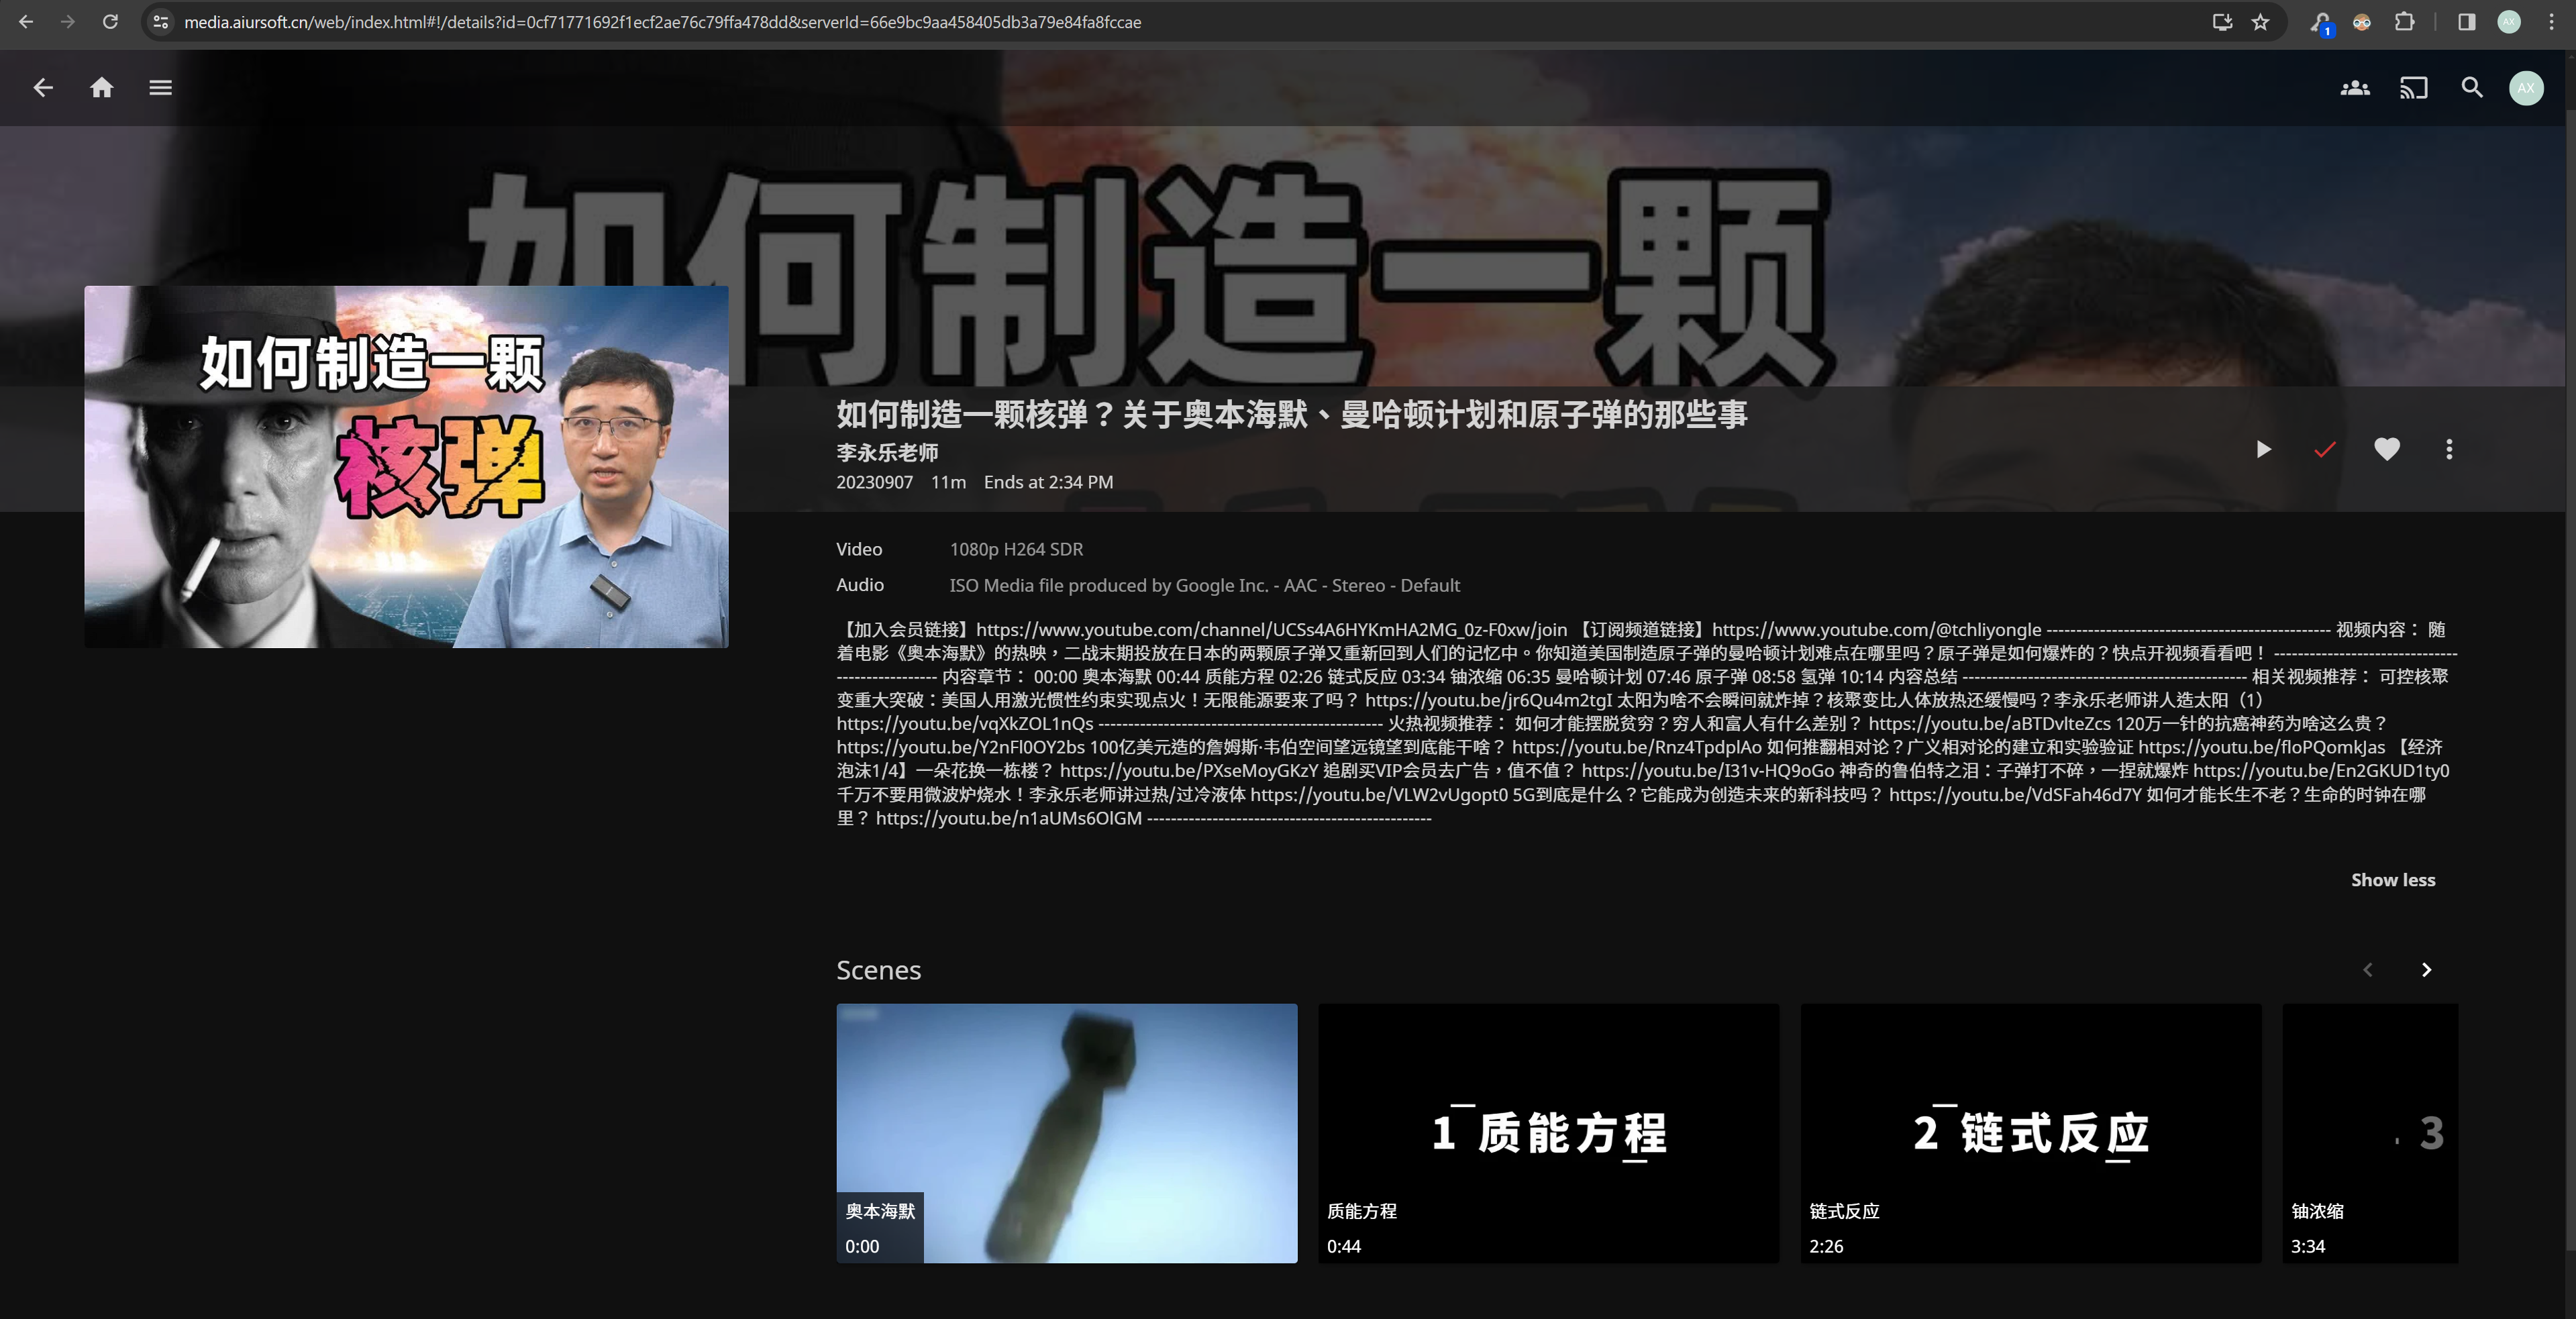
So what about watching the same video on your own server?
- You can watch the video without ads.
- You can always watch the best quality video.
- You can watch the video even if it's deleted from YouTube.
- You can watch the video even if you don't have internet access.
Step 1 - Get an Ubuntu server
Here, you can create a local server or purchase an Ubuntu server from a cloud service provider.
You can buy a pure server at Vultr, Azure, or DigitalOcean.
After you installing a pure Ubuntu, or buying a new cloud Ubuntu server, you need to first finish the basic authentication configuration.
Follow instructions here to:
- Delete other accounts.
- Create your own account instead of root.
- Disable password login and force to use SSH key to log in.
- Disable root account.
- Enable sudo without password.
- Enable firewall.
- Adjust timezone.
- Enable BBR
Best-practice for authentication after creating a new Linux server
Of course, you need to make sure that this Ubuntu server can access the Internet and can be accessed by your other servers.
Step 2 - Install Youtube-dl
You can install youtube-dl by running the following command:
echo "Installing Python"
sudo apt update
sudo apt install python3 python3-pip python-is-python3 ffmpeg atomicparsley git -y

echo "Updating Youtube DL"
pip install 'git+https://github.com/ytdl-org/youtube-dl.git@master#egg=youtube_dl'
sudo cp /home/$USER/.local/bin/youtube-dl /usr/bin/
/usr/bin/youtube-dl --version
Step 3 - Write a script to download the video
First, create a new user called jellyfin.
sudo adduser jellyfin
Then, create a new folder to store the video.
sudo mkdir -p /mnt/data/youtube
sudo chown -R jellyfin:jellyfin /mnt/data
You can write a script to download the video from YouTube.
sudo touch ./run_youtube.sh
sudo vim ./run_youtube.sh
In the vim editor, you can write the following script:
#!/bin/bash

sudo chown -R jellyfin:jellyfin /mnt/data
find /mnt/data -type d -print0 | sudo xargs -r -0 chmod 0777 # Any user can read, write, and list
find /mnt/data -type f -print0 | sudo xargs -r -0 chmod 0666 # Any user can read and write

# Check if the mount point is available. Right here I used a remote mount to store the youtube videos.
if df -Th | grep -q "/mnt/data"; then
    echo "Mounted!"

    # Define channel URLs
    user_urls=(
        "https://www.youtube.com/@thu4878/videos"
        "https://www.youtube.com/@user-lk3gk5sd7n/videos"
        "https://www.youtube.com/@TchLiyongle/videos"
        "https://www.youtube.com/@SONAR606/videos"
        "https://www.youtube.com/@anduinxue4729/videos"
        "https://www.youtube.com/@STBoss/videos"
        "https://www.youtube.com/@gleekid/videos"
        "https://www.youtube.com/@paperclip6992/videos"
        "https://www.youtube.com/@xdiaocha/videos"
        "https://www.youtube.com/@GPINTALK/videos"
        "https://www.youtube.com/@xiaohan-ufo/videos"
        "https://www.youtube.com/@JaredOwen/videos"
        "https://www.youtube.com/@user-og1rx7gc6o/videos"
        "https://www.youtube.com/@geekerwan1024/videos"
        "https://www.youtube.com/@wbclg/videos"
        "https://www.youtube.com/@user-darkcarrot/videos"
        "https://www.youtube.com/@AkilaZhang/videos"
        "https://www.youtube.com/@dacongmovie/videos"
        "https://www.youtube.com/@chesspage1real/videos"
        "https://www.youtube.com/@BossPrating/videos"
        "https://www.youtube.com/@ssrphysics/videos"
        "https://www.youtube.com/@One-In-a-Billion/videos"
    )

    # Loop through user URLs and start a new tmux session for each channel
    for url in "${user_urls[@]}"; do
        # Extract the user ID from the URL
        user_id=$(echo "$url" | grep -oP '(?<=youtube.com/@)[^/]+')
        echo "Starting download $url"
        date
        # Start a new tmux session for the channel
        tmux new -d -s "$user_id" "\
    youtube-dl \
        -f 'bestvideo[ext=mp4]+bestaudio[ext=m4a]/best[ext=mp4]/best' \
        --download-archive '/mnt/data/youtube/$user_id.txt' \
        --write-description \
        --write-info-json \
        --write-annotations \
        --write-thumbnail \
        --write-sub \
        --all-subs \
        --ignore-errors \
        --merge-output-format mp4 \
        --add-metadata \
        --embed-subs \
        --embed-thumbnail \
        --sleep-interval 50 \
        --max-sleep-interval 100 \
        -o '/mnt/data/youtube/%(uploader)s/%(title)s.%(ext)s' $url"
        sleep 800
    done
else
    echo "Not mounted!"
    # Alert.
    echo "Backup failed! `date +"%Y-%m-%d %H:%M:%S"`" | sudo tee -a /etc/motd
    exit
fi
Now allow the script to be executed.
sudo chmod +x ./run_youtube.sh
To make sure the script works, you can run it manually.
./run_youtube.sh

That will start downloading the videos from the YouTube channels you specified.
The script might be slow and take a long time to finish. You can use tmux ls and tmux a -t <session-name> to check the progress of the download.
Step 4 - Run the script regularly
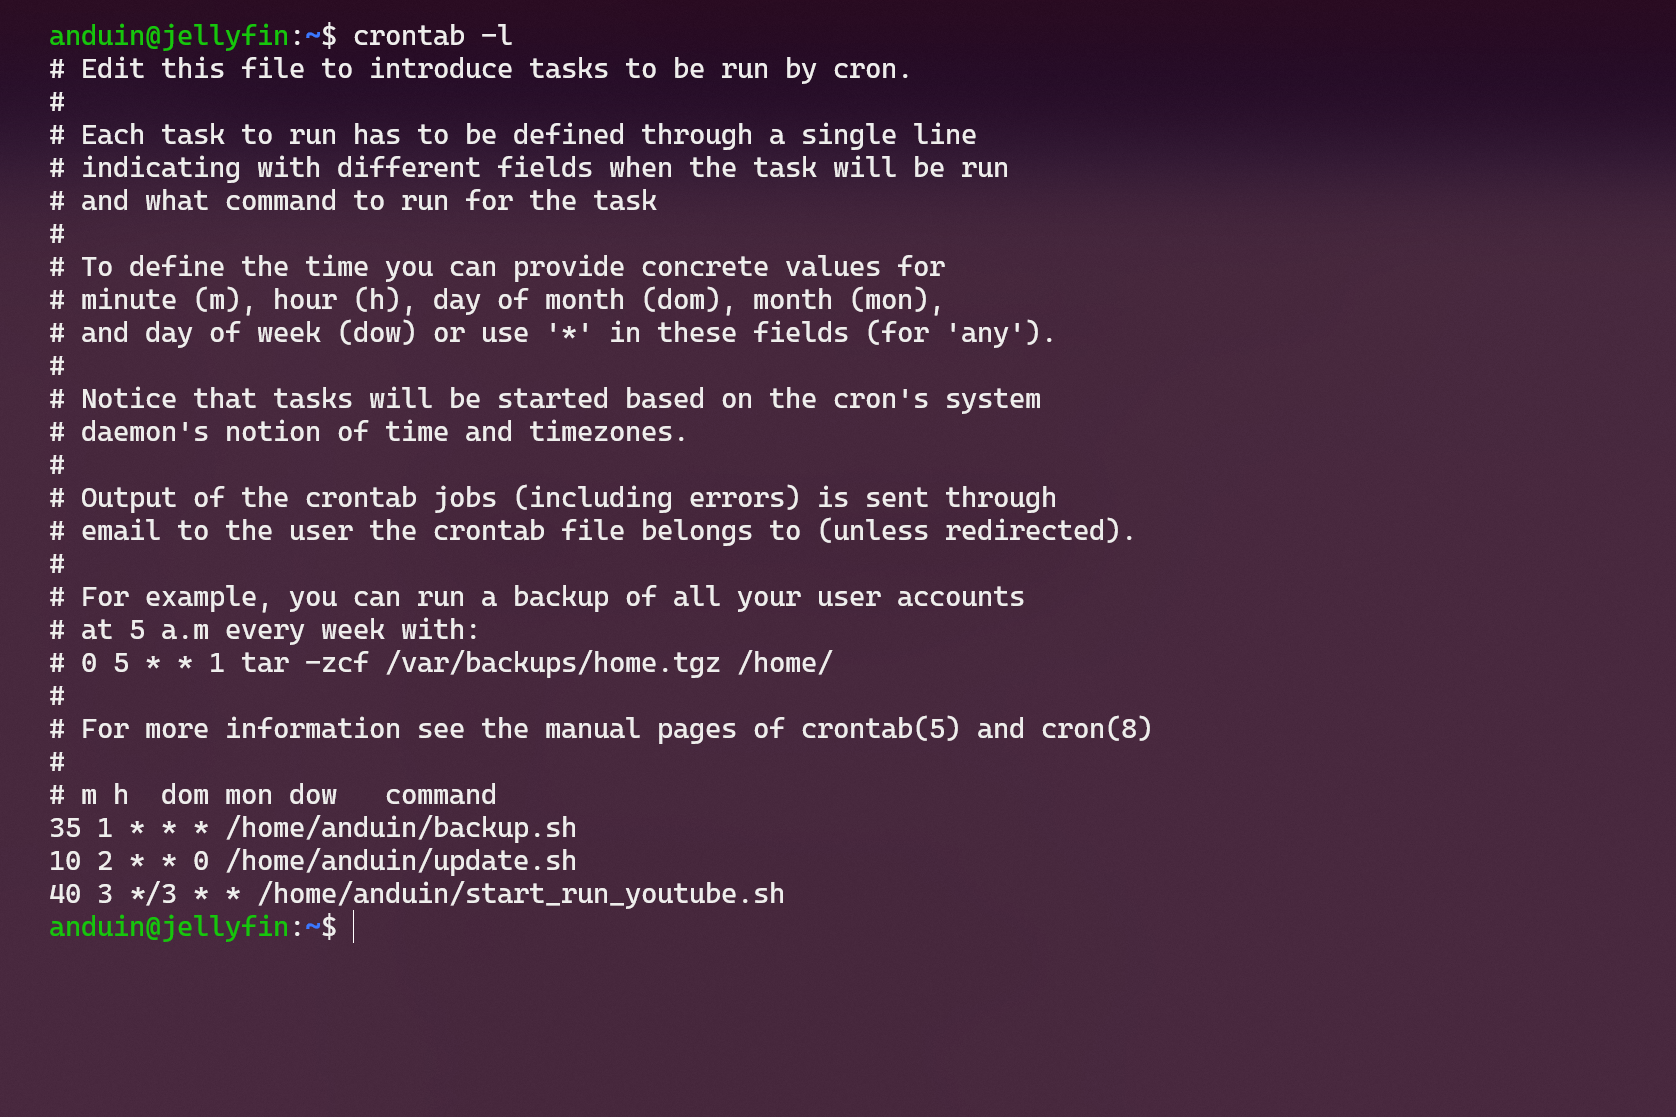
You can use crontab to run the script regularly.
crontab -e
And then add the following line to the crontab file:
40 3 */3 * * /home/<YOUR-USER-NAME>/run_youtube.sh
That will run the script every 3 days at 3:40 AM.
Of course, you can change the time to whatever you want.
Step 5 - Install Jellyfin
You can install Jellyfin by running the following command:
sudo apt update
sudo apt install apt-transport-https

wget -O - https://repo.jellyfin.org/ubuntu/jellyfin_team.gpg.key | sudo apt-key add -
echo "deb [arch=$( dpkg --print-architecture )] https://repo.jellyfin.org/ubuntu $( lsb_release -c -s ) main" | sudo tee /etc/apt/sources.list.d/jellyfin.list

sudo apt update
sudo apt install jellyfin
After the installation, you can access Jellyfin by visiting http://<your-server-ip>:8096.
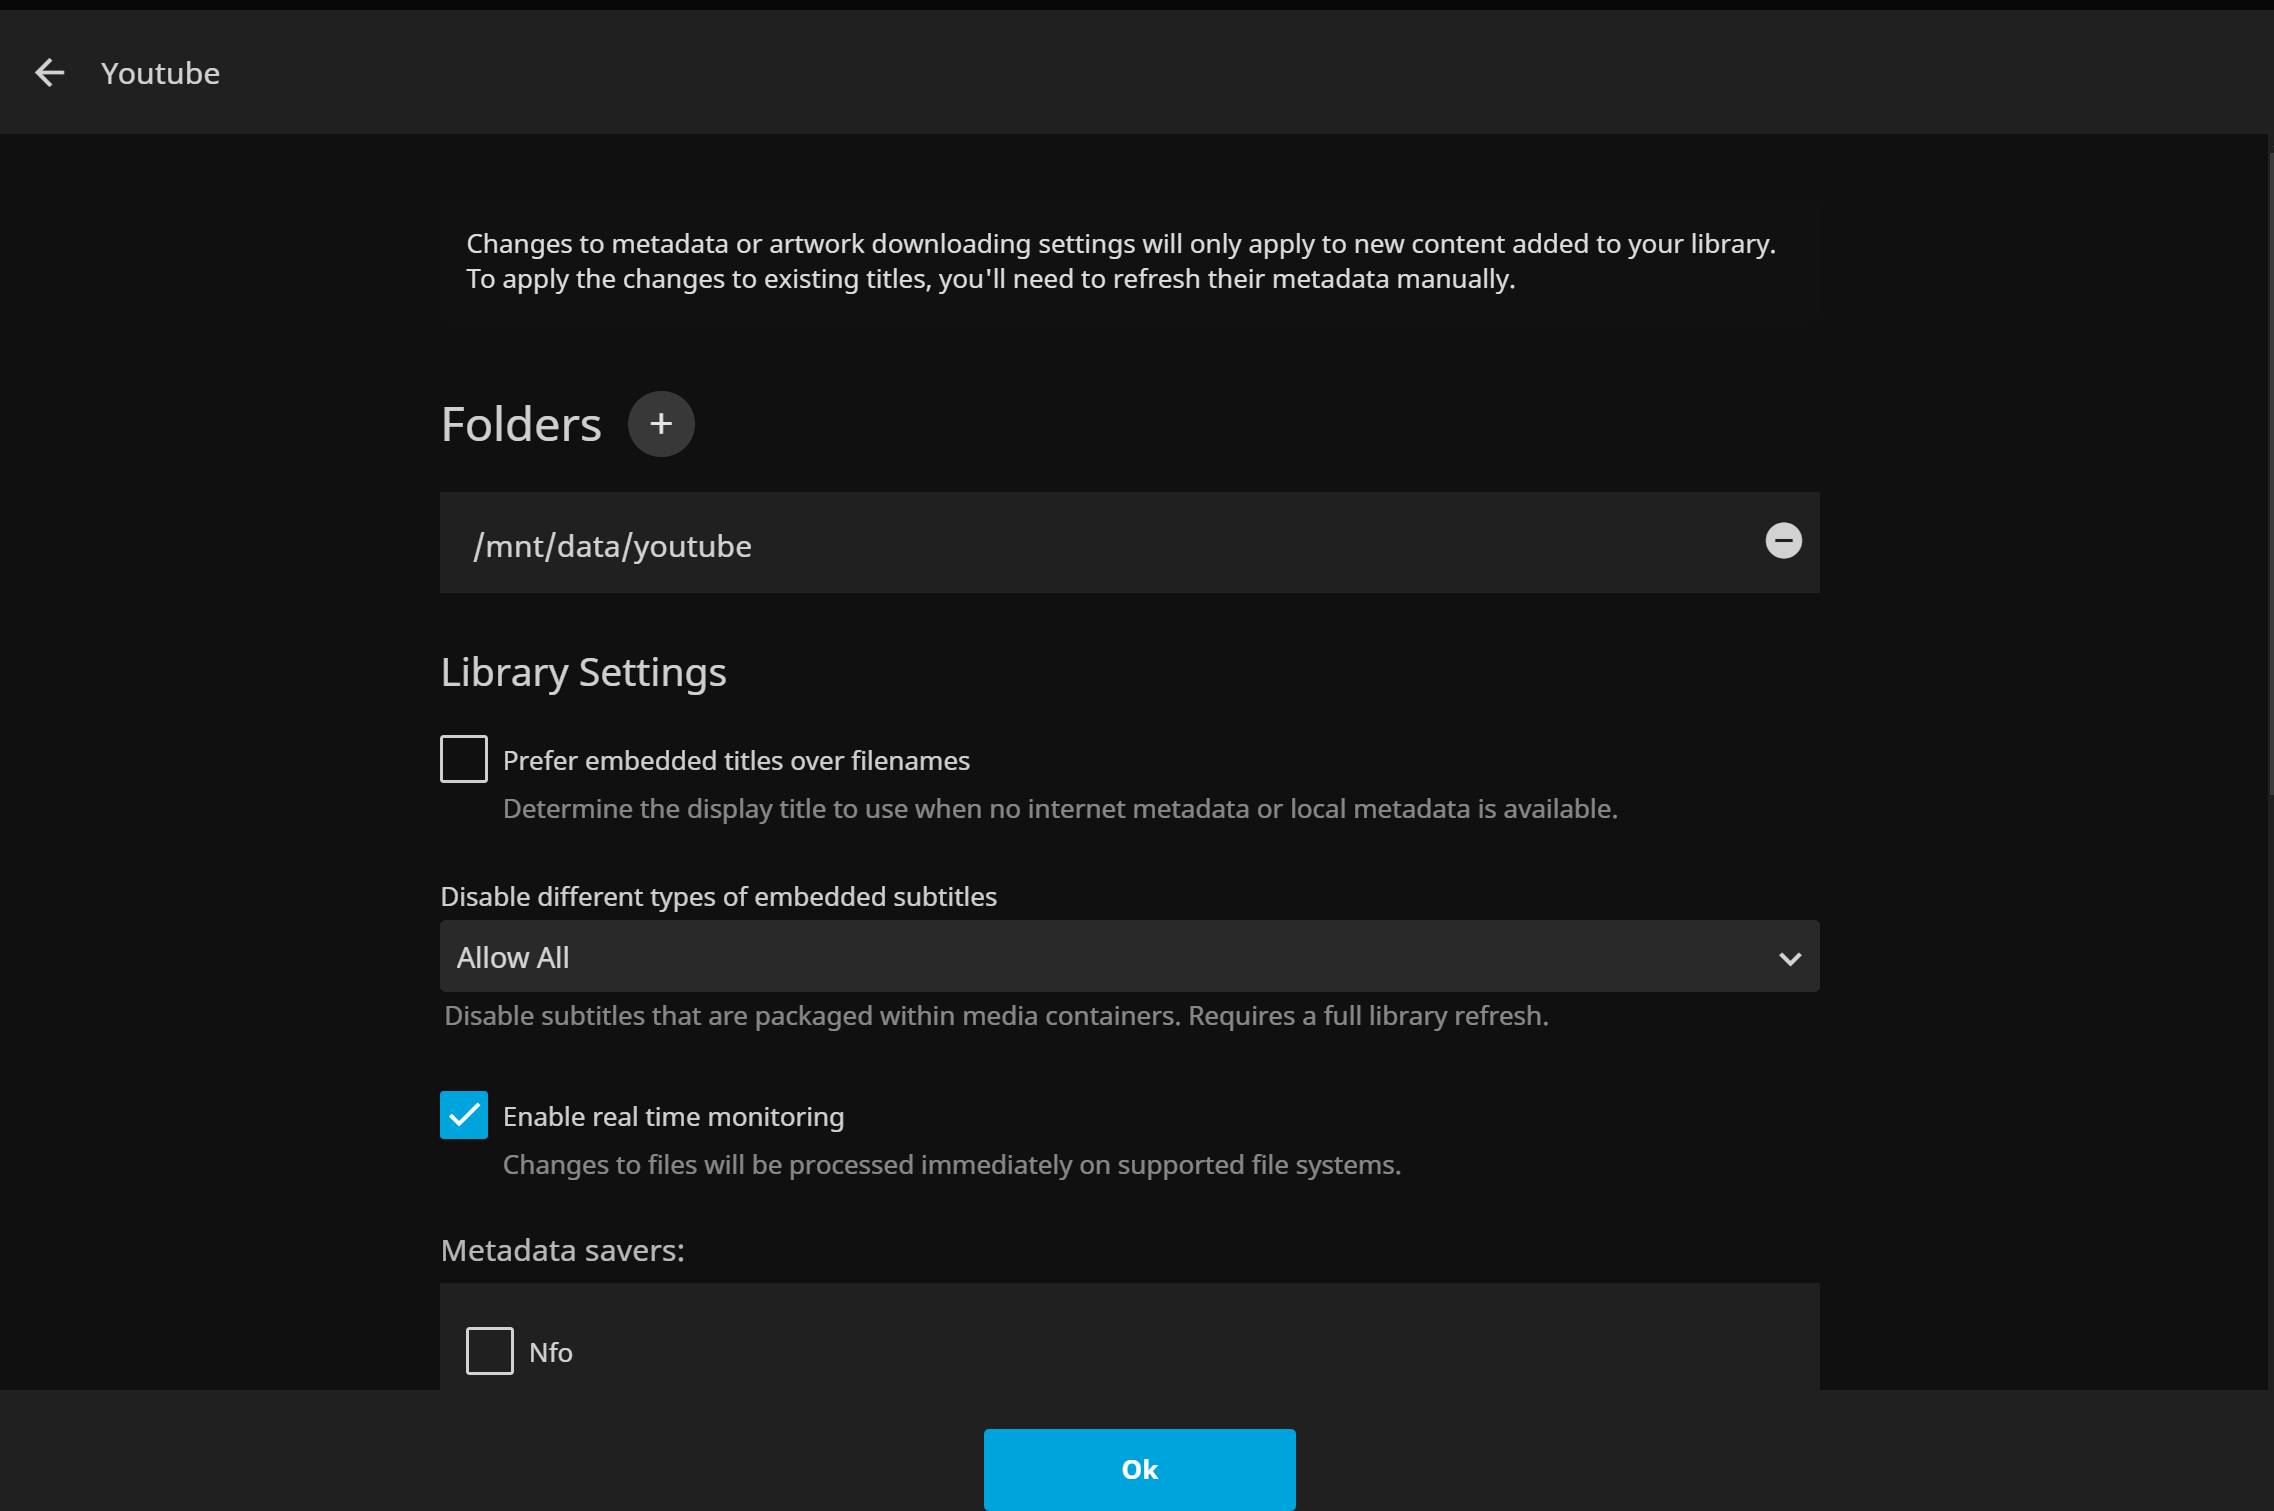
Step 6 - Add the video folder to Jellyfin
You can add the video folder to Jellyfin by visiting http://<your-server-ip>:8096/web/index.html#!/dashboard.
Click the Add Media Library button and select the folder you created.
The path of the folder should be /mnt/data/youtube.
Step 7 - Enjoy
Now you can watch the videos on your own server without ads.
You can also use Jellyfin app to watch the videos on your phone, tablet, or TV.

Step 8 - Play with other players like VLC
You can also use other players like VLC to watch the videos.
But before doing that, you need to expose the video folder to the Internet via a web server.
You can use Aiursoft.Static to do that.
To install Aiursoft.Static, you can run the following command:
sudo apt update
sudo apt install dotnet8
sudo dotnet tool install Aiursoft.Static --tool-path /opt/static || sudo dotnet tool update Aiursoft.Static --tool-path /opt/static
sudo chmod +x /opt/static/static
/opt/static/static --help
Then you can run the following command to start the web server:
cd /mnt/data
/opt/static/static --path /mnt/data -p 48466 --allow-directory-browsing --enable-webdav
Now you can use your browser to visit http://<your-server-ip>:48466 to watch the videos in the folder.
Of course, you want to make the web server run in the background.
You can use systemd to do that.
First, create a new service file:
sudo vim /etc/systemd/system/static.service
And then write the following content to the file:
[Unit]
Description=Serves static files for '/mnt/data' on port 48466
After=network.target
Wants=network.target

# Before starting, run:
# find /mnt/data -type d -print0 | sudo xargs -0 chmod 0777
# find /mnt/data -type f -print0 | sudo xargs -0 chmod 0666
# So www-data user can read the files
[Service]
User=www-data
Type=simple
Restart=on-failure
RestartSec=5s
ExecStart=/opt/static/static --path /mnt/data -p 48466 --allow-directory-browsing --enable-webdav --enable-webdav-write
WorkingDirectory=/mnt/data
LimitNOFILE=1048576
KillSignal=SIGINT
Environment="ASPNETCORE_ENVIRONMENT=Production"
Environment="DOTNET_PRINT_TELEMETRY_MESSAGE=false"
Environment="DOTNET_CLI_TELEMETRY_OPTOUT=1"
Environment="ASPNETCORE_FORWARDEDHEADERS_ENABLED=true"

[Install]
WantedBy=multi-user.target
Now you can start the service:
sudo systemctl enable static
sudo systemctl start static
sudo systemctl status static
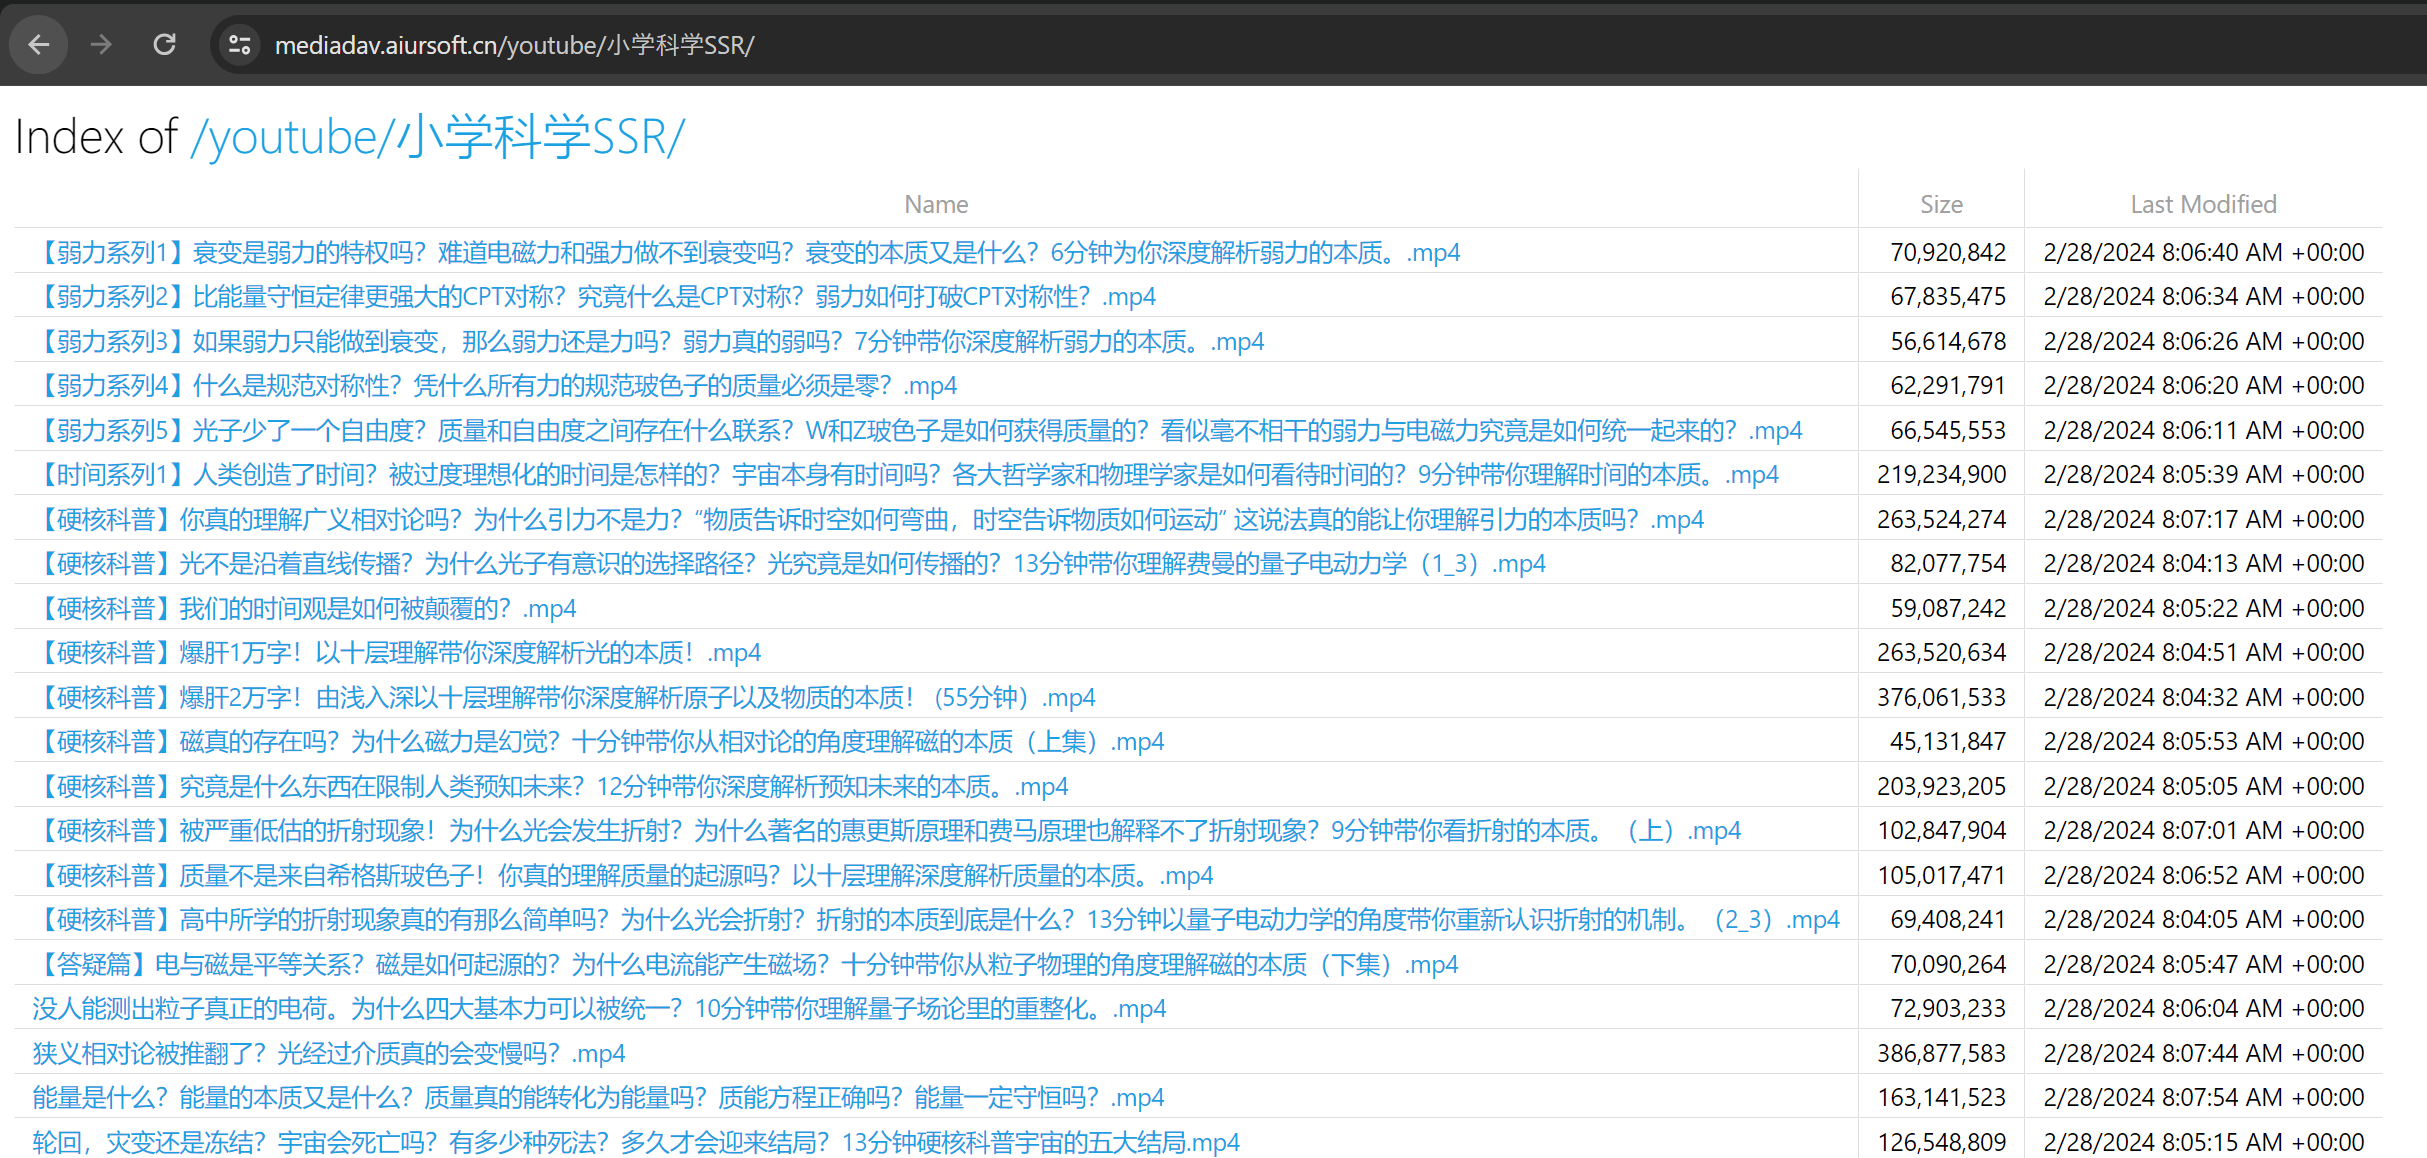
Now you can use your browser to visit http://<your-server-ip>:48466 to watch the videos in the folder.
To watch the videos in VLC, you can copy the video URL and paste it into VLC.
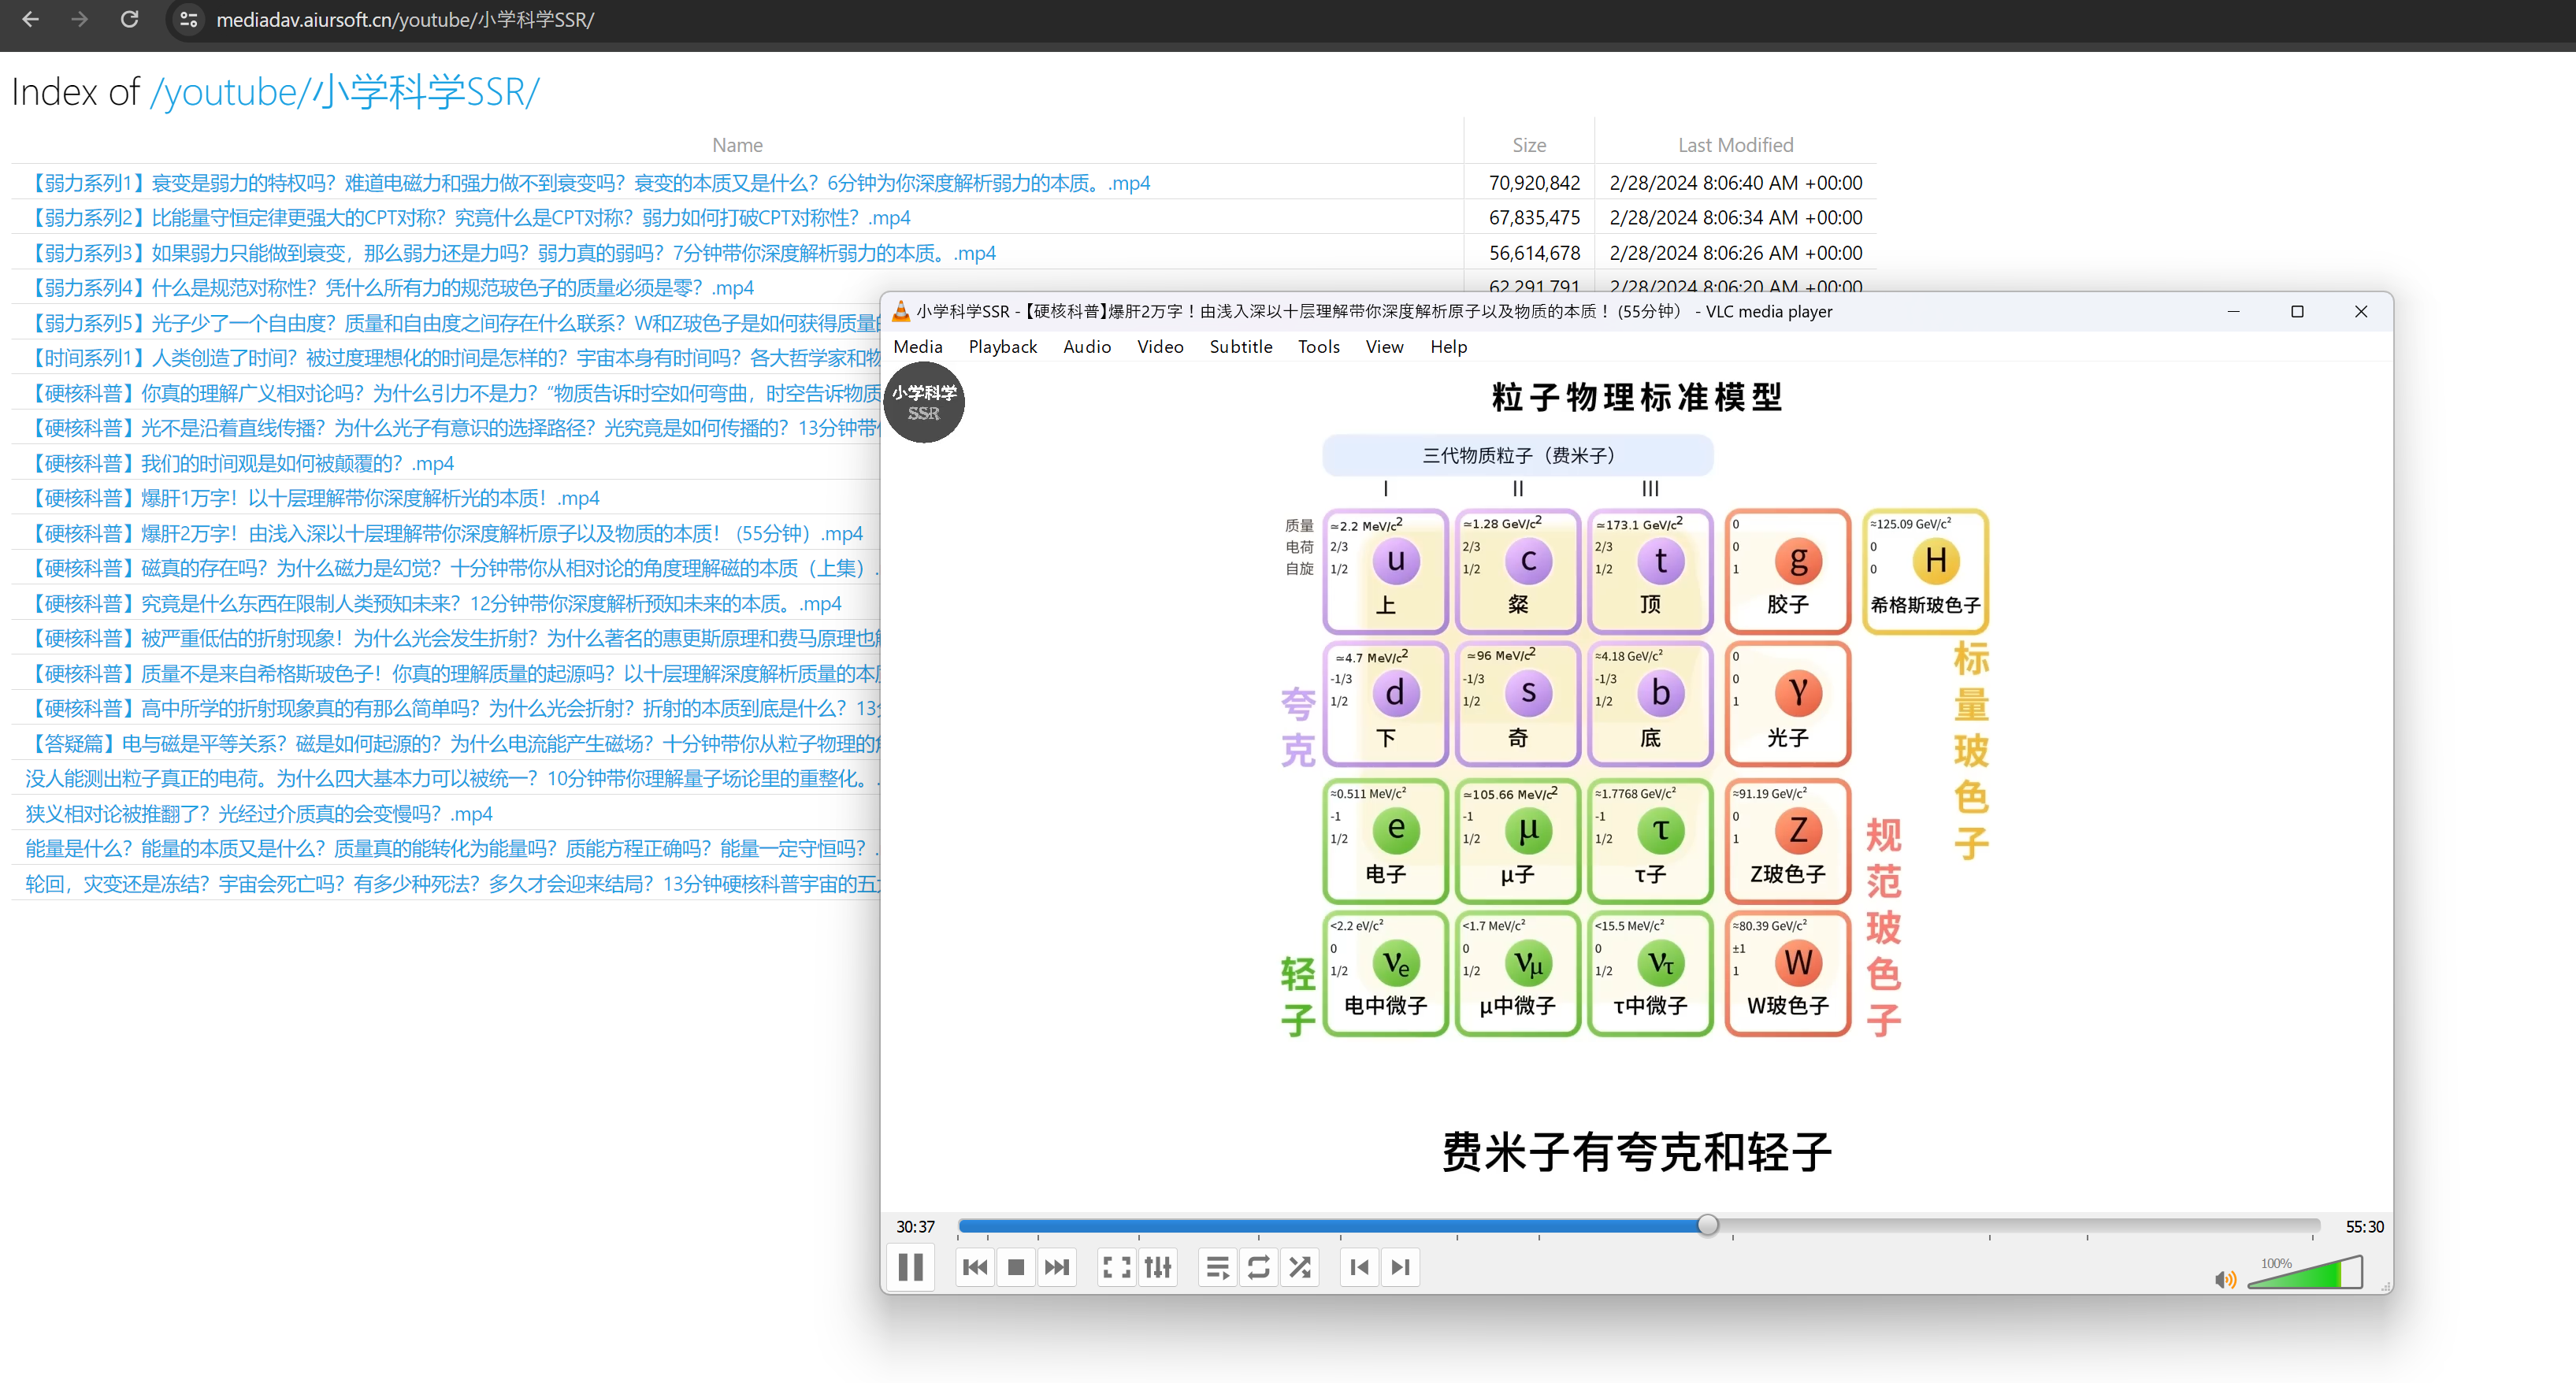
Enjoy!
这篇文章详细介绍了通过搭建私有服务器镜像YouTube频道以实现无广告观看体验的完整方案,内容结构清晰且步骤详实,体现了作者对技术实践的深入思考。以下从核心价值、亮点与改进空间三个维度展开讨论:
核心价值与亮点:
改进空间:
安全策略优化:
技术选型更新:
pip install yt-dlp安装。容错与稳定性:
--retries参数与日志记录功能。df -h定期检查脚本或设置inotify空间告警。扩展性考量:
潜在风险提示:
sleep间隔(如sleep 10s)。文章对私有媒体服务器的构建流程具有重要参考价值,若能结合容器化技术(如Docker Compose)进一步简化部署流程,将显著提升方案的可推广性。期待作者后续分享如何通过API自动化频道同步、构建P2P分发网络等进阶实践。
这篇文章详细地介绍了如何在自己的服务器上搭建一个无广告的YouTube视频播放环境,并提供了从安装软件到配置服务的全面指导。作者通过使用开源工具如Jellyfin和Aiursoft.Static,成功实现了视频存储、管理和流媒体的功能。整个过程条理清晰,步骤明确,非常适合有一定技术基础的读者尝试。
对于那些希望摆脱平台限制、拥有个人化内容管理需求的用户来说,这种自建方案无疑是一个很好的选择。同时,文中提到的自动化下载和定时更新机制,也展示了如何将日常使用与技术手段相结合,提高效率。通过Jellyfin,视频不仅可以在本地服务器上观看,还能借助其移动应用扩展到各种设备,极大地提升了便利性。
值得注意的是,文章中还涉及到了安全性和权限管理的问题,例如在配置WebDAV时调整文件和目录的访问权限。这提示我们在实际操作中需要特别注意数据的安全,避免因权限设置不当导致的信息泄露或被篡改的风险。
另外,文中提到的使用Aiursoft.Static作为静态文件服务器,并通过WebDAV实现文件管理,是一个创新且实用的方法。这种方法不仅能够方便地通过浏览器访问视频资源,还支持离线播放和多设备同步,进一步增强了整个系统的功能性和用户体验。
对于有意向尝试自建媒体中心的读者来说,这篇文章提供了一个完整的参考方案,涵盖了从硬件准备到软件配置的各个环节。同时,作者在文中提到的可能遇到的问题及解决方法,也为读者提供了宝贵的经验分享。
总的来说,这篇文章不仅是一份详细的教程指南,更是一种启发,展示了如何通过开源工具和技术创新来实现个人化的数字生活管理。对于那些对技术有兴趣,并希望掌控自己数字资产的用户来说,这无疑是一个值得尝试的方向。
这个方法只适用于已知channels,查看订阅的博主。但另一方面为了打破信息茧房,又不得不获取不同的声音。
This is a very detailed guide on how to mirror YouTube channels and watch videos with the best experience. The author provides step-by-step instructions on how to set up a server, download videos from YouTube channels, and stream them on Jellyfin or other media players like VLC. The author also includes useful tips on how to avoid rate limiting and how to expose the video folder to the Internet via a web server.
One of the strengths of this guide is its thoroughness. The author provides detailed explanations and screenshots for each step, making it easy for readers to follow along. The author also includes useful tips and warnings throughout the guide, such as the need to avoid rate limiting and the importance of exposing the video folder to the Internet securely.
One area where this guide could be improved is in its organization. The guide covers a lot of ground, and it might be helpful to break it up into smaller sections or to provide a summary at the beginning or end of each section. Additionally, the guide assumes a certain level of technical knowledge, so it might be helpful to include more explanations or definitions for readers who are less familiar with the terminology.
Overall, this is a helpful guide for anyone looking to mirror YouTube channels and watch videos without ads. The author provides detailed instructions and useful tips, and the guide is well-written and easy to follow.