What will this article talk about?
A lot of my friends are trying to run Android apps on Windows 11. Looks like Microsoft's demo is pretty cool. But soon we found out that Microsoft only promised to run apps from the Amazon app store. And the apps in the Amazon app store are very scarce.
We are very much looking forward to being able to run custom Apks. Or even go a step further, install apps directly from Google Play.
You need to:
- Prepare the Windows devices to get ready for Android subsystem.
- Enable Android subsystem via downloading the Amazon App Store.
- Use
adbto connect and manage your Android subsystem. - Learn to deploy a custom
.apkfile - Learn to manage and uninstall a custom Android package.
- Learn to install Google Play.
- Fix Internet connection.
Prepare
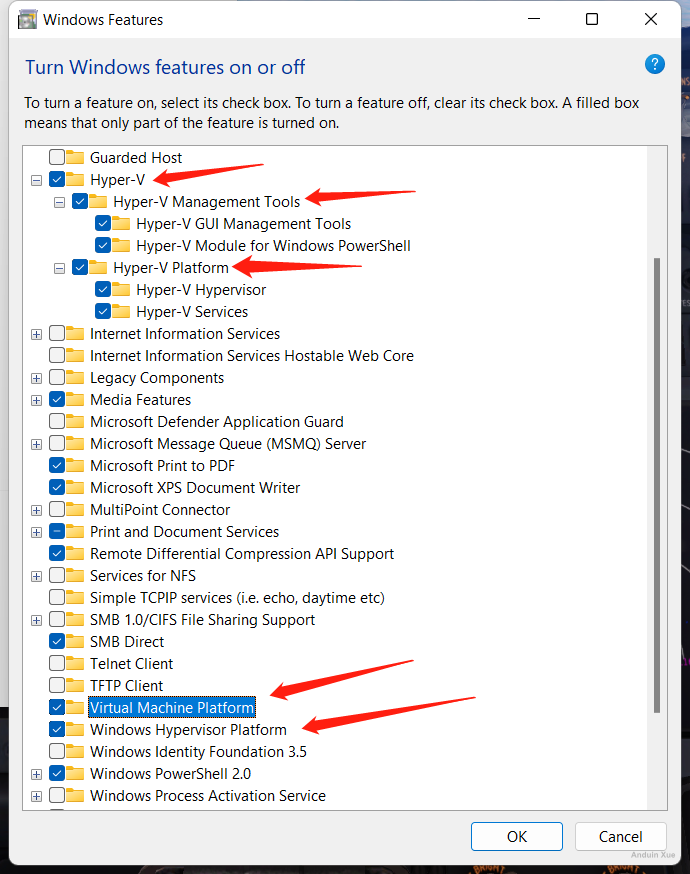
Before getting started, you need to make sure your computer supports virtualization.
You MUST enable Hyper-V featurs.
You can do that via opening Windows Features. Or running PowerShell:
Enable-WindowsOptionalFeature -Online -FeatureName Microsoft-Hyper-V -All -NoRestart
Enable-WindowsOptionalFeature -Online -FeatureName HypervisorPlatform -All -NoRestart
Enable-WindowsOptionalFeature -Online -FeatureName VirtualMachinePlatform -All -NoRestart
Write-Host "Enabled!"
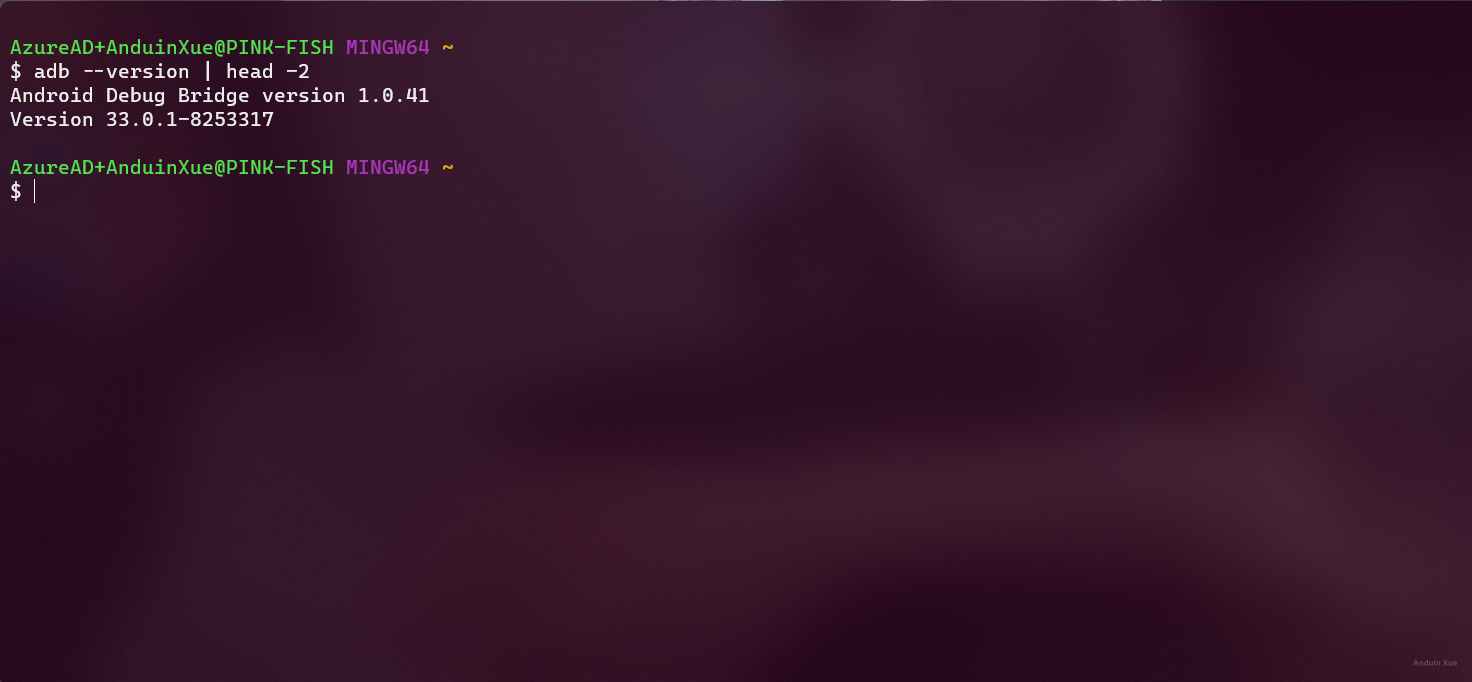
And make sure you have adb installed ready. You can download adb here:
https://dl.google.com/android/repository/platform-tools-latest-windows.zip
After downloading, add the unzipped folder to environment variables. Make sure adb runs locally.
Enable
Now go to Microsoft app store. Enable WSA now. You can search Amazon and result will be shown.
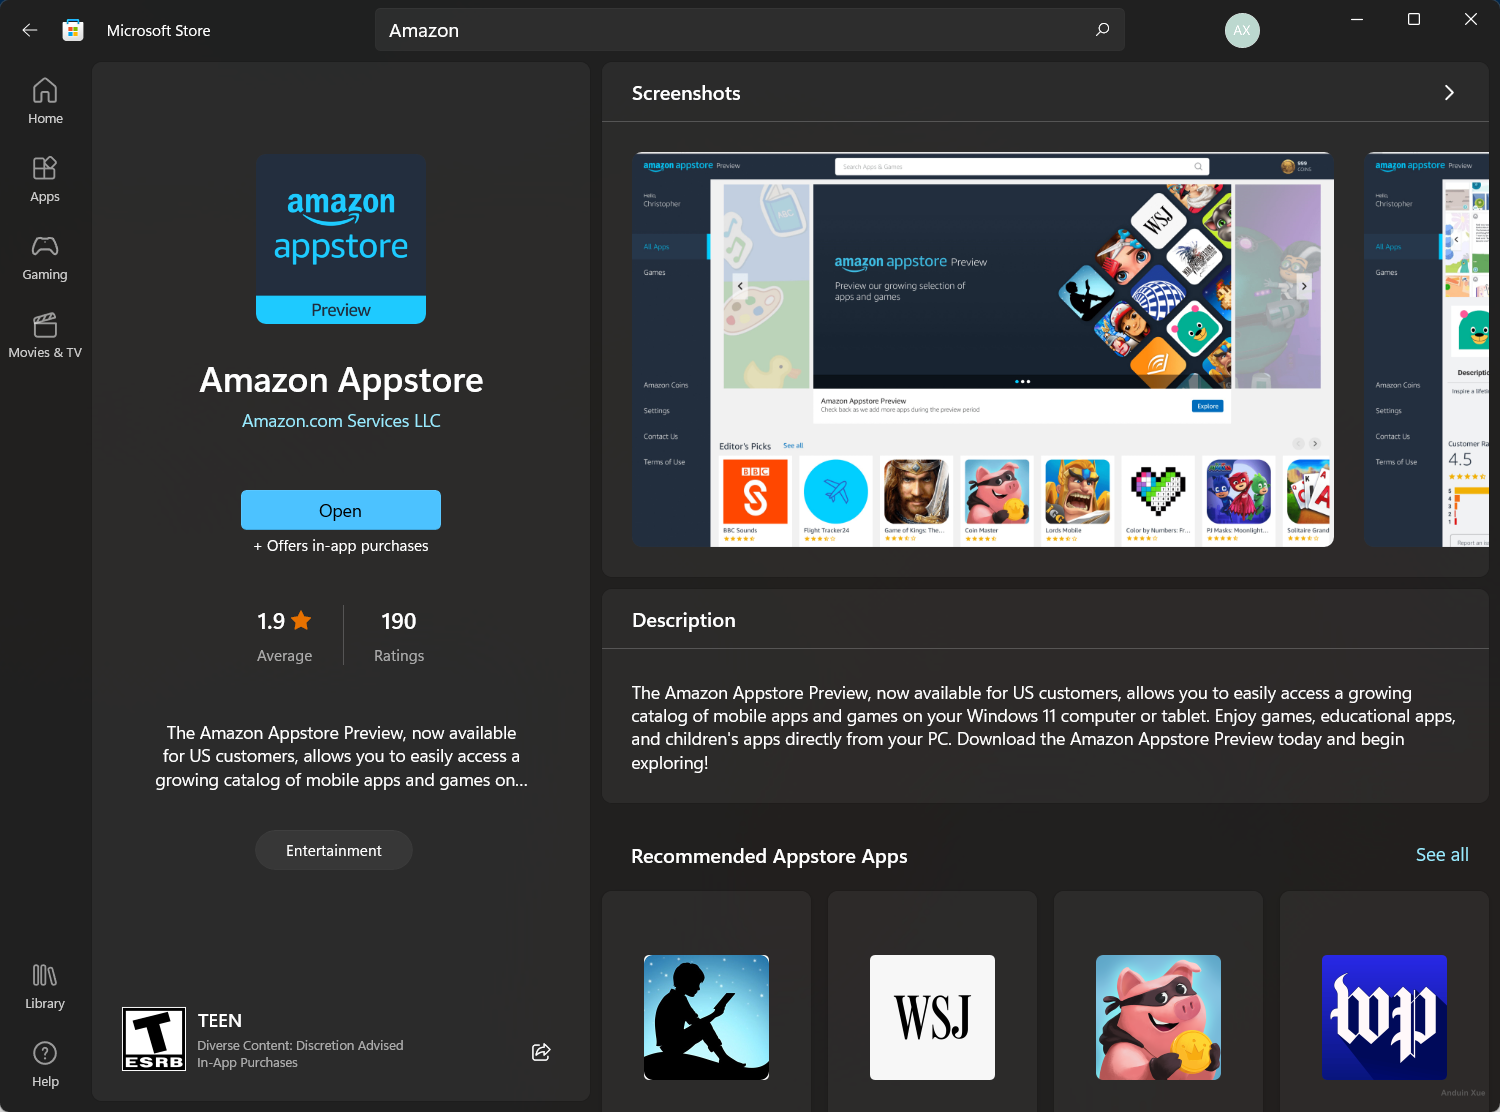
Install that Amazon app store. While installing, Windows 11 will enable WSA feature, and may reboot.
(This WSA distribute does NOT support Google Play services. You can skip this step if you need Google Play)
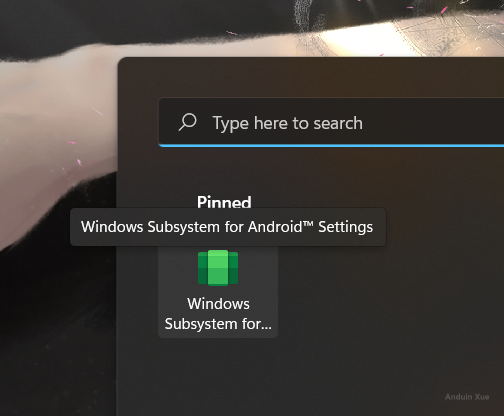
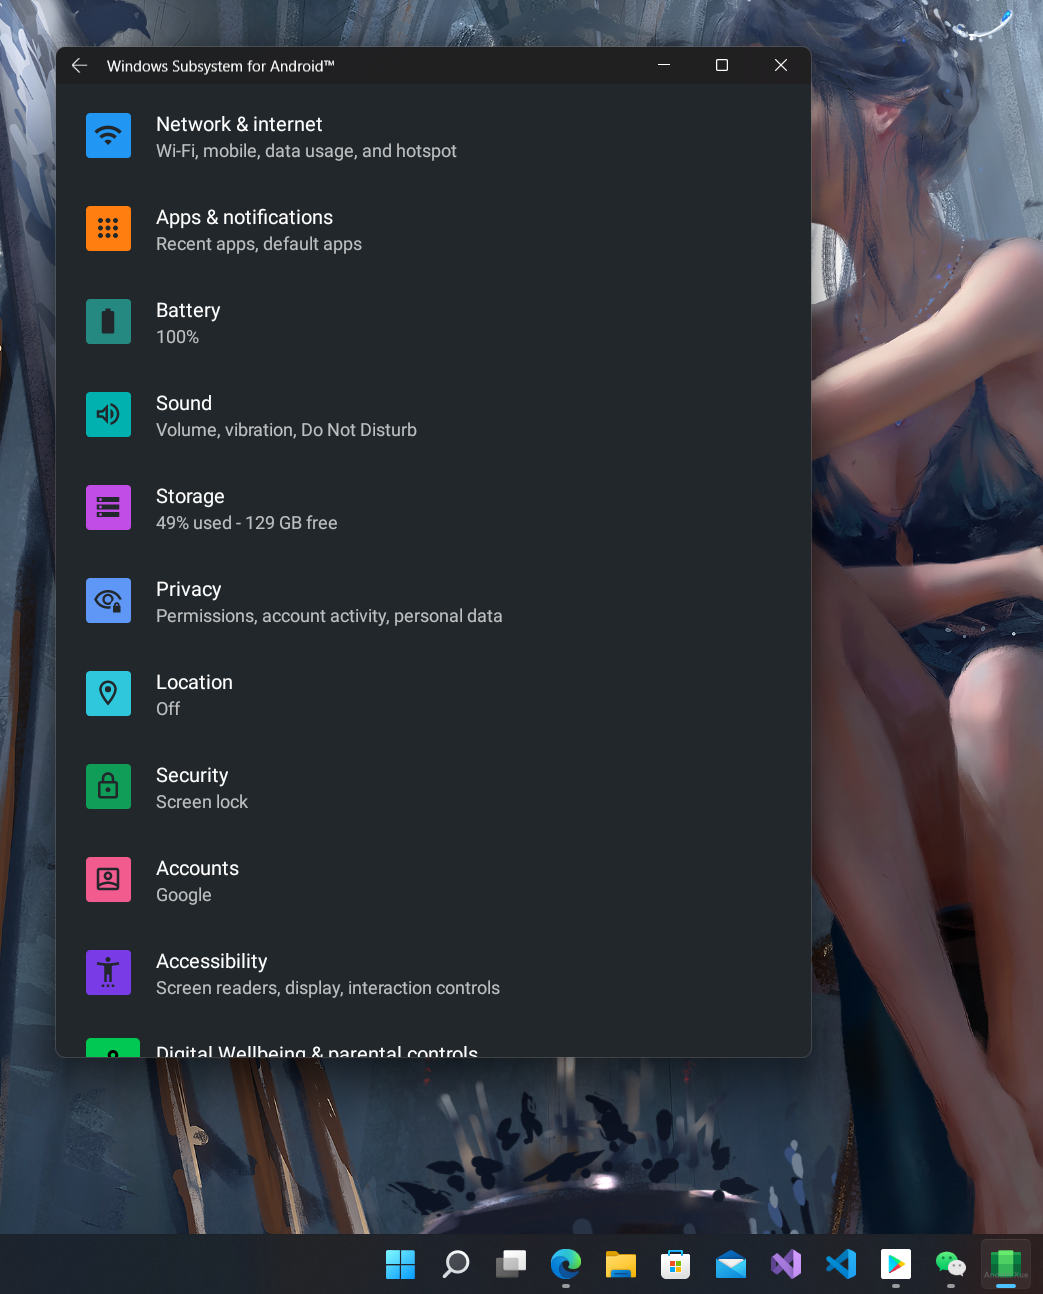
After installing, you can see Windows subsystem for Android settings in your start menu.
Connect and manage
Make sure the subsystem is started by clicking the Amazon app store or any Android apps.
Enable the developer mode for your subsystem in the settings app:
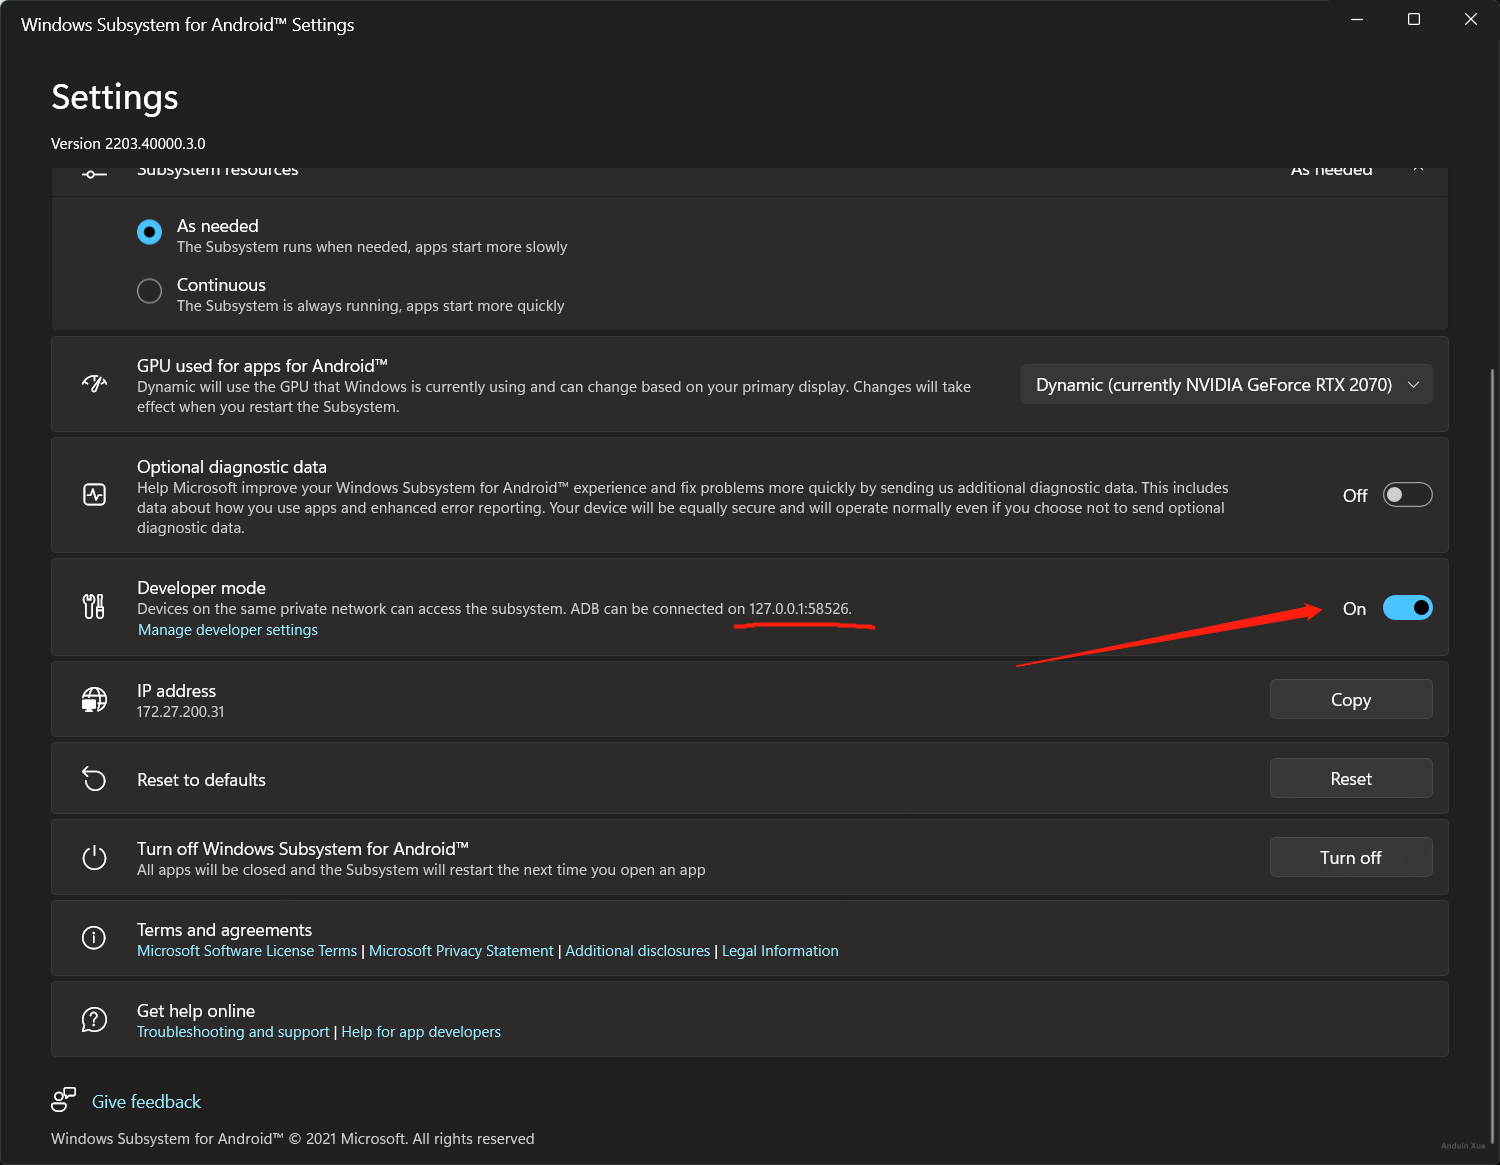
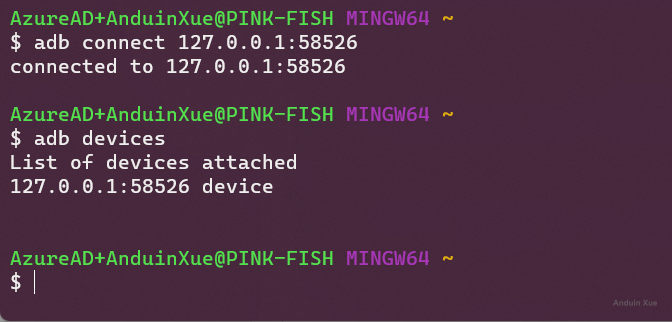
Now you can use adb to connect to the subsystem.
$ adb connect 127.0.0.1:58526
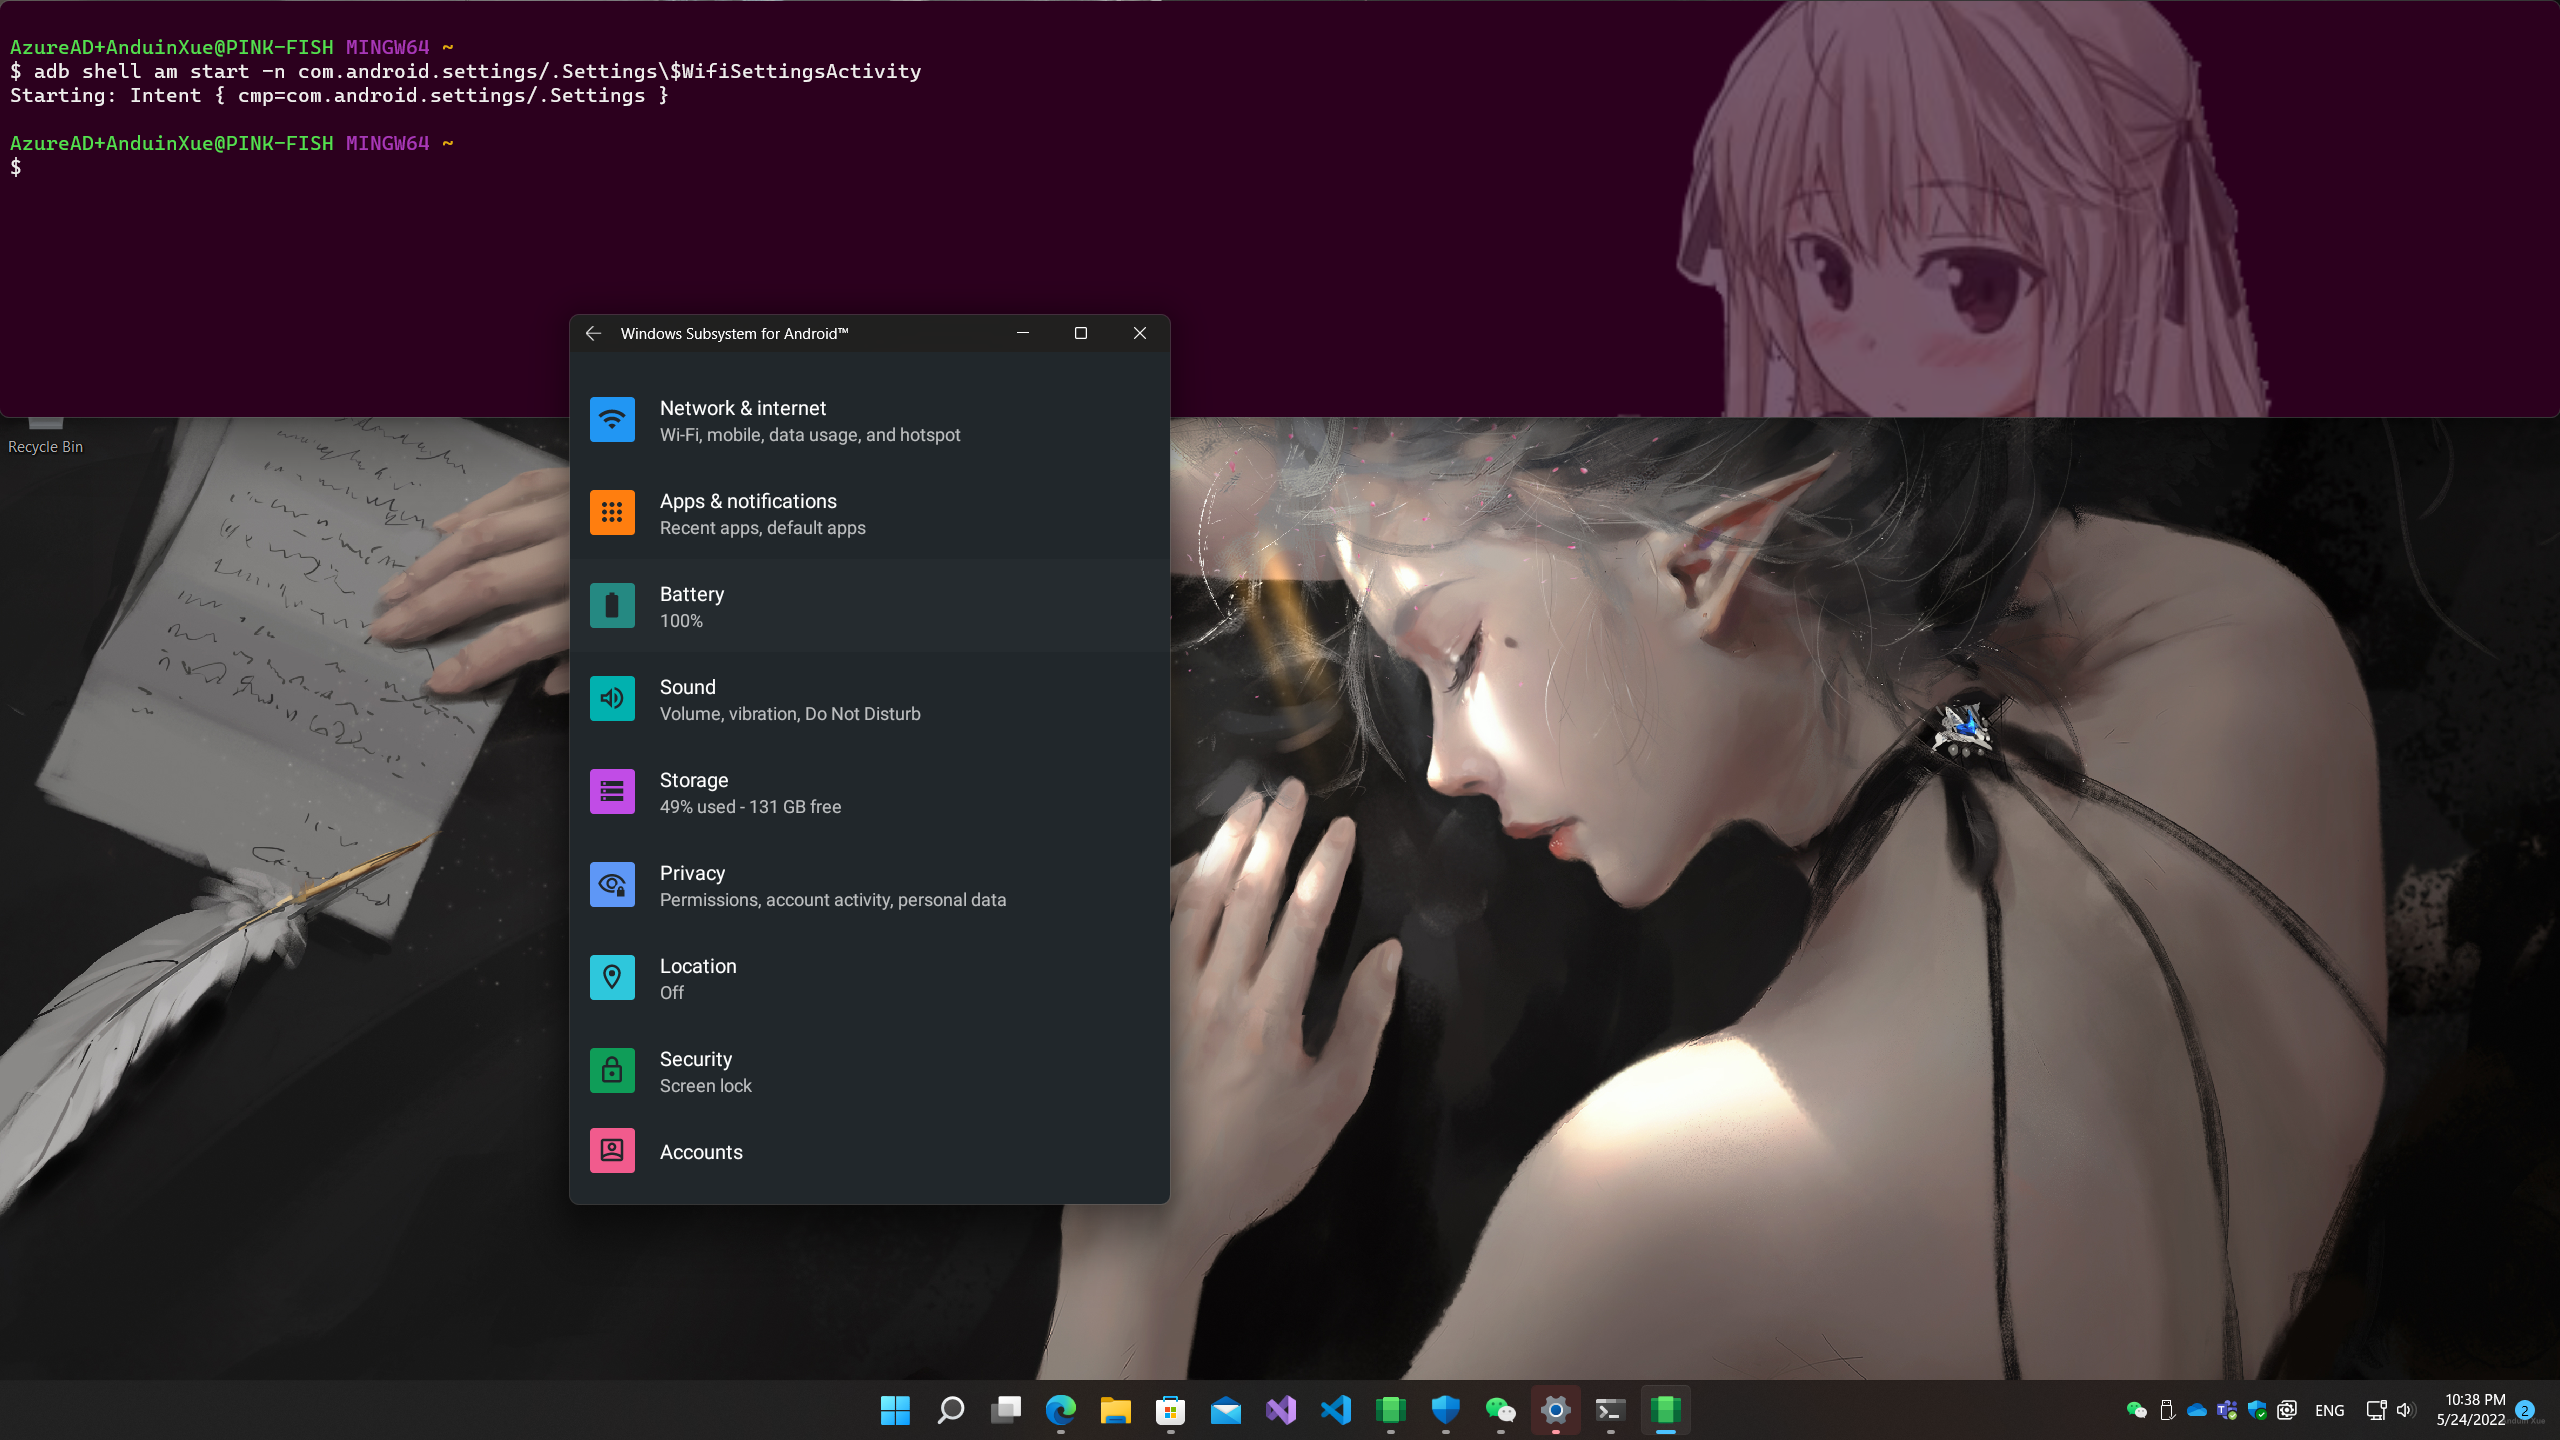
And you can open Android native settings app via running:
$ adb shell am start -n com.android.settings/.Settings\$WifiSettingsActivity
You may try this if that is not working:
adb shell am start -a com.android.settings.APPLICATION_DEVELOPMENT_SETTINGS
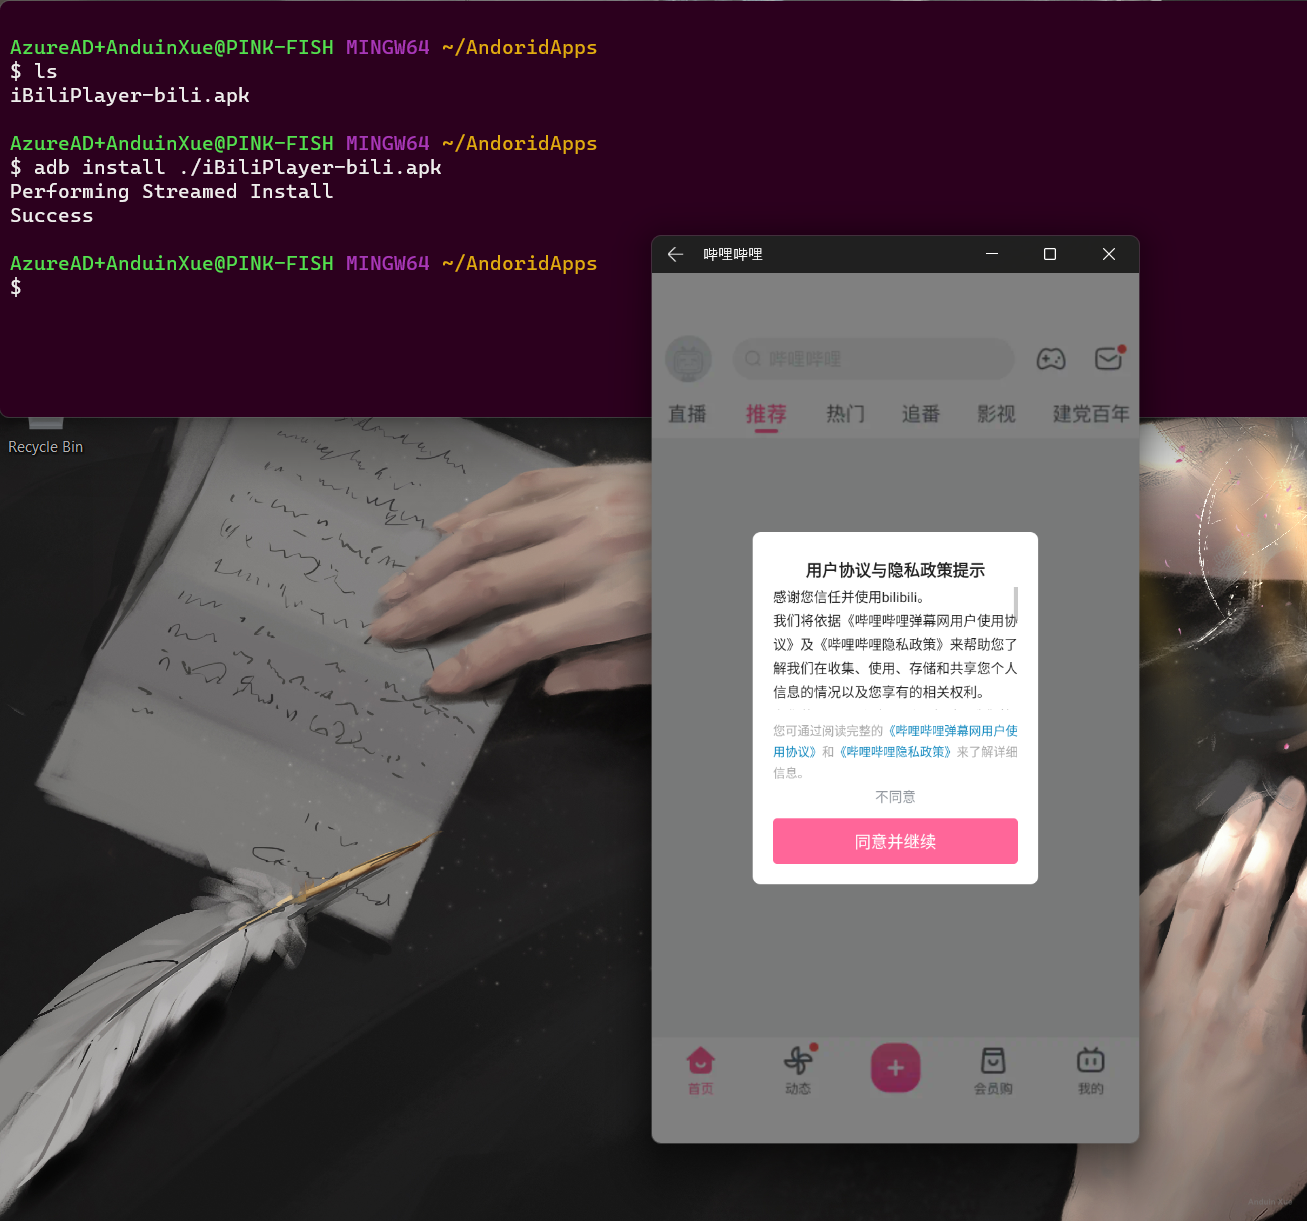
Deploy an apk
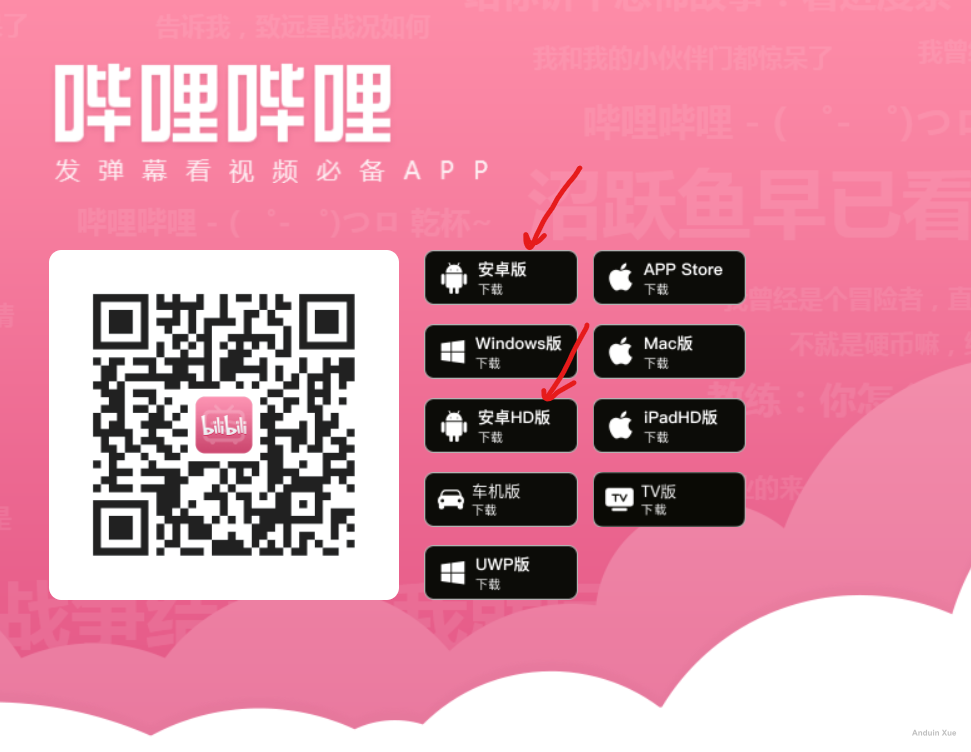
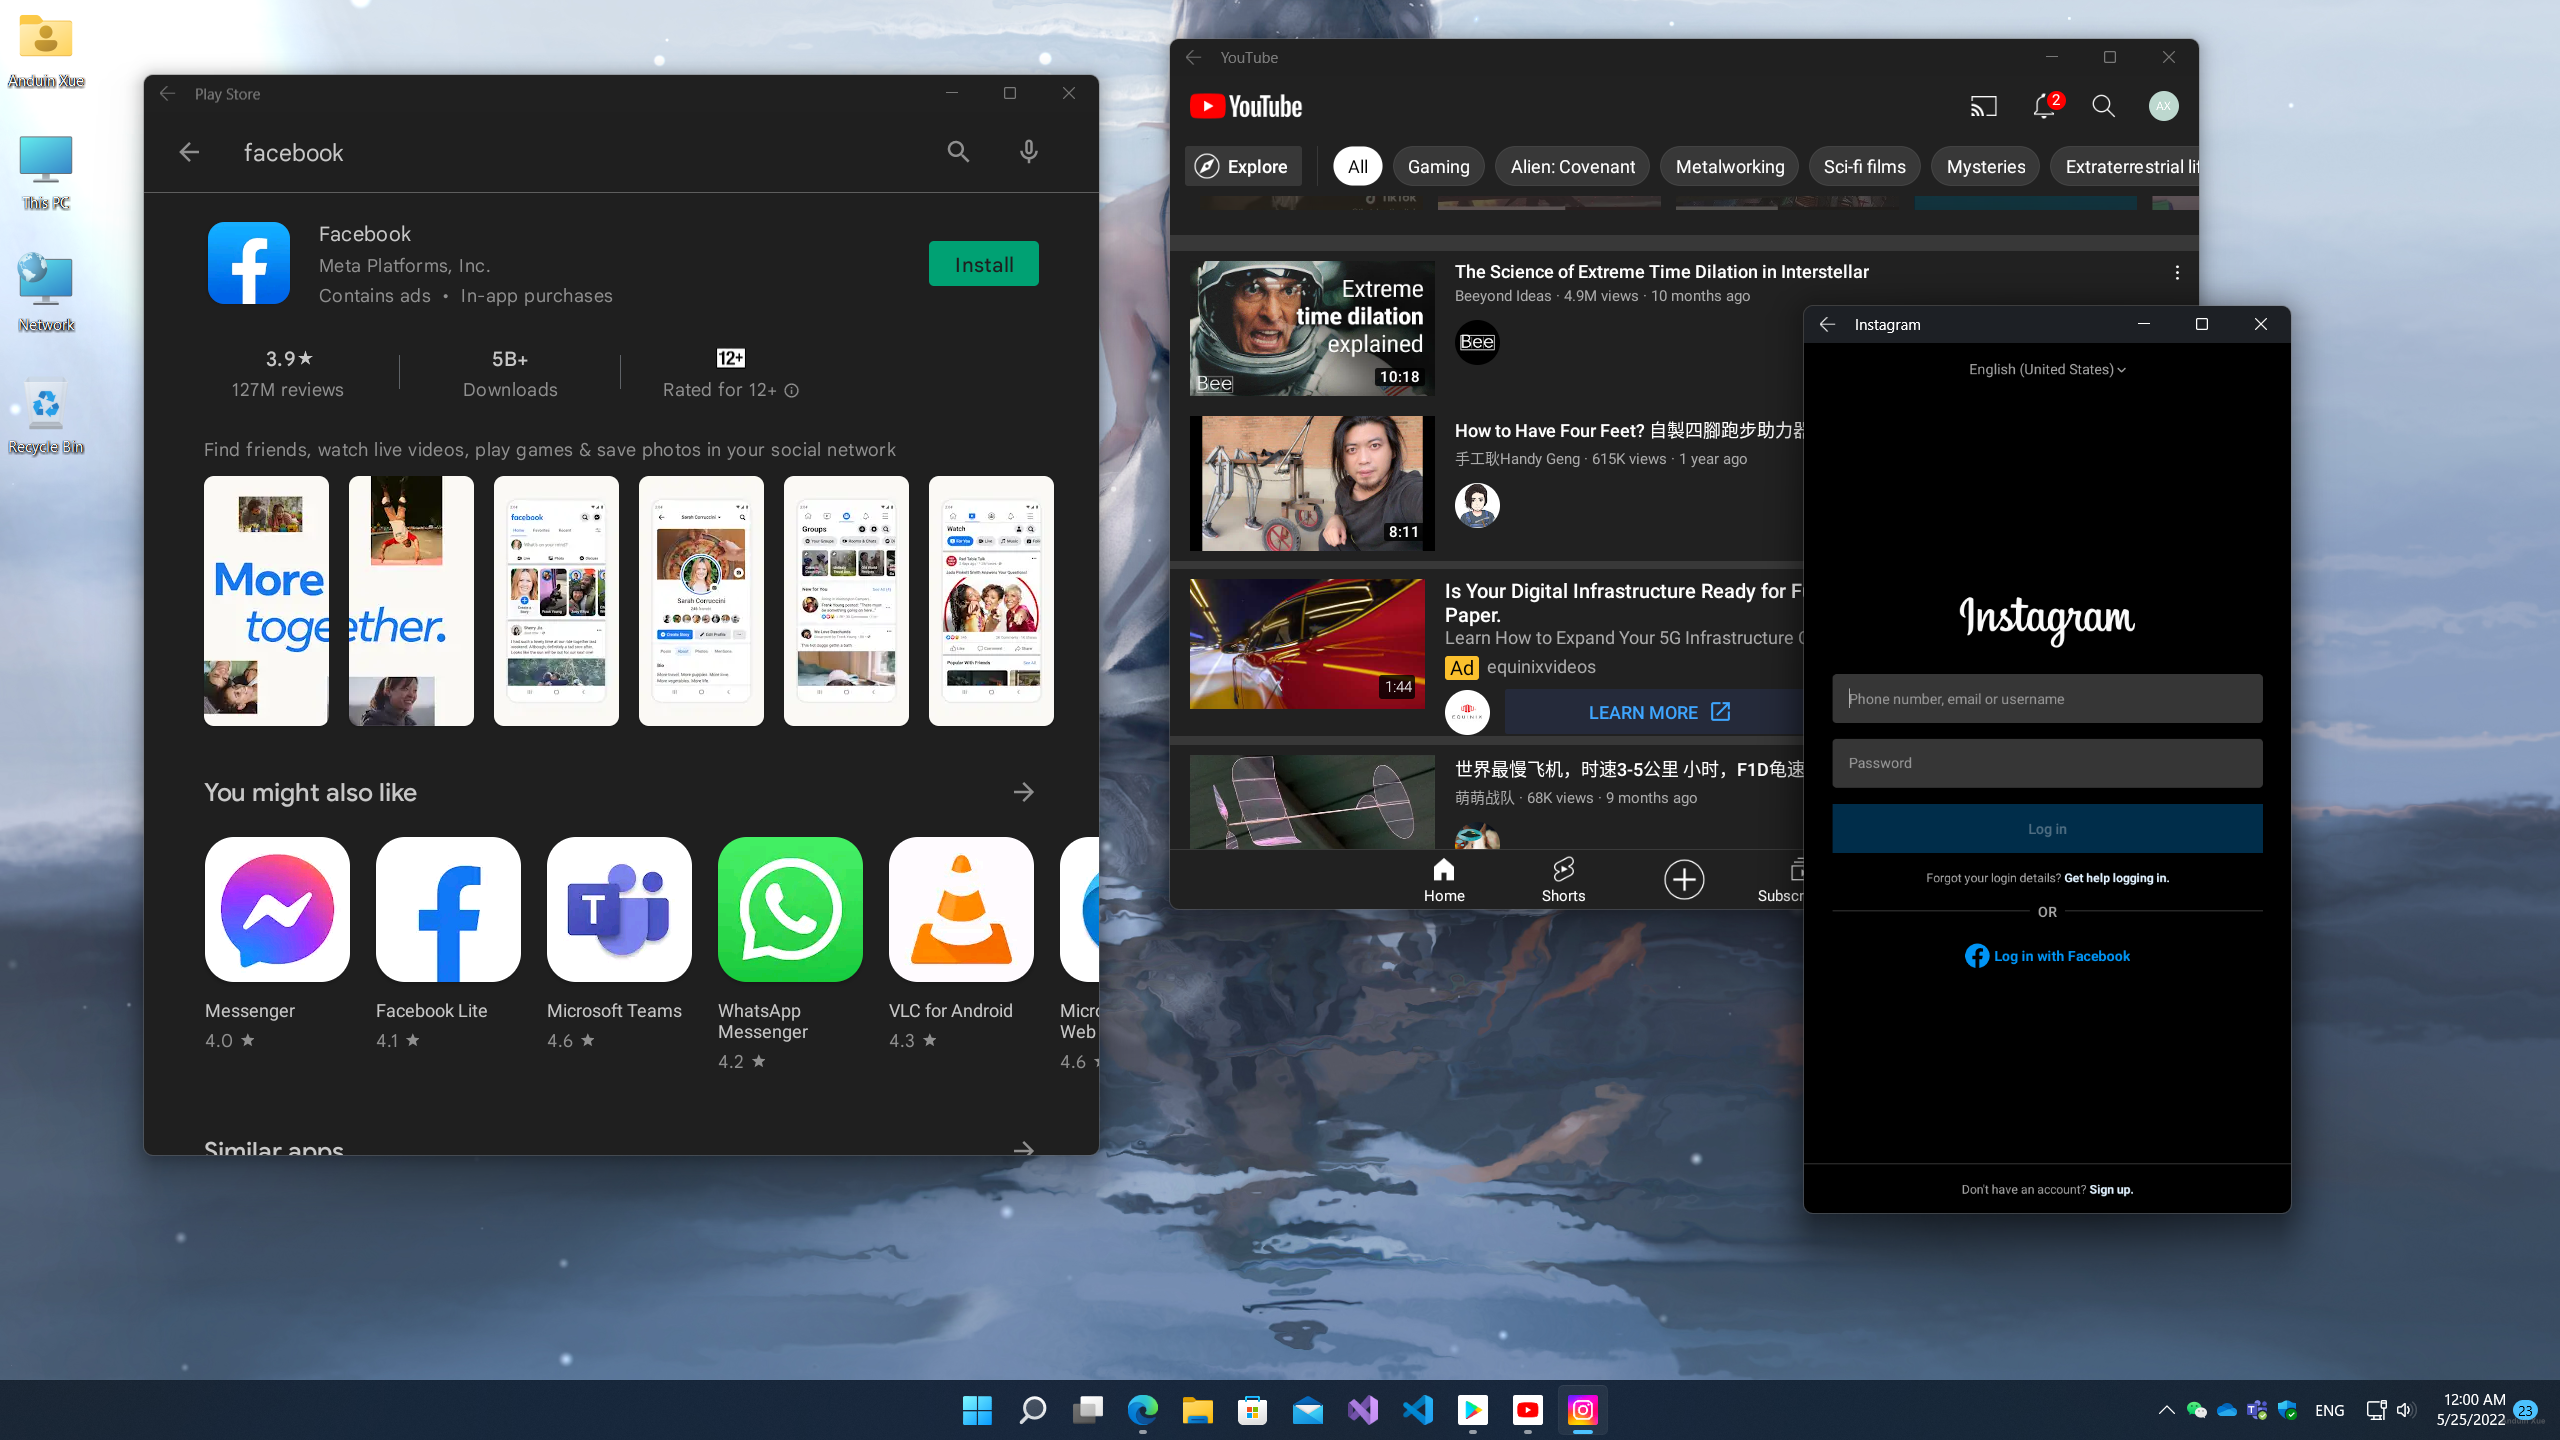
Now you can download an Android application apk. For example, you can download bilibili at: https://app.bilibili.com/
And you can start deployment via:
$ adb install ./iBiliPlayer-bili.apk
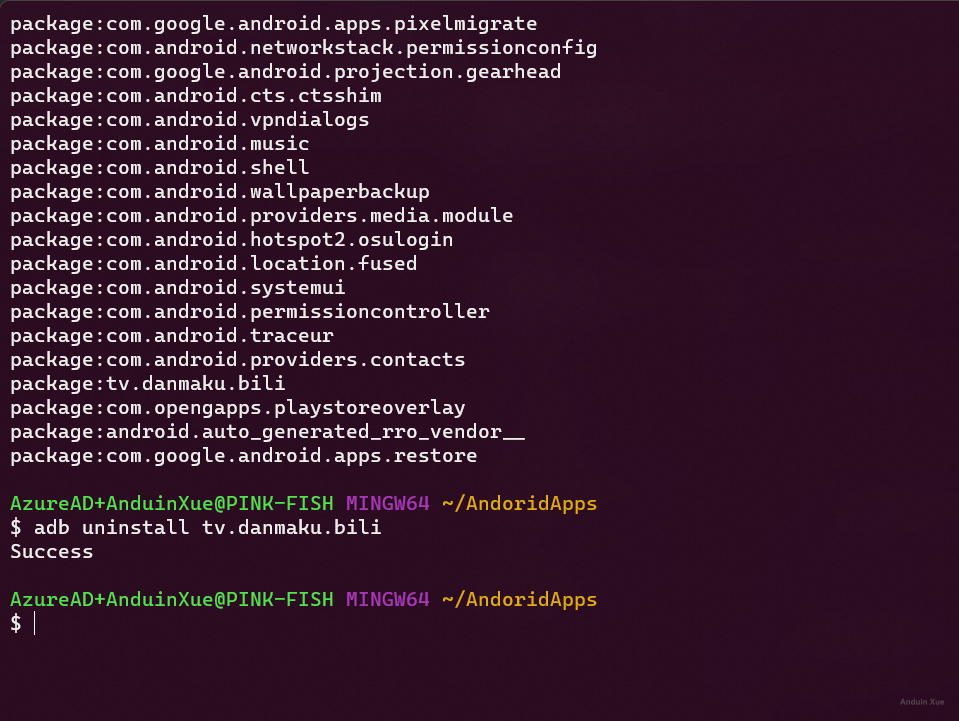
Uninstall an apk
You can run the following command to list all installed packages:
$ adb shell pm list packages
And to uninstall, it's easy. Find the package name first, and then run:
$ adb uninstall 'package.name'
For system apps, you may need this command to uninstall:
# Dangerous to run
$ adb shell pm uninstall -k --user 0 package name
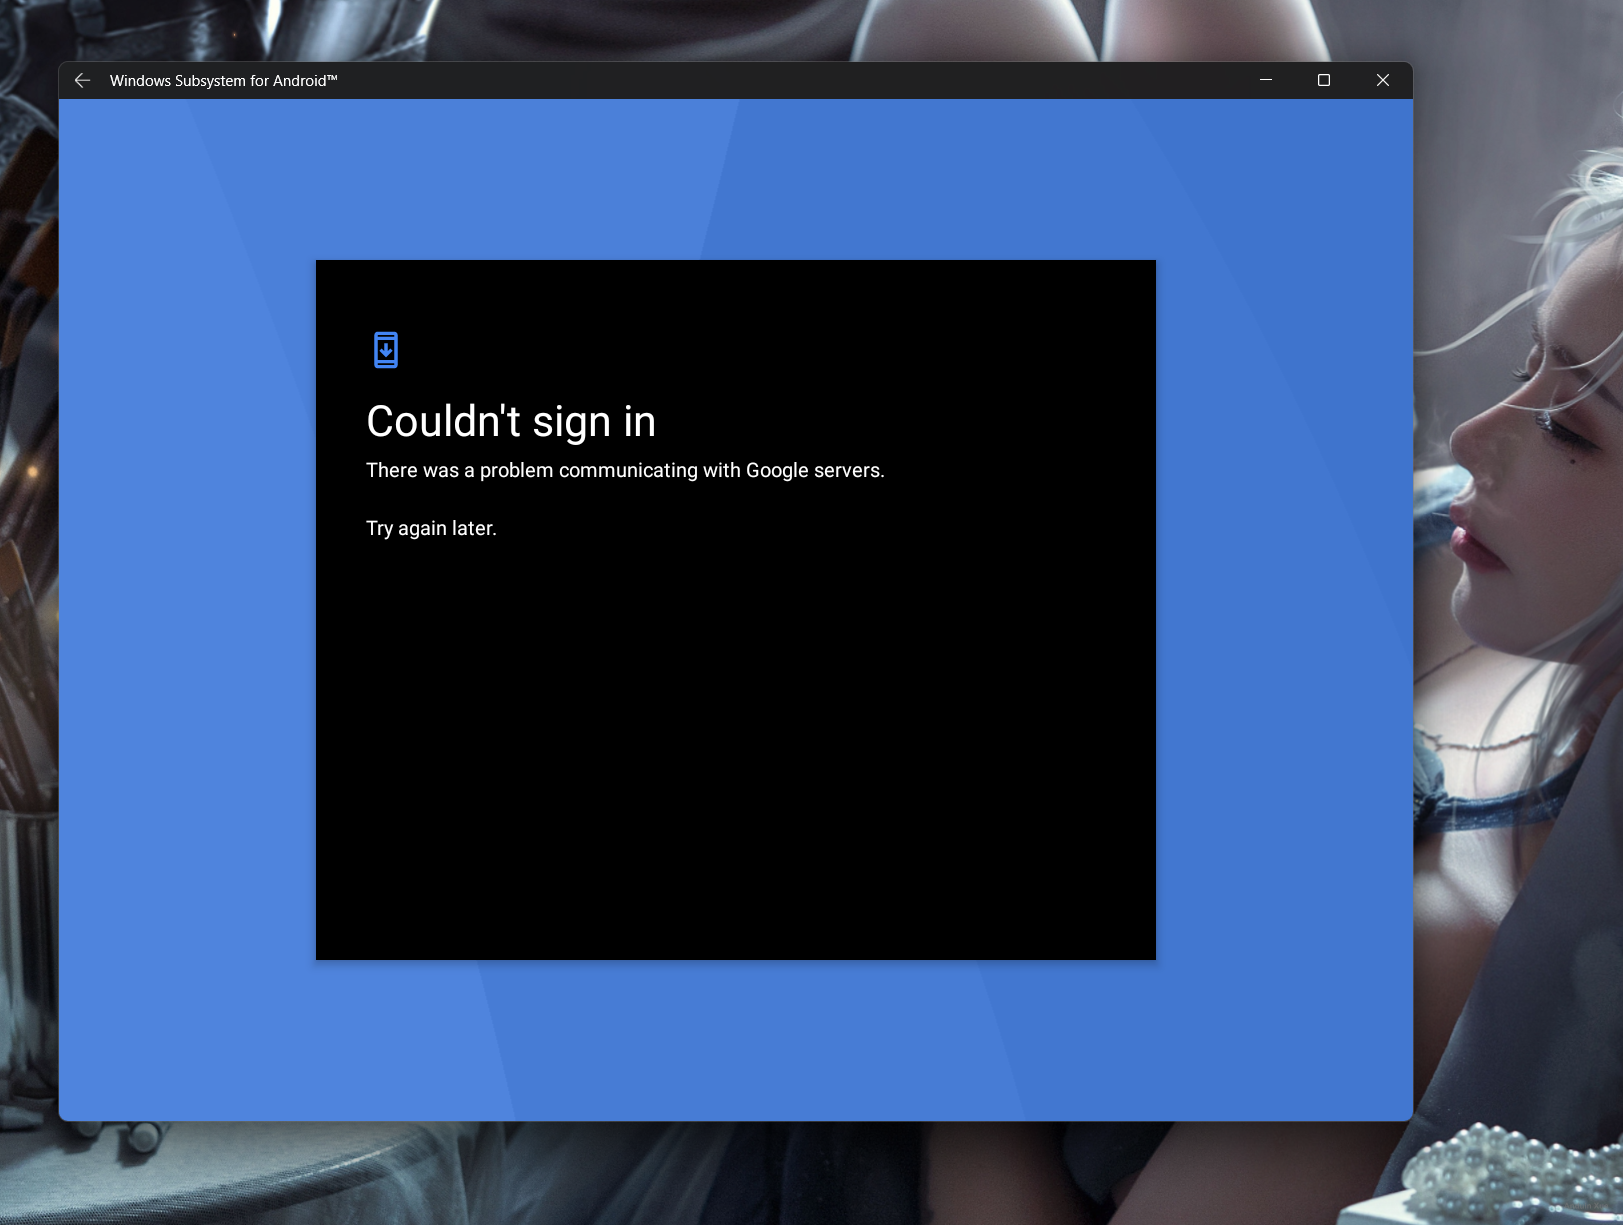
Install WSA with Google Play
You might be tempted to run Youtube, games or Microsoft Authenticator. But these apps all crash because they are missing the Google Services Framework.
(It seems you don't have to install the Amazon AppStore before installing the community distrib MagiskOnWSA.)
Installing them isn't difficult either.
First go to:
https://github.com/LSPosed/MagiskOnWSA
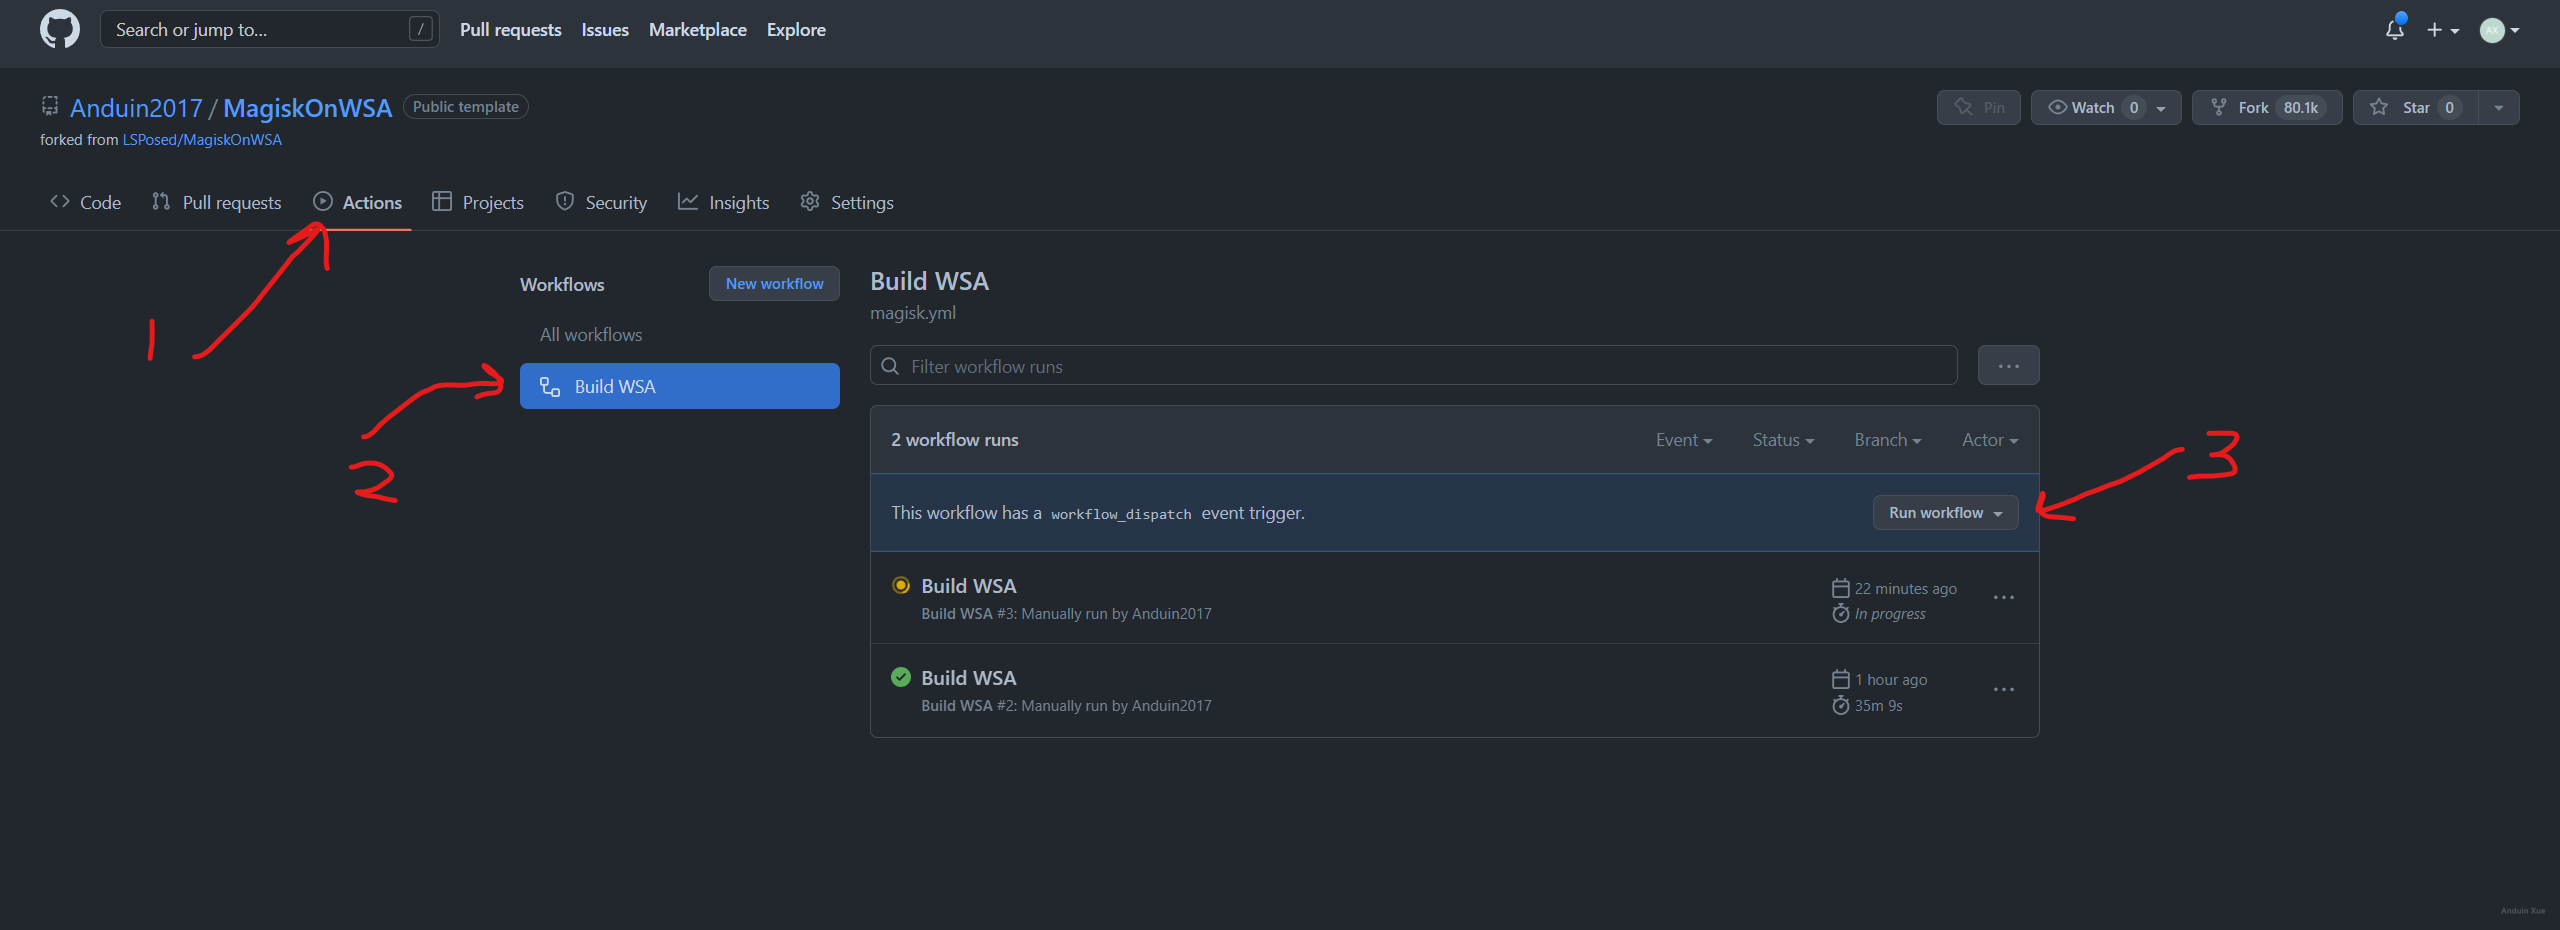
And click fork:
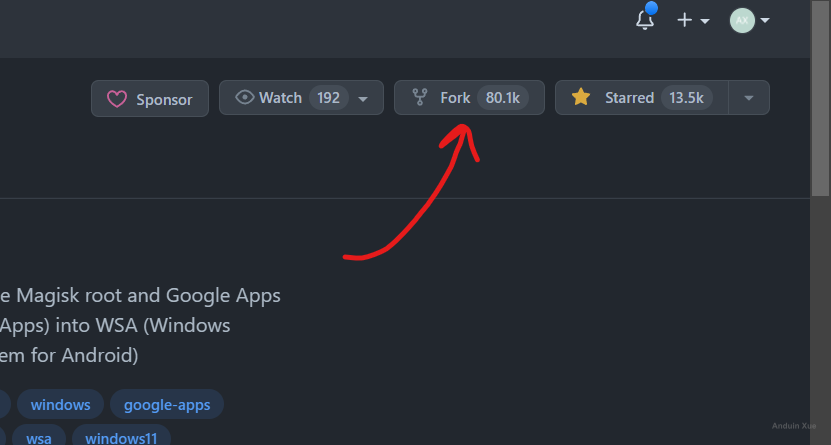
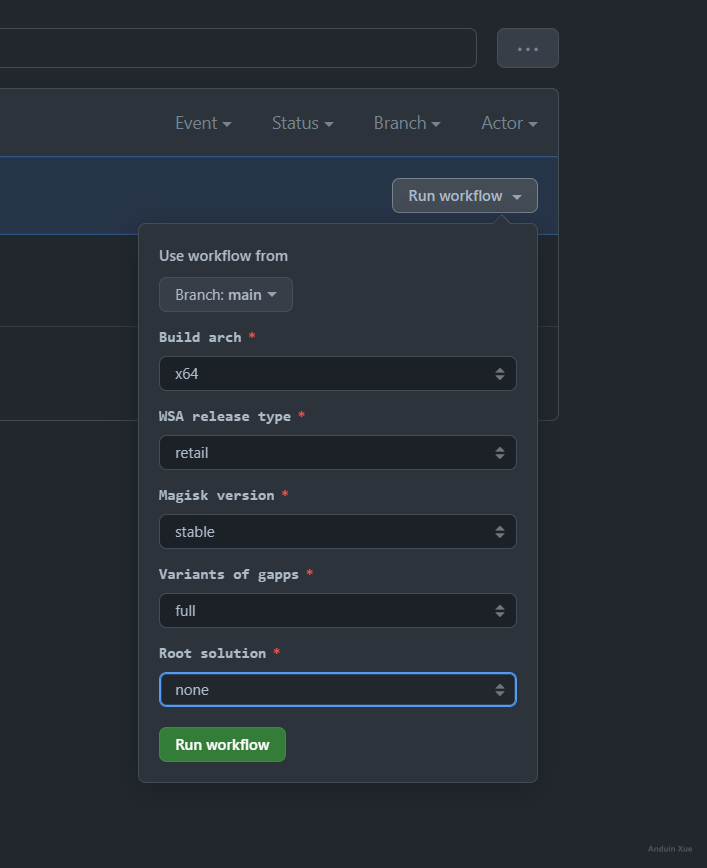
After forking, you can run the workflow to build your own image.
I personally suggest building with full apps options. As pico may have some issue like couldn't connect to the internet.
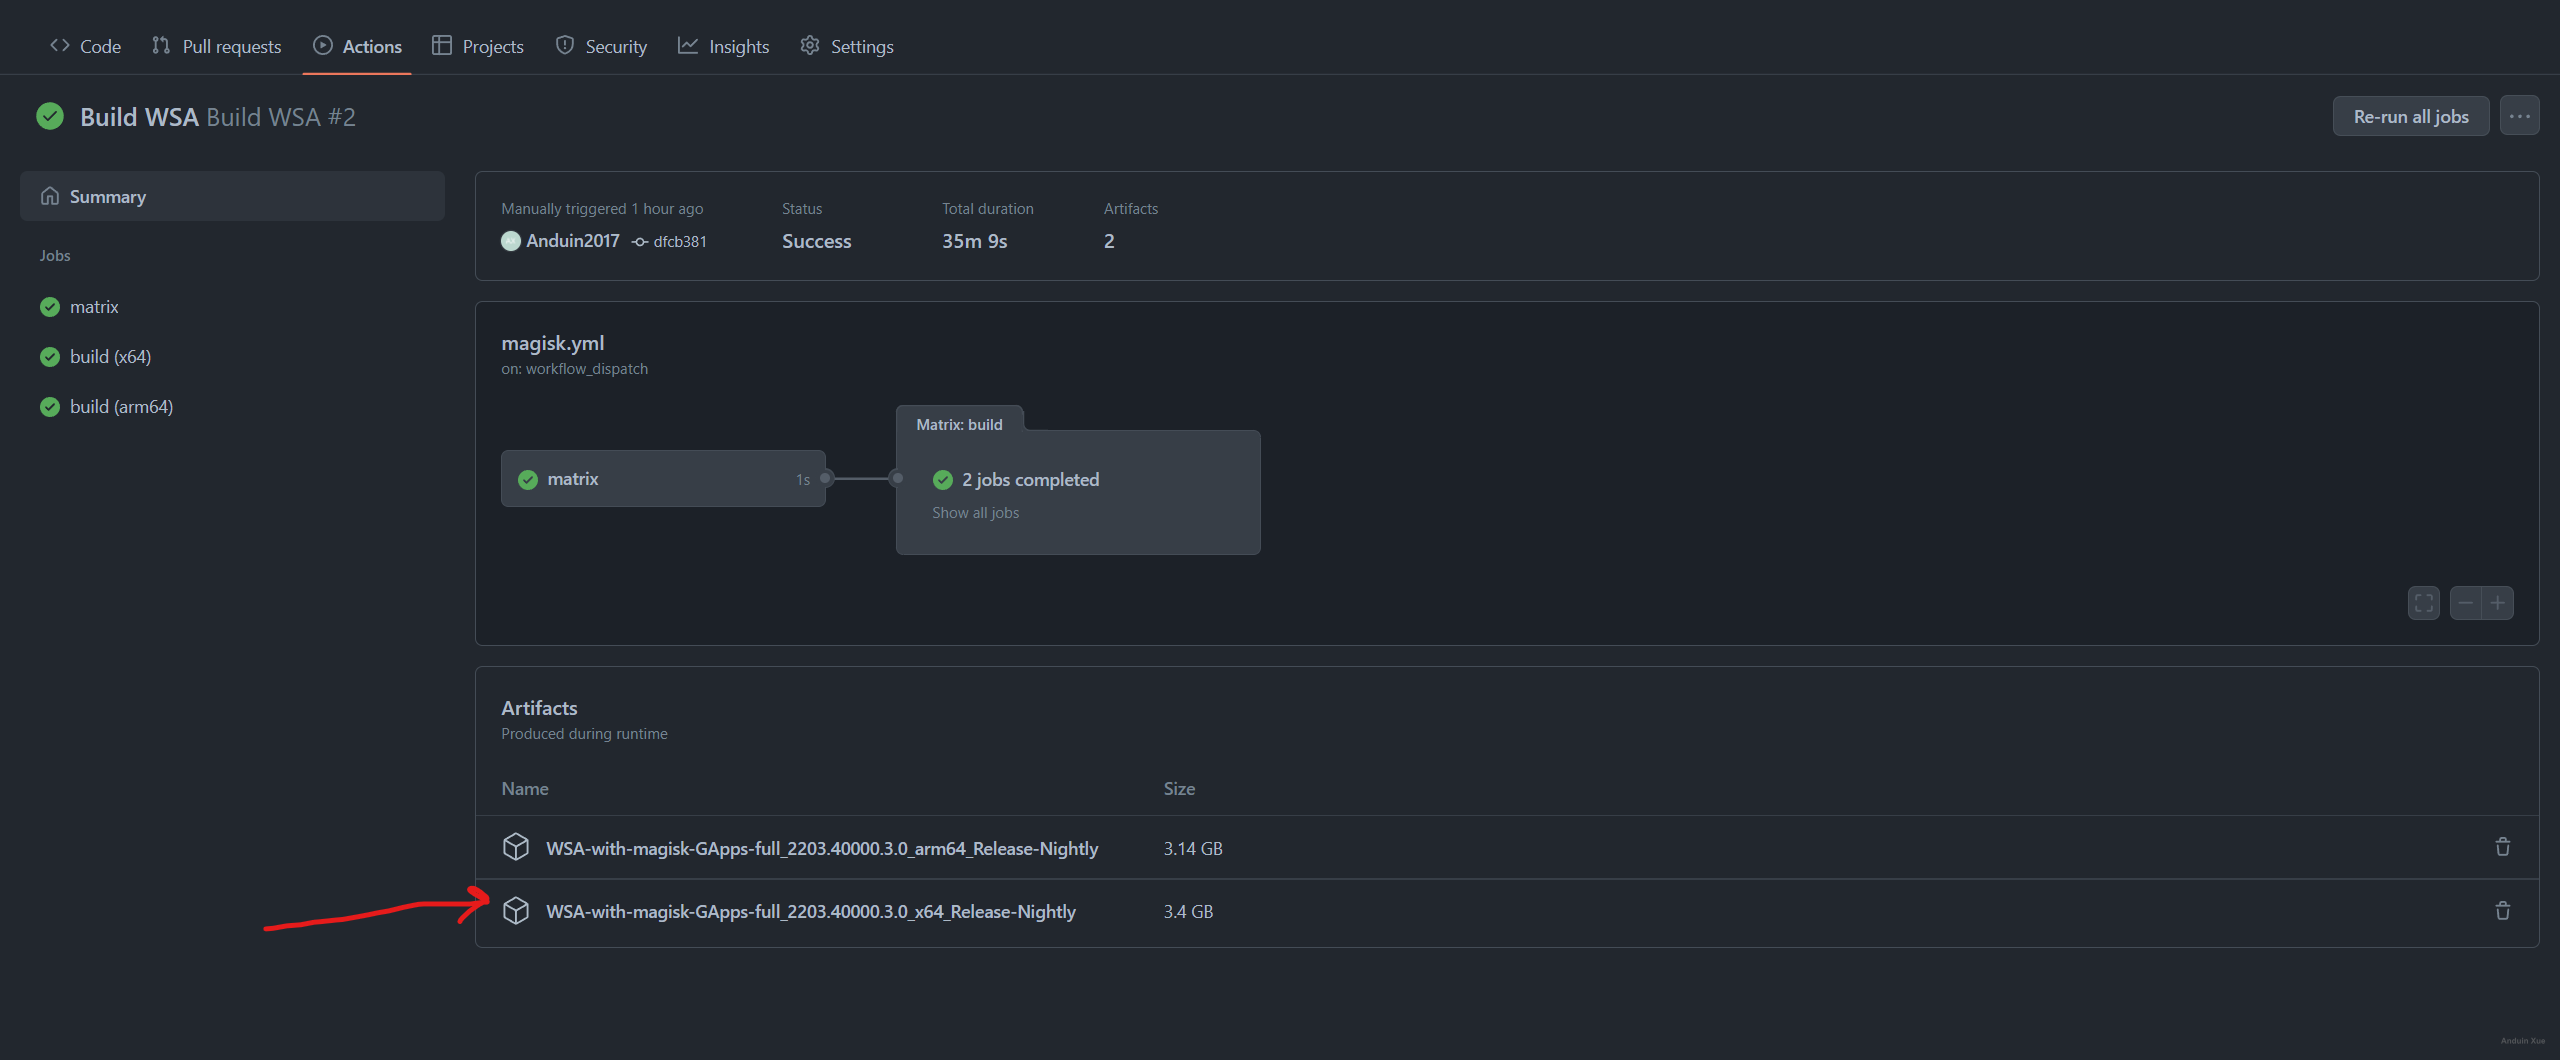
After building, you just need to download the build artifact:
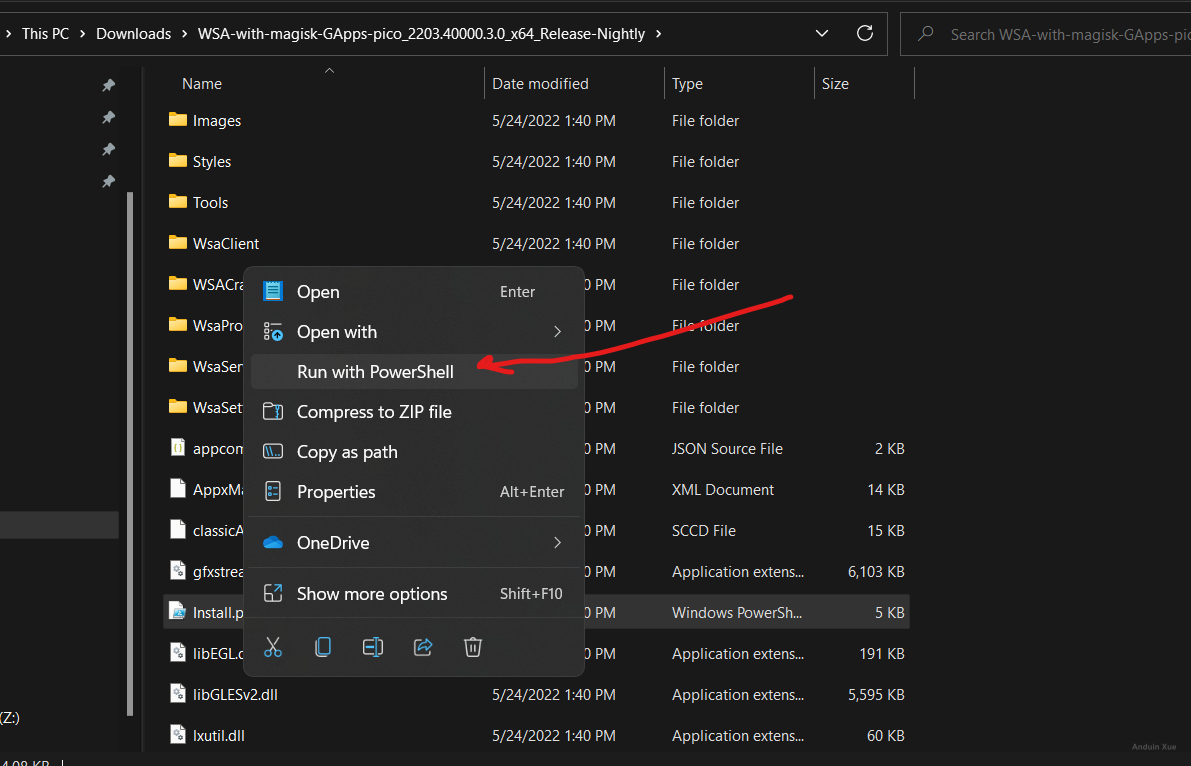
And run the install.ps1:
After running, you may see:
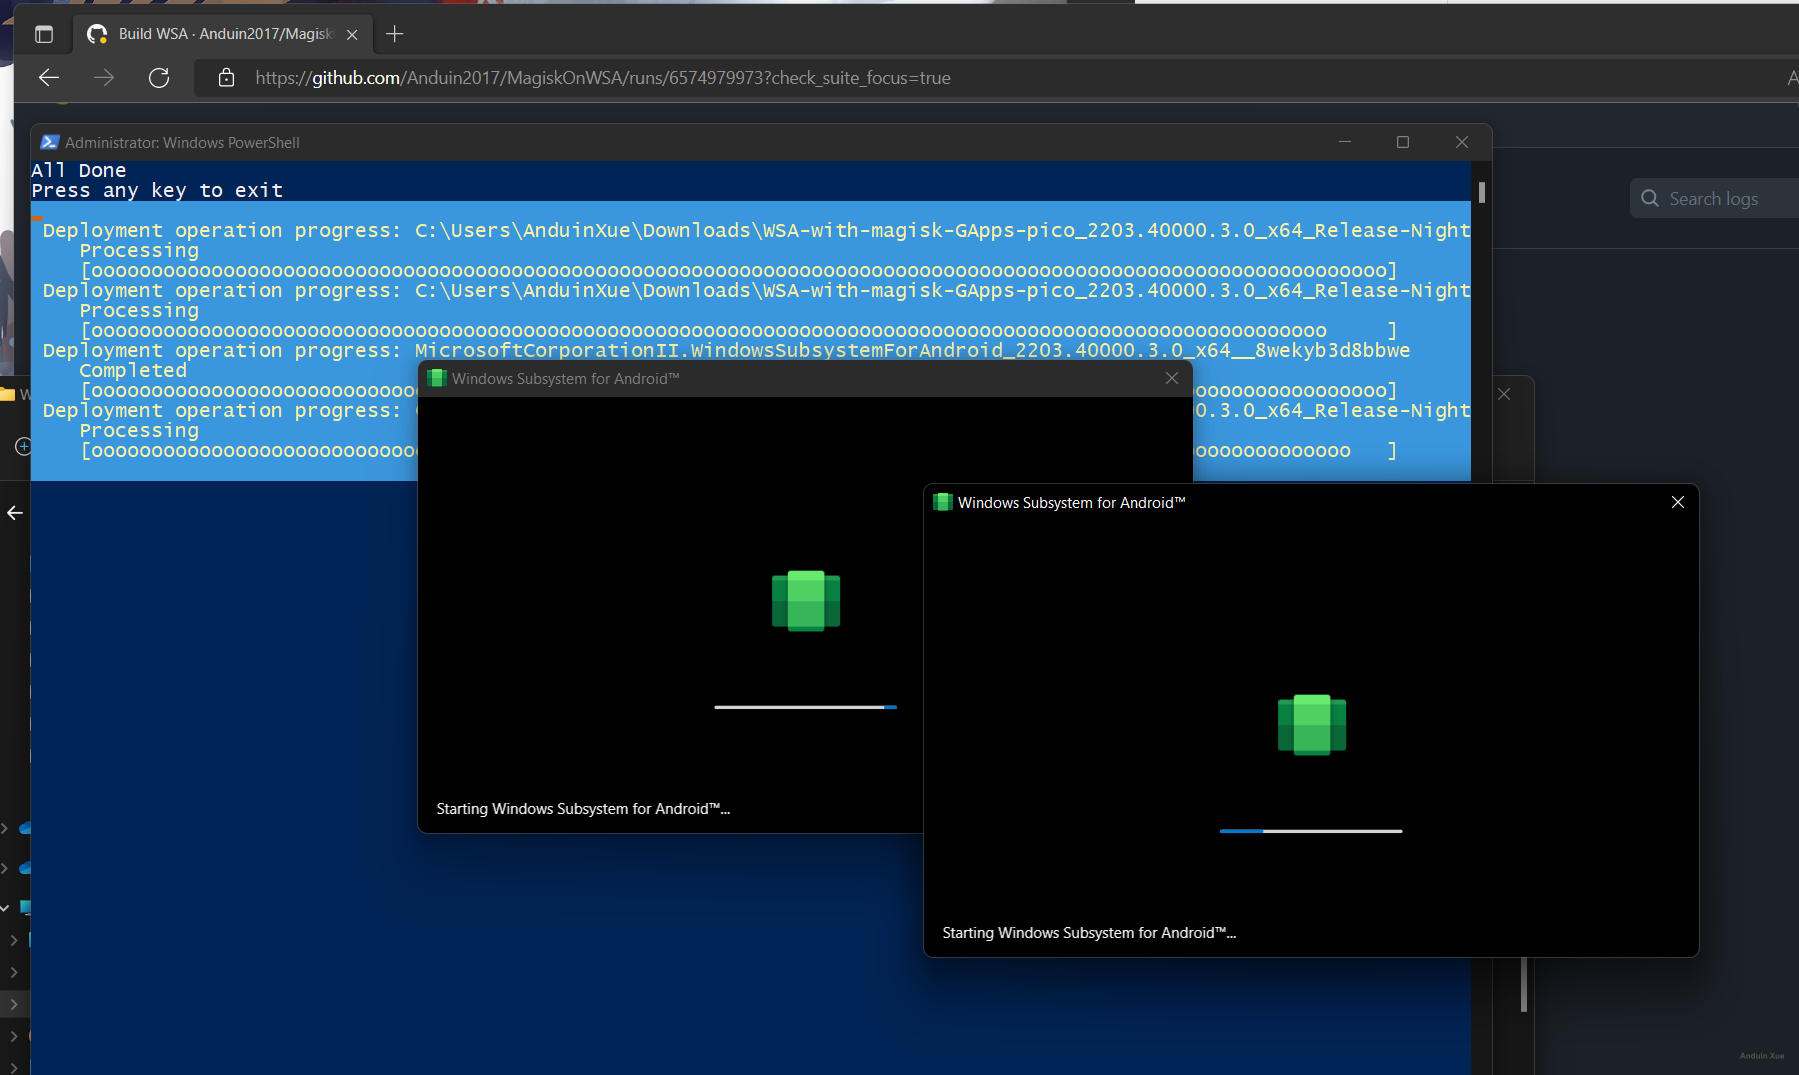
And Google Play will start working.
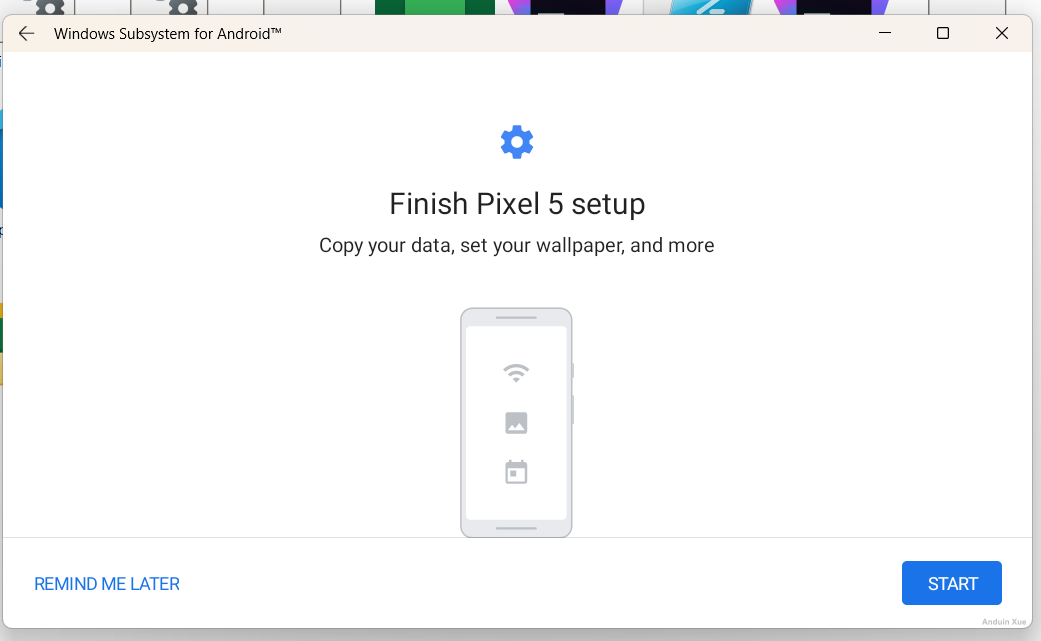
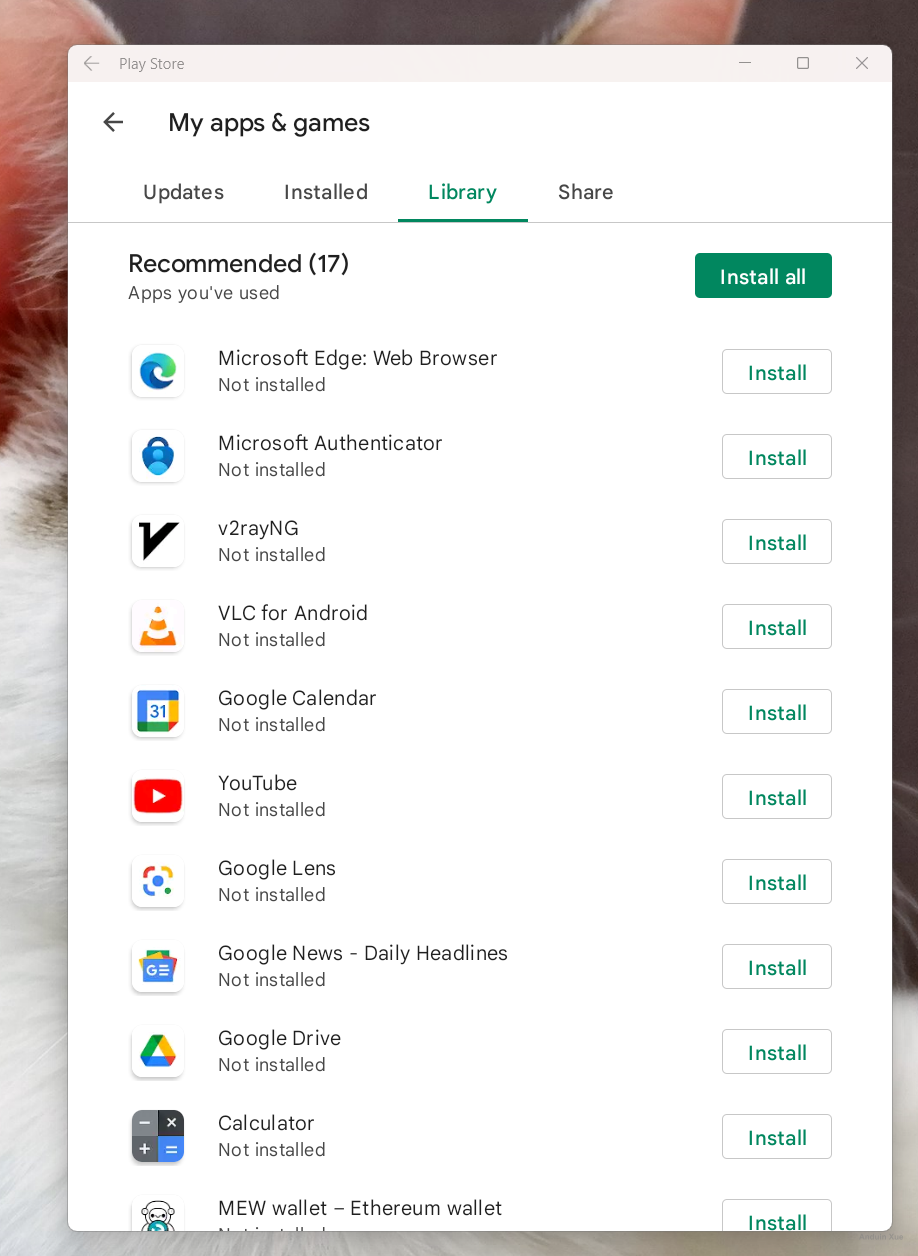
And enjoy!
Fix Internet connection
When I first deployed Android Subsystem, I found that it couldn't connect to the Internet. So I spent some time debugging it.
Open the Wifi settings in Android first:
Run the following command:
adb shell am start -n com.android.settings/.Settings\$WifiSettingsActivity
KEEP that app open! Or you won't have a chance to open that again.
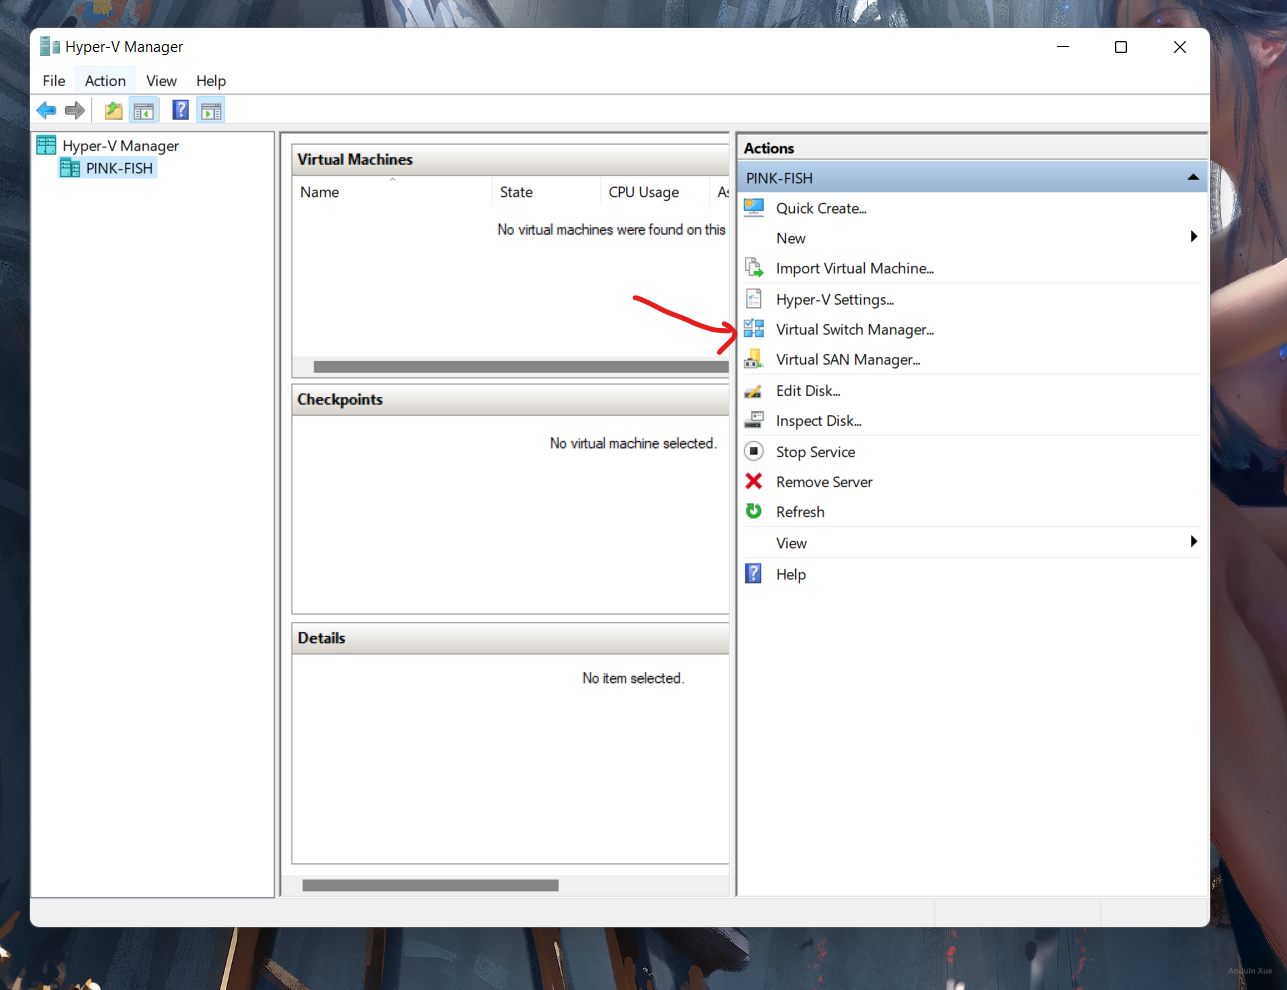
And, go to Hyper-V Manager. We gonna switch the network adaptor.
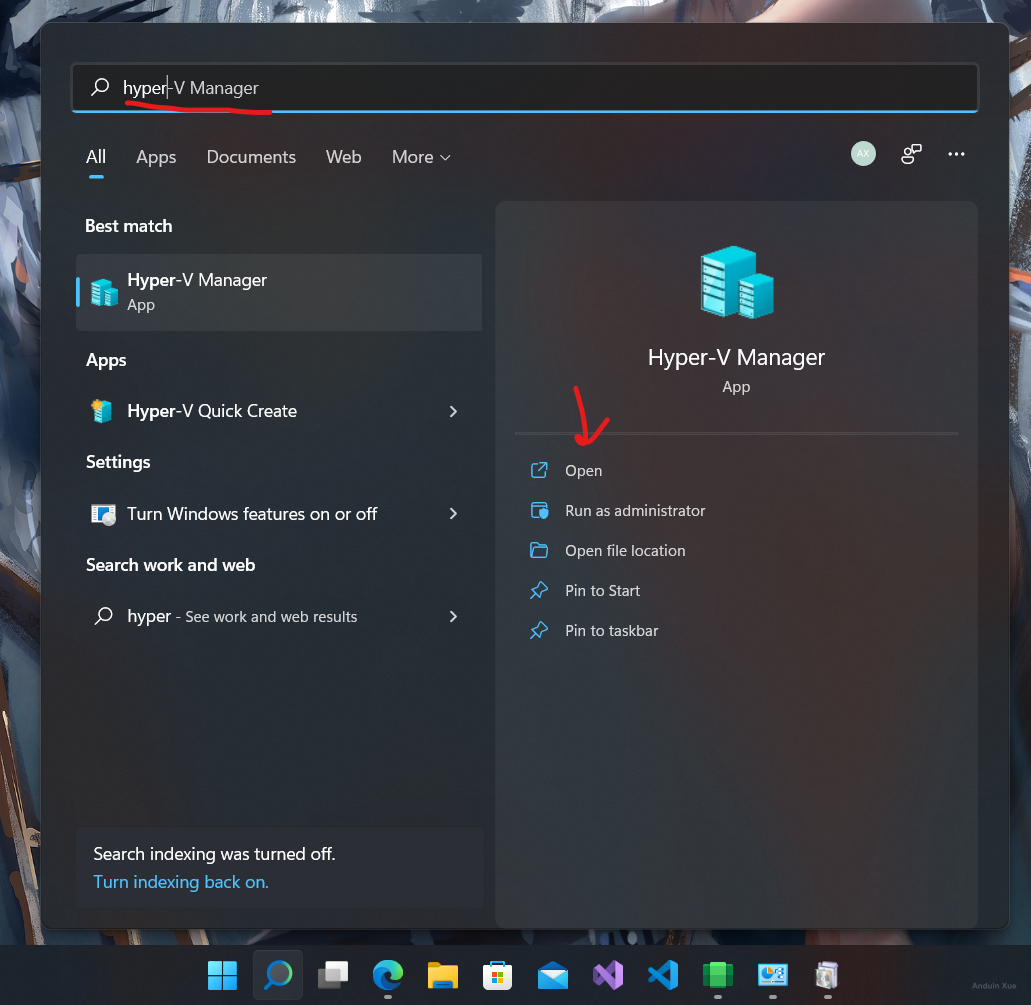
Go to virtual switch manager.
You may see that there is an virtual switch named: WSL.
Change that to External Network. Select the physical network card which has access to Internet.
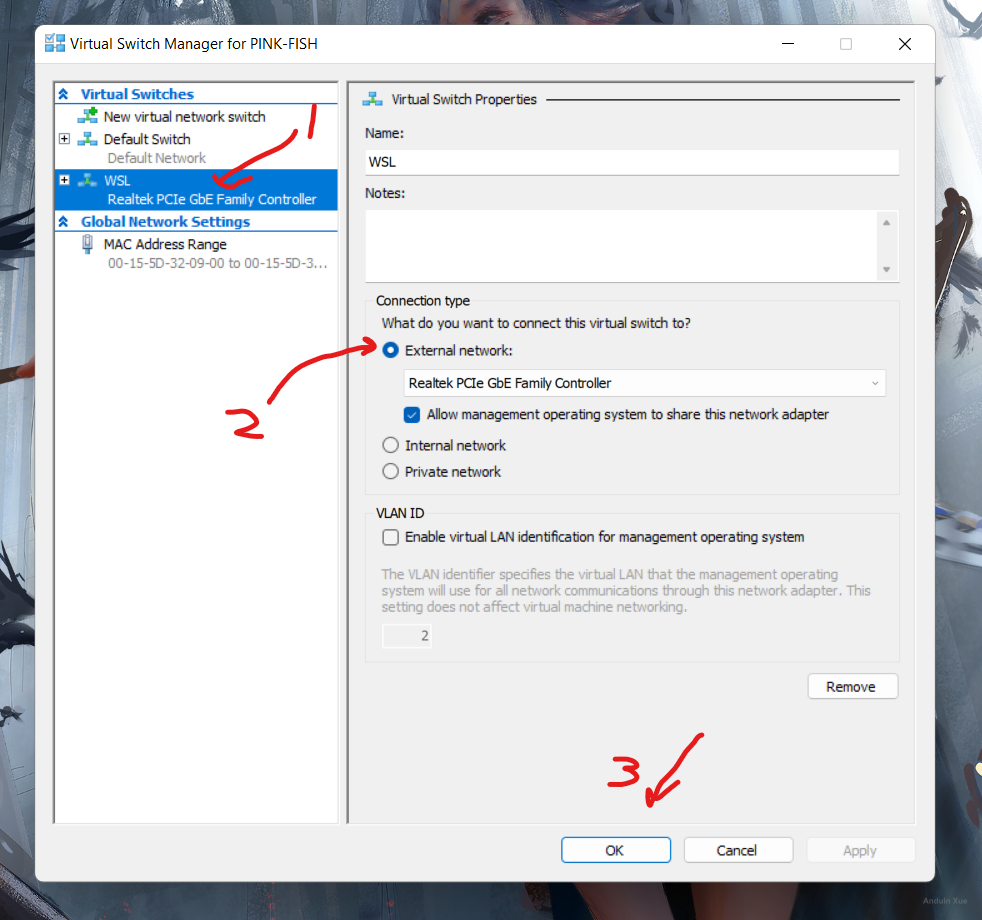
After switching, your main Windows 11 OS may share the same switch with your WSA. We switched that from NAT mode to share the same network with main OS.
And you need to know the WSA's IP address.
Click the settings of the VirtWifi:
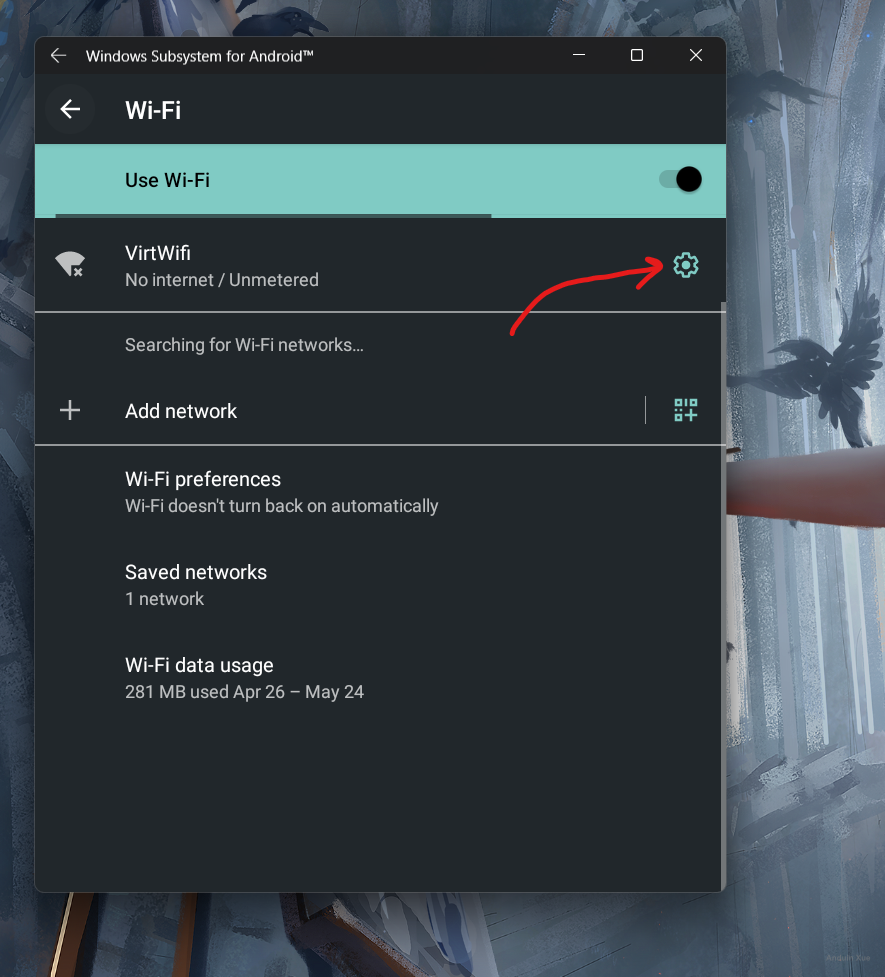
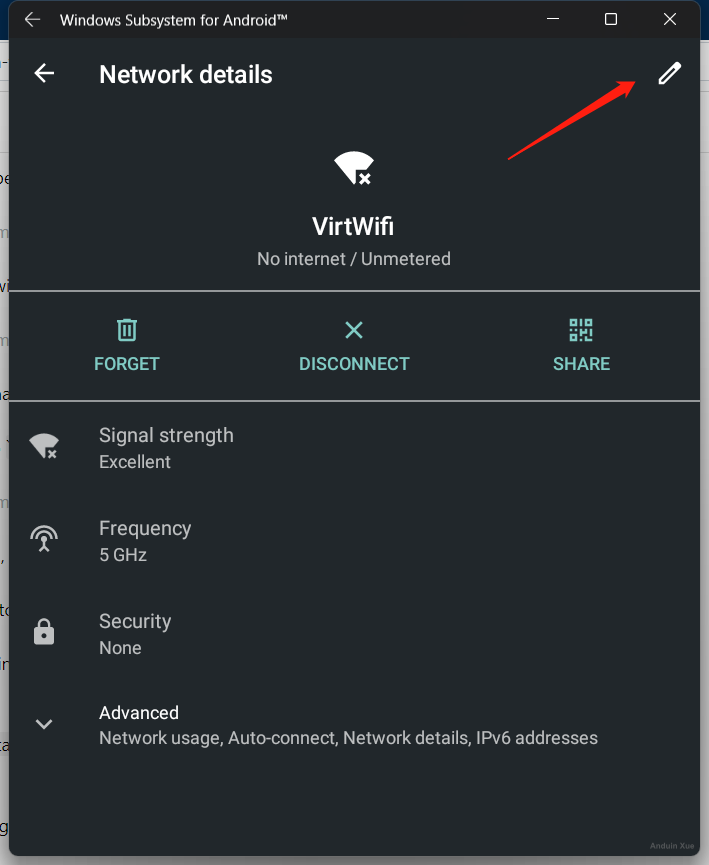
And change that to DHCP.
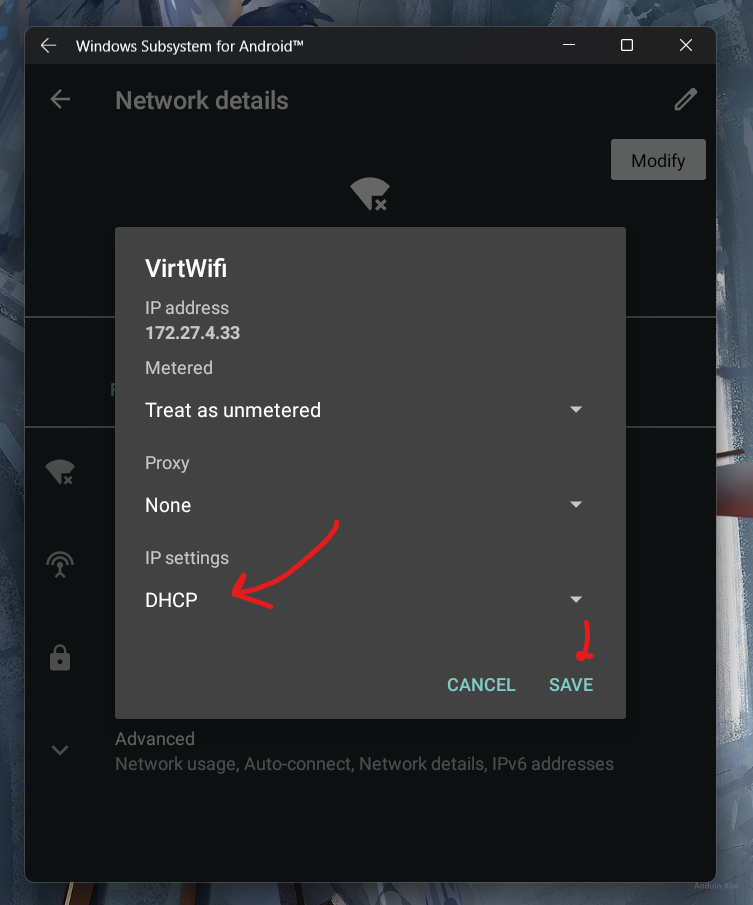
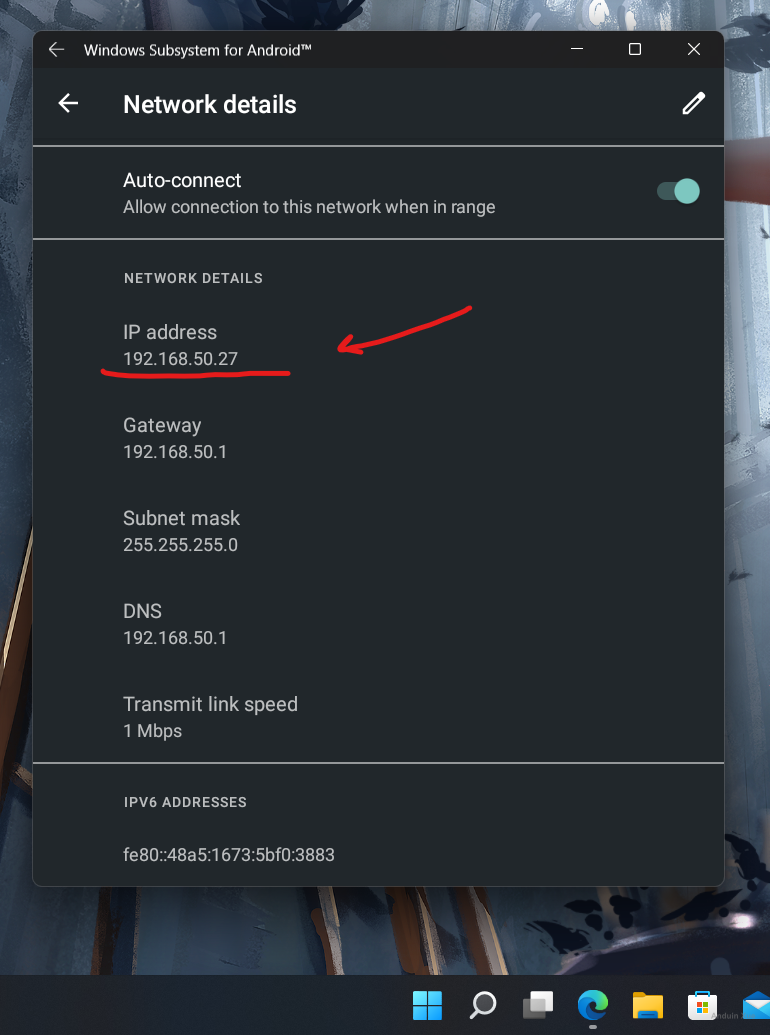
And now it will be shown as connected.

Copy it's IP address soon!
And don't forget to reconnect to that with adb:
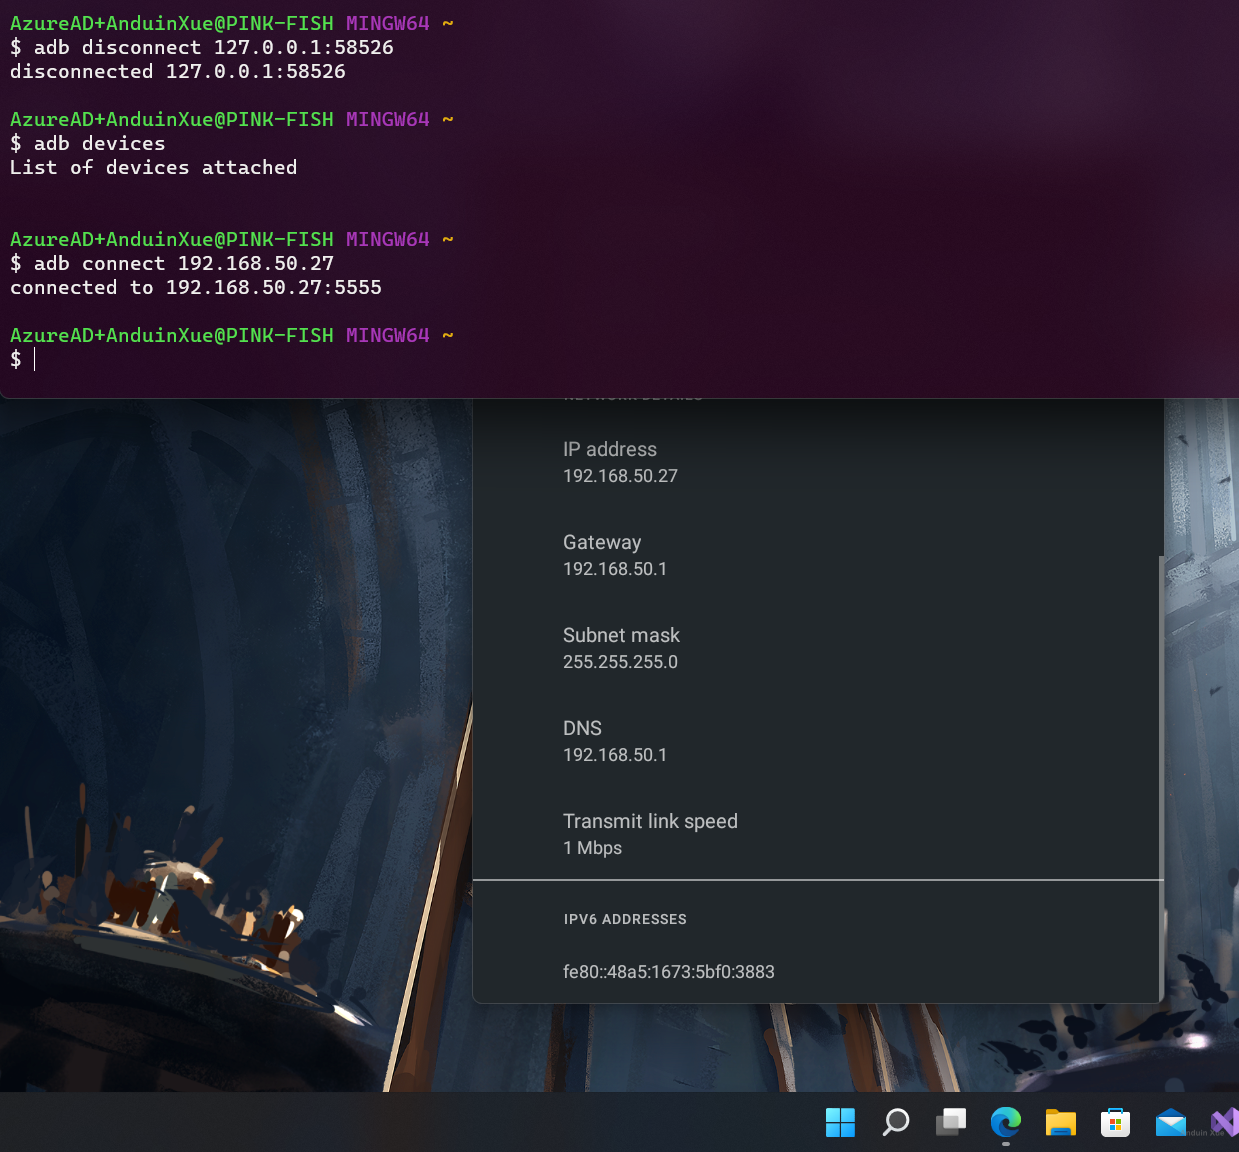
Now enjoy!
这篇博客详细介绍了如何在Windows 11的Android子系统(WSA)中实现对Google Play服务的支持,并通过自定义APK部署和网络配置解决实际问题。文章结构清晰,技术细节丰富,体现了作者对系统底层机制的深入理解,以下是对其核心内容和改进空间的分析:
优点与核心理念
实用价值突出
文章直接回应了用户对WSA功能扩展的迫切需求(如安装非Amazon商店的APK、运行Google生态应用),填补了微软官方支持的空白。通过ADB工具链和MagiskOnWSA项目实现Google Play服务的安装,展现了技术自主性。
操作步骤详实
从虚拟化开关配置到网络适配器切换,每个步骤均配有代码示例和截图,降低了读者的实践门槛。尤其对网络连接问题的逐层排查(如从Wi-Fi设置到Hyper-V虚拟交换机的调整),体现了对复杂系统交互的深刻理解。
开源协作精神
推荐使用GitHub社区项目(MagiskOnWSA)扩展功能,鼓励用户参与构建流程,符合技术社区共享与协作的理念,同时为读者提供了自主定制的可能性。
闪光点
adb shell am start直接调用Android系统设置界面,展示了对Android调试桥工具的熟练掌握,显著提升了操作效率。可改进之处
技术细节的准确性验证
adb connect 127.0.0.1:58526需确认是否为WSA默认端口(通常为5555)。若端口配置错误可能导致连接失败,建议补充端口验证步骤(如adb devices检查设备列表)。新手友好度不足
逻辑表述优化
扩展建议
增加故障排查章节
针对常见问题(如ADB连接超时、虚拟交换机创建失败、Google Play服务无法启动)提供快速诊断方法,例如使用
ipconfig检查WSA IP、通过ping测试网络连通性。性能与兼容性分析
可补充WSA运行Google Play应用的性能表现(如CPU占用率、图形渲染延迟),并与Android模拟器(如Android Studio Emulator)进行对比,为用户选择方案提供依据。
安全与权限管理
讨论Magisk root权限对系统稳定性的影响,以及如何通过隔离WSA环境(如使用专用用户账户)降低安全风险。
总结
本文是一篇高质量的技术实践指南,成功突破了WSA的官方功能限制,为开发者和高级用户提供了宝贵的参考。若能在细节准确性、用户友好性和扩展分析方面进一步完善,将更广泛地惠及技术社区。期待作者后续深入探索WSA与Windows生态的更多可能性,例如跨平台开发环境集成或容器化部署方案。
这篇关于在 Windows 11 上部署 Android 子系统的文章内容丰富且实用。作者详细介绍了从启用 WSL 到安装 WSA 的每一步操作,并重点讲解了网络连接的调试方法,这对刚接触这一技术的用户来说非常有帮助。
在安装和配置过程中,尤其是网络设置部分,步骤清晰明确。通过切换虚拟交换机到外部网络并调整 DHCP 设置,确保了 Android 子系统的稳定上网。此外,作者提醒读者在操作时保持 Wi-Fi 设置界面打开,避免因疏忽导致无法重新进入设置页面,这一点非常贴心。
文章还提到了一些故障排除的技巧,例如重新连接 adb 设备,这有助于用户在遇到问题时快速找到解决方法。总体来看,这篇文章不仅提供了一步步的操作指南,还分享了实际应用中的经验和技巧,对希望在 Windows 环境下使用 Android 应用程序的用户来说极具参考价值。
通过这篇博客,读者不仅能了解如何安装和配置 WSA,还能掌握一些关键的故障排除方法,提升他们在使用过程中的体验。对于技术爱好者或是需要多平台操作的专业人士来说,这是一篇不可多得的实用指南。
I recently read your blog post about playing with Windows Subsystem for Android (WSA) with Google Play, and I found it both informative and engaging. Your step-by-step instructions on how to enable WSA, connect and manage the subsystem, deploy and uninstall APKs, and install WSA with Google Play were clear and easy to follow. The inclusion of screenshots was also helpful in visualizing the process.
One of the key highlights of your post was the detailed explanation of how to fix internet connection issues within the Android Subsystem. Your instructions on switching the network adapter and adjusting the settings of the VirtWifi were particularly useful.
However, there were a few areas where I believe the post could be improved:
While the post assumes that the reader has a basic understanding of adb and Android development, it would be helpful to provide a brief introduction to adb and its purpose in the context of WSA.
In the section on installing WSA with Google Play, you mention that the user should fork the MagiskOnWSA repository. It would be beneficial to explain why forking is necessary, and how it helps in building a custom image for the user.
It would be helpful to provide more context on the potential risks and consequences of uninstalling system apps using the command you provided. This can help users make informed decisions before attempting such actions.
Finally, it would be great to include a brief conclusion summarizing the benefits of using WSA with Google Play, as well as any potential limitations or challenges users may face.
Overall, your blog post was informative and well-written. I appreciate the effort you put into creating this guide, and I'm sure many readers will find it valuable. Keep up the great work!